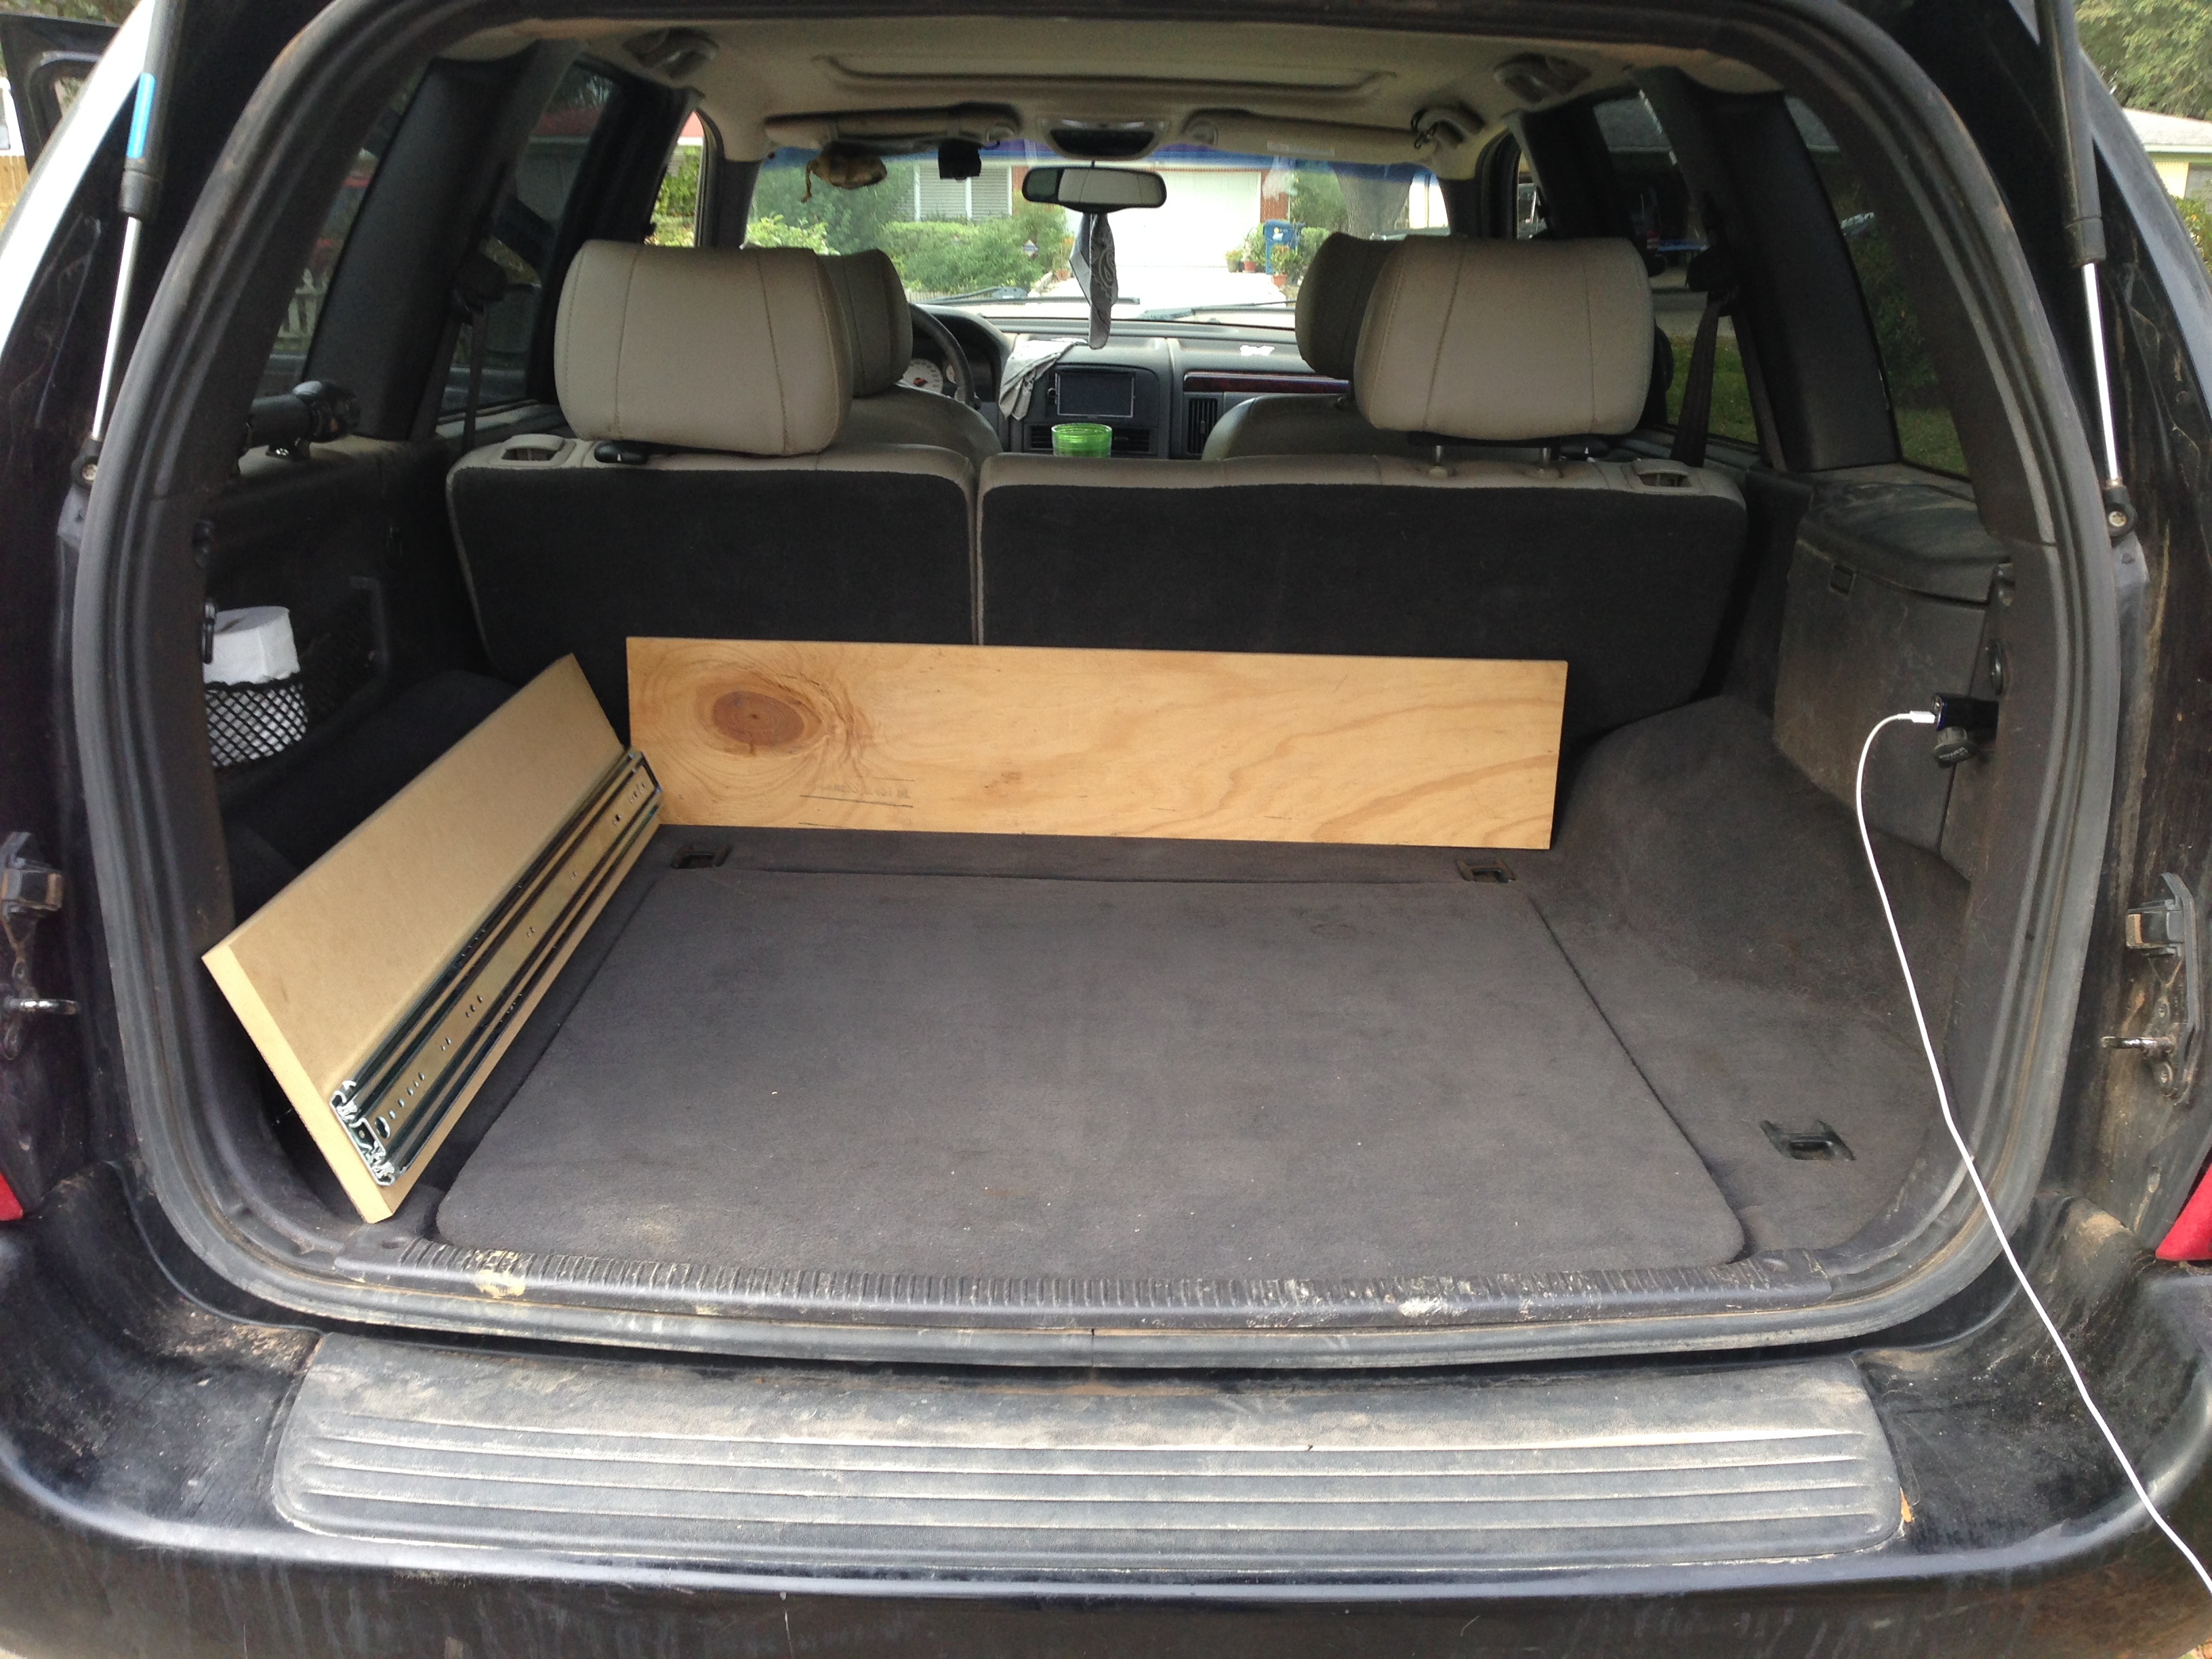
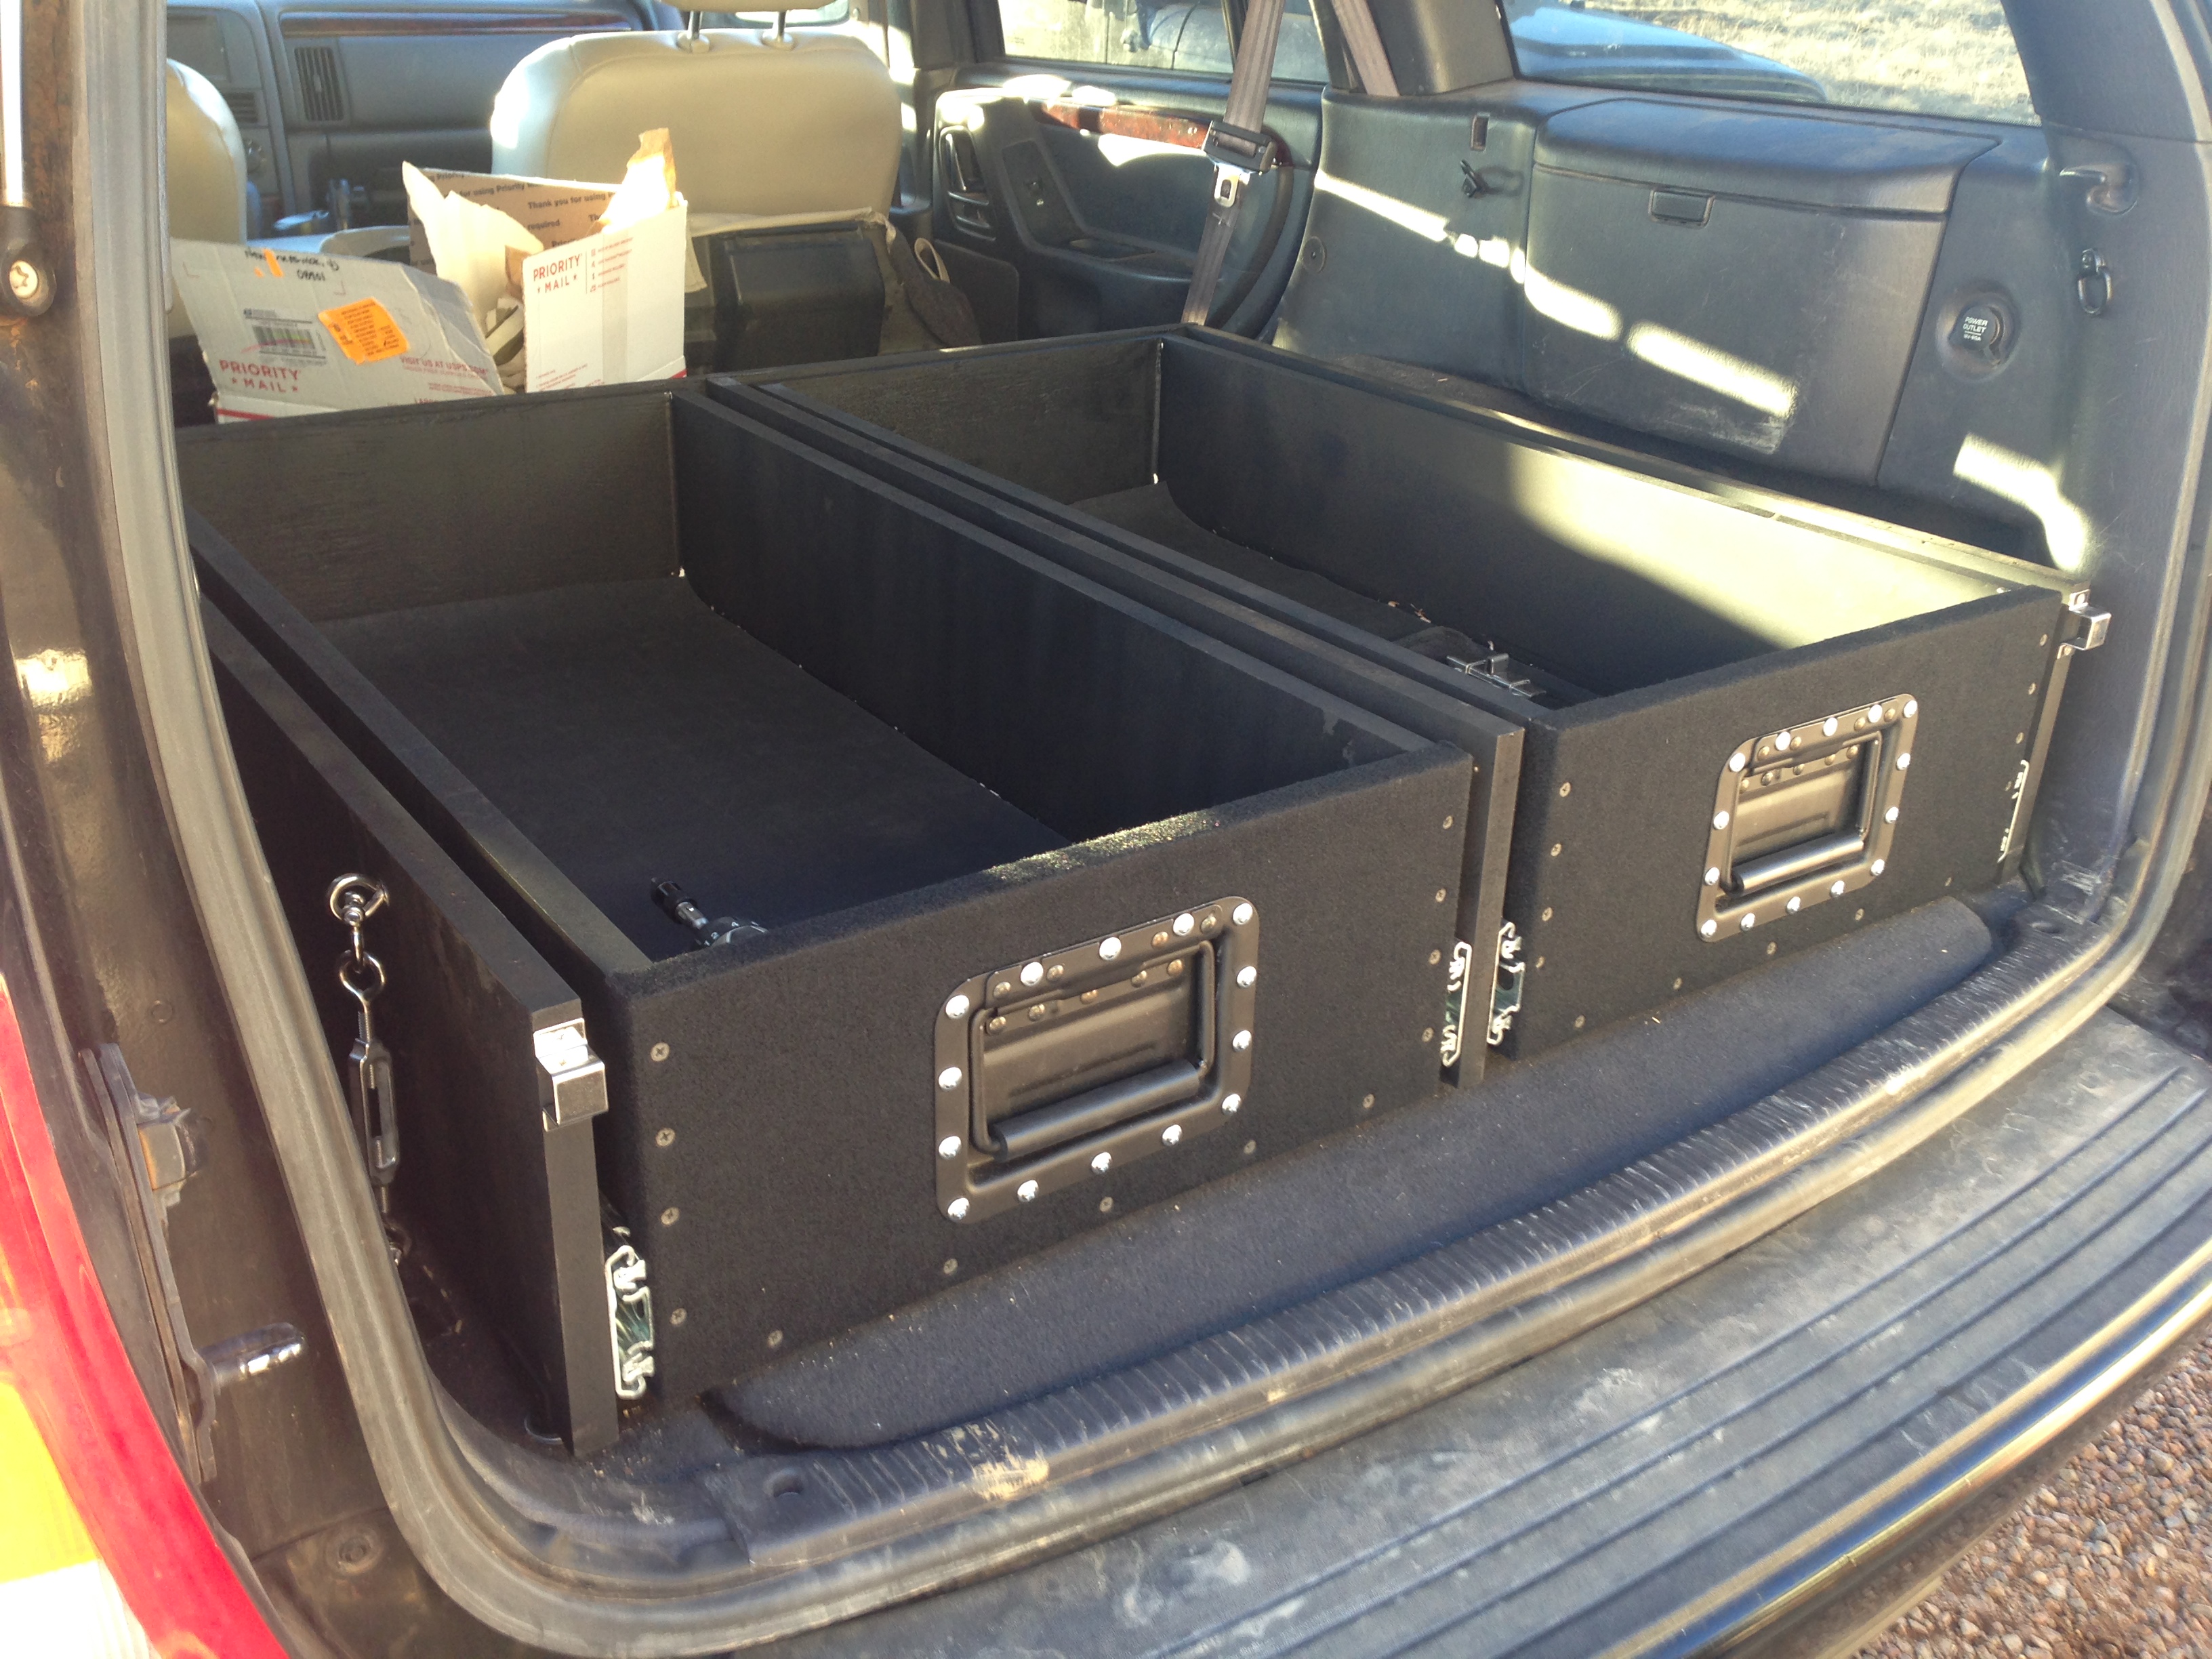
Over Christmas break, my Pops and I built a set of drawers to go in the cargo area in the back of my rig.

It’s important to direct your attention in the following pictures to the back pieces of both the frame and the drawers, which are 1/2″ plywood, and not 3/4″ MDF like all the other pieces in the drawerset. The dimensions at the end of this post are drawn based on a configuration of this nature. If you build this and use materials of a different thickness, be sure to adjust your dimensions elsewhere as necessary.
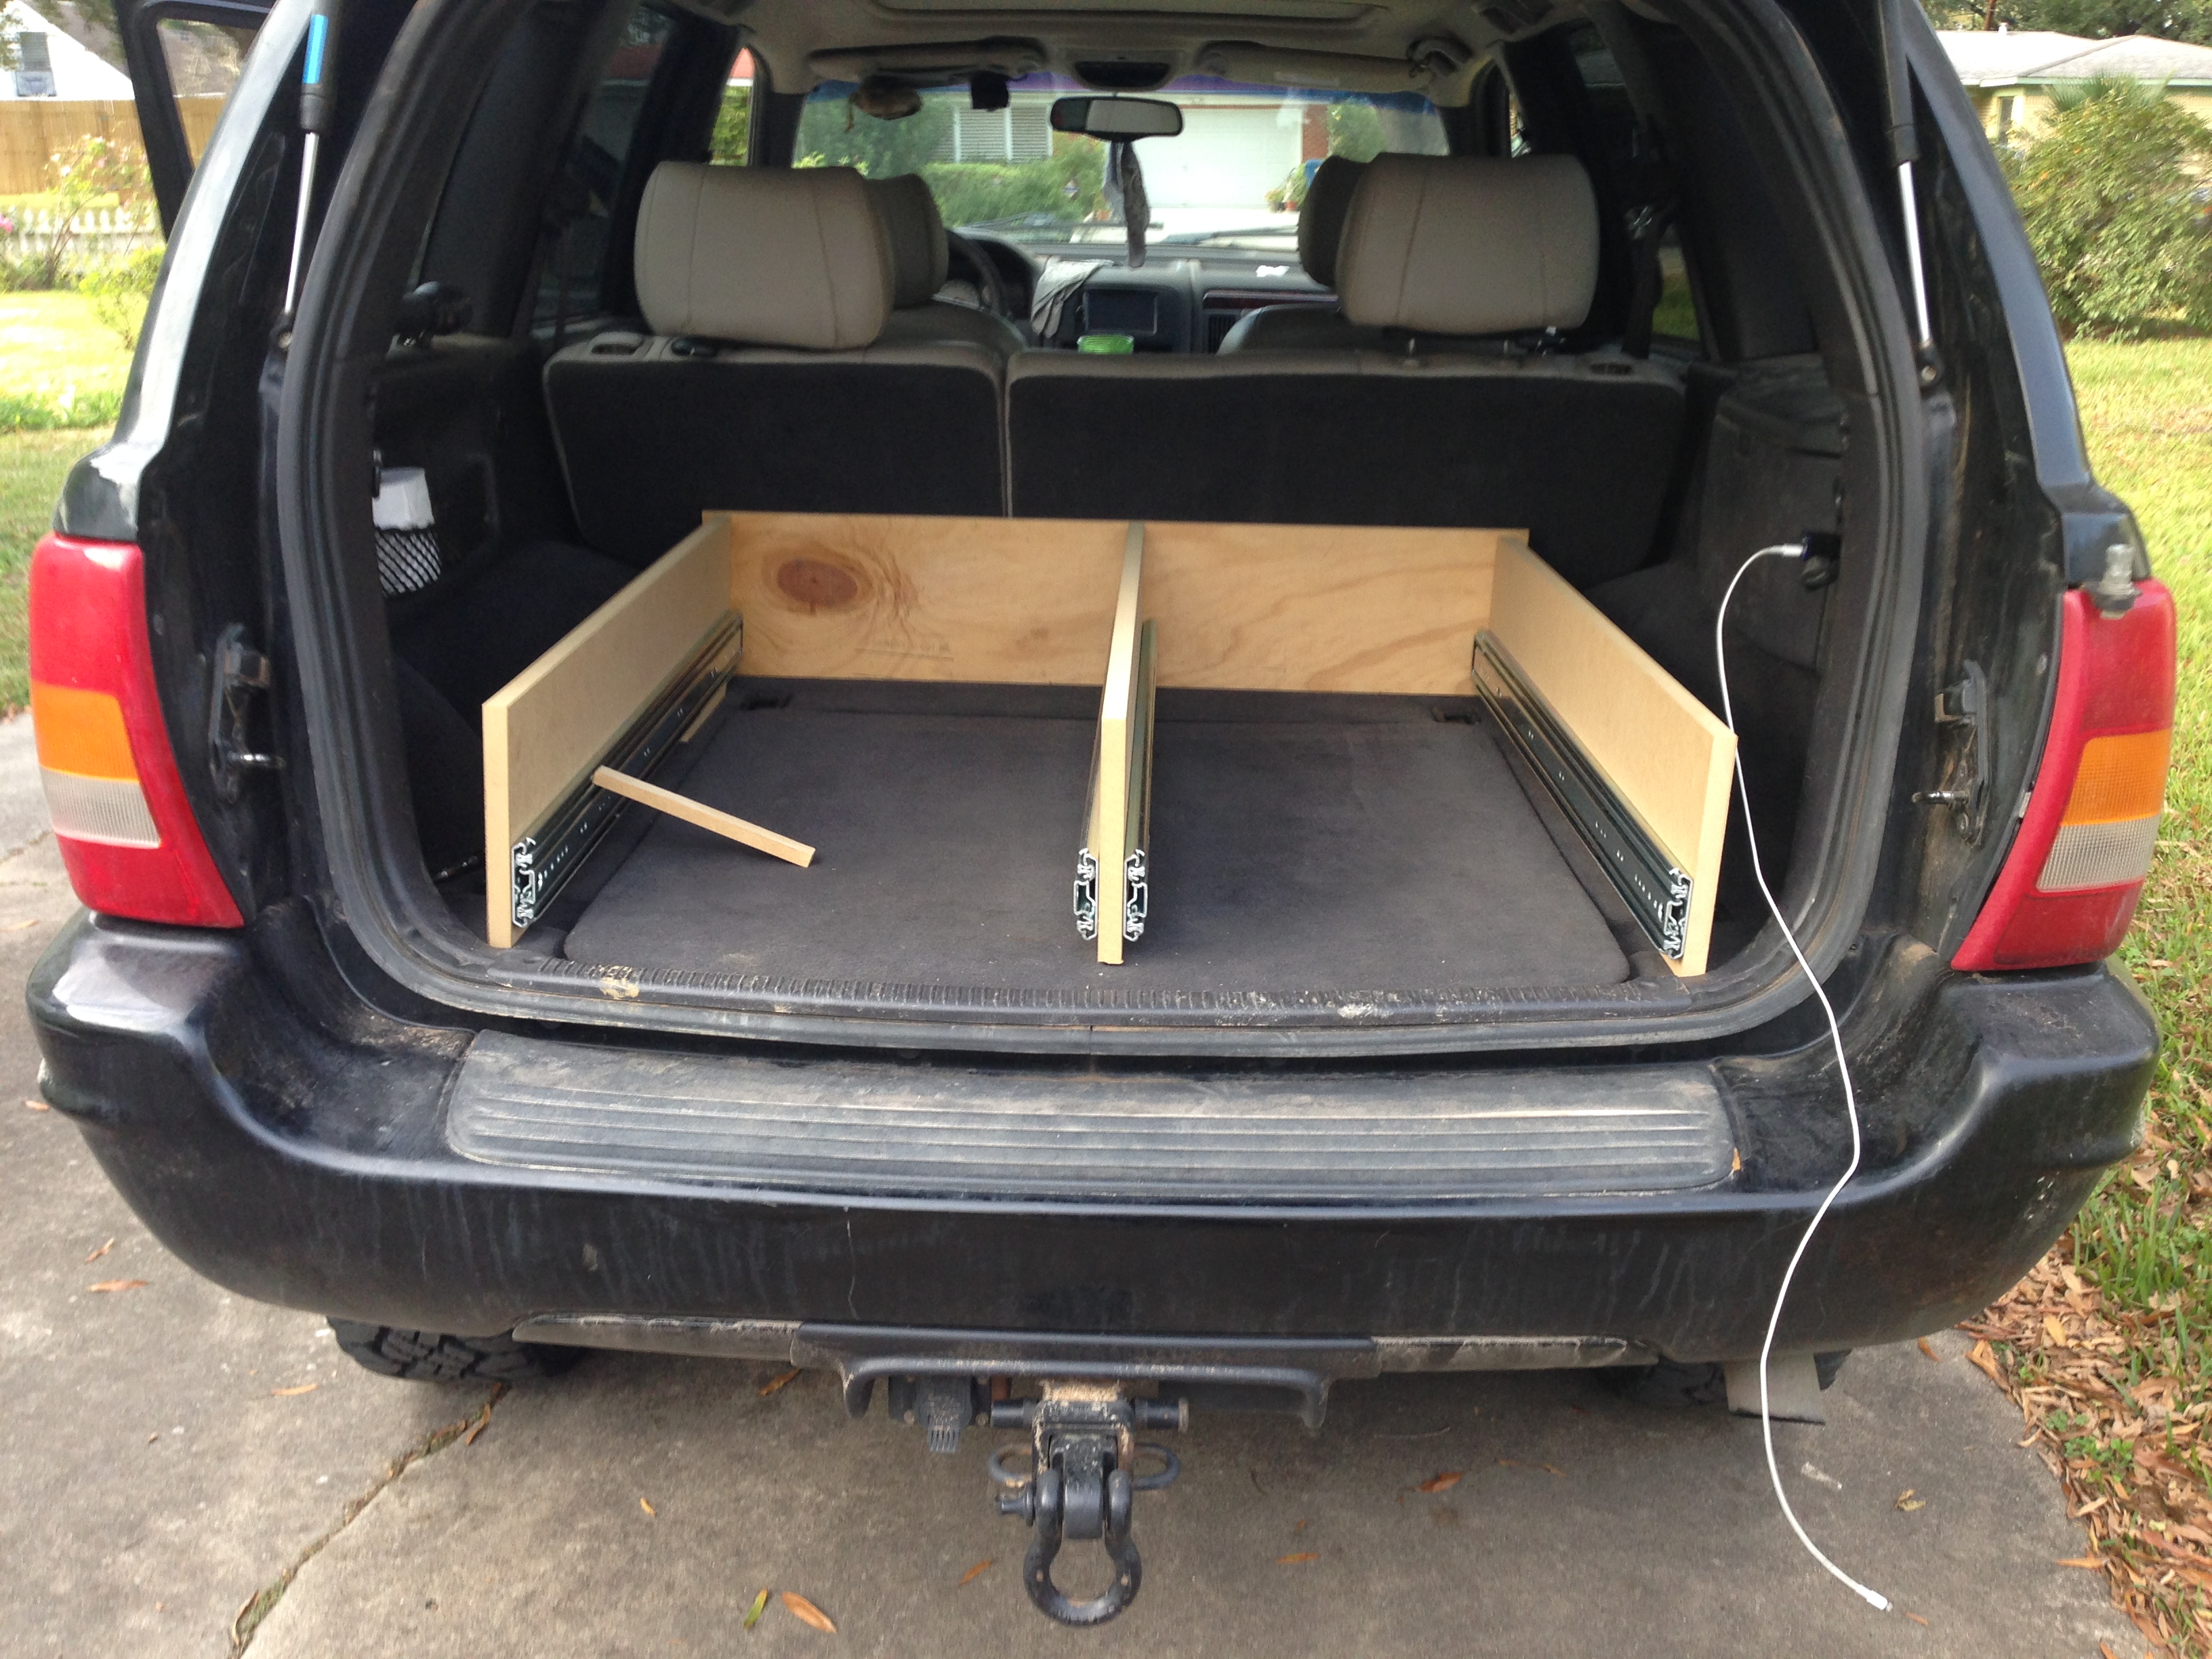
First, the back and sides were cut, then drawer slides were attached to the side panels.
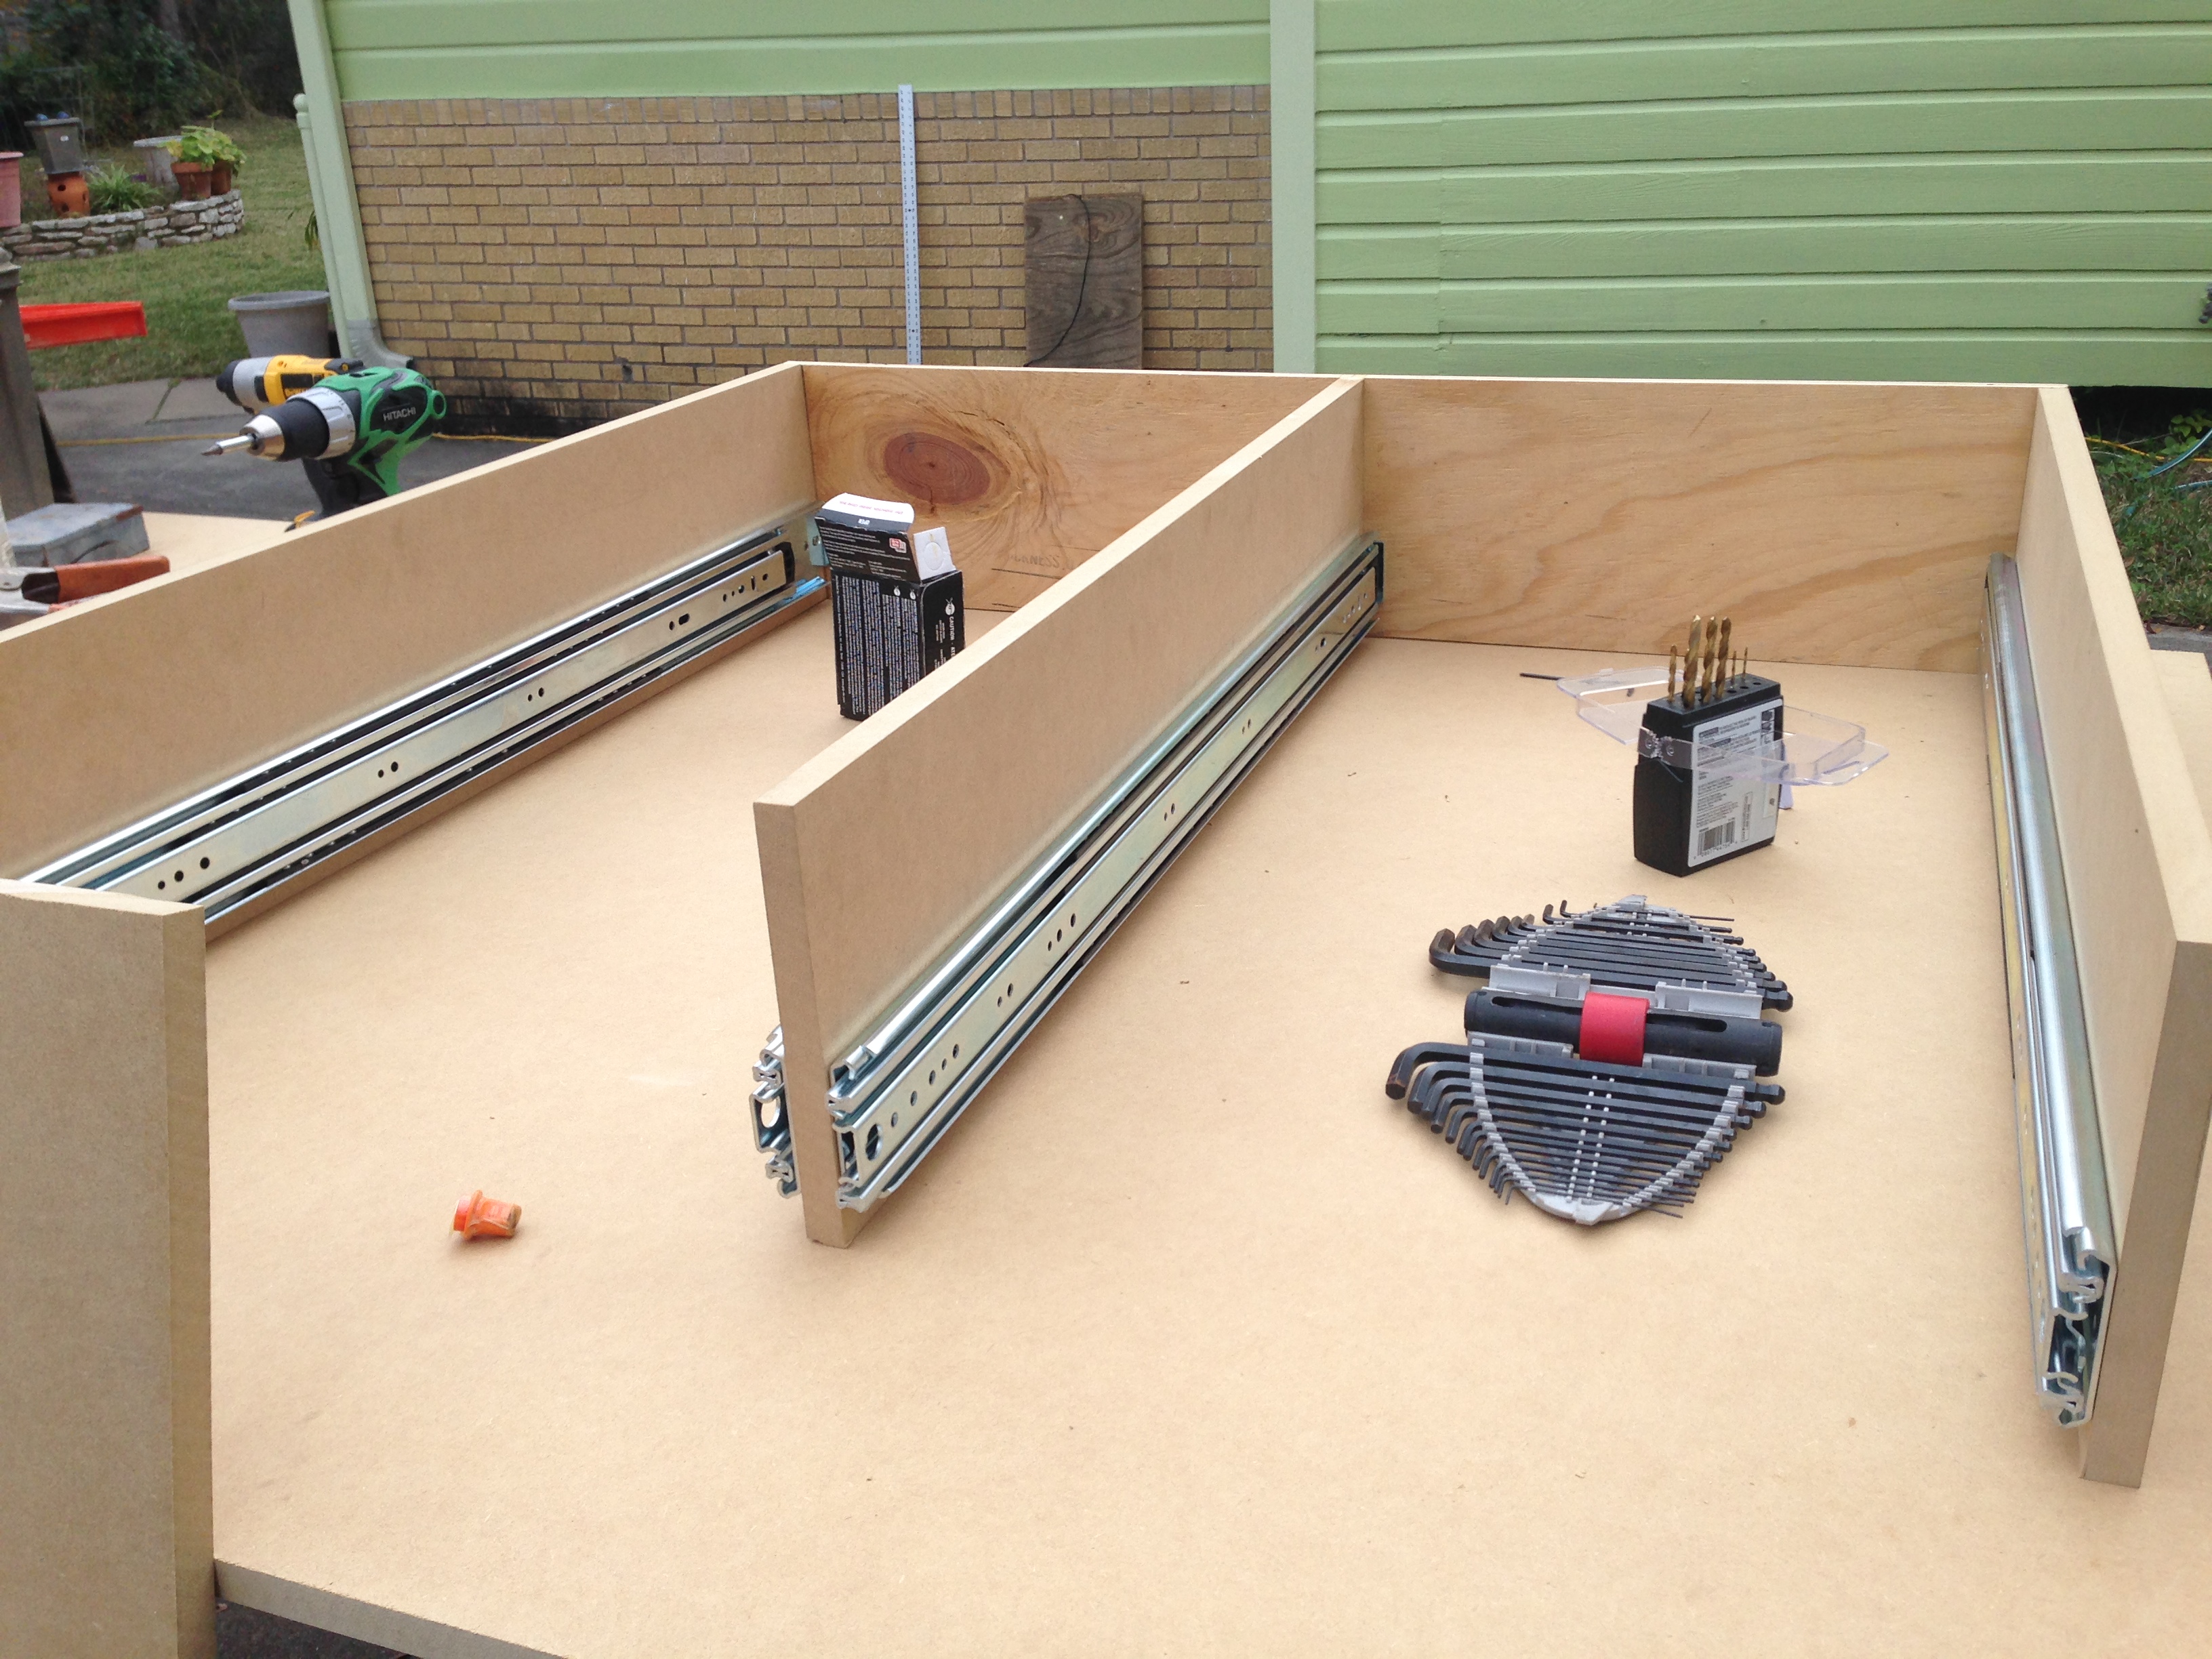
The slides are KV brand 8900 series ball bearing. They were mounted 3/4″ from the bottom of the panel. PROTIP: I just used a strip of the MDF as a template for the slide height, since it’s 3/4″.
All the screws used are 1 1/2″ coarse thread drywall, all holes were pre-drilled and countersunk to prevent splitting the MDF. Predrilling with a countersink bit is critical when using screws in the ends of MDF .
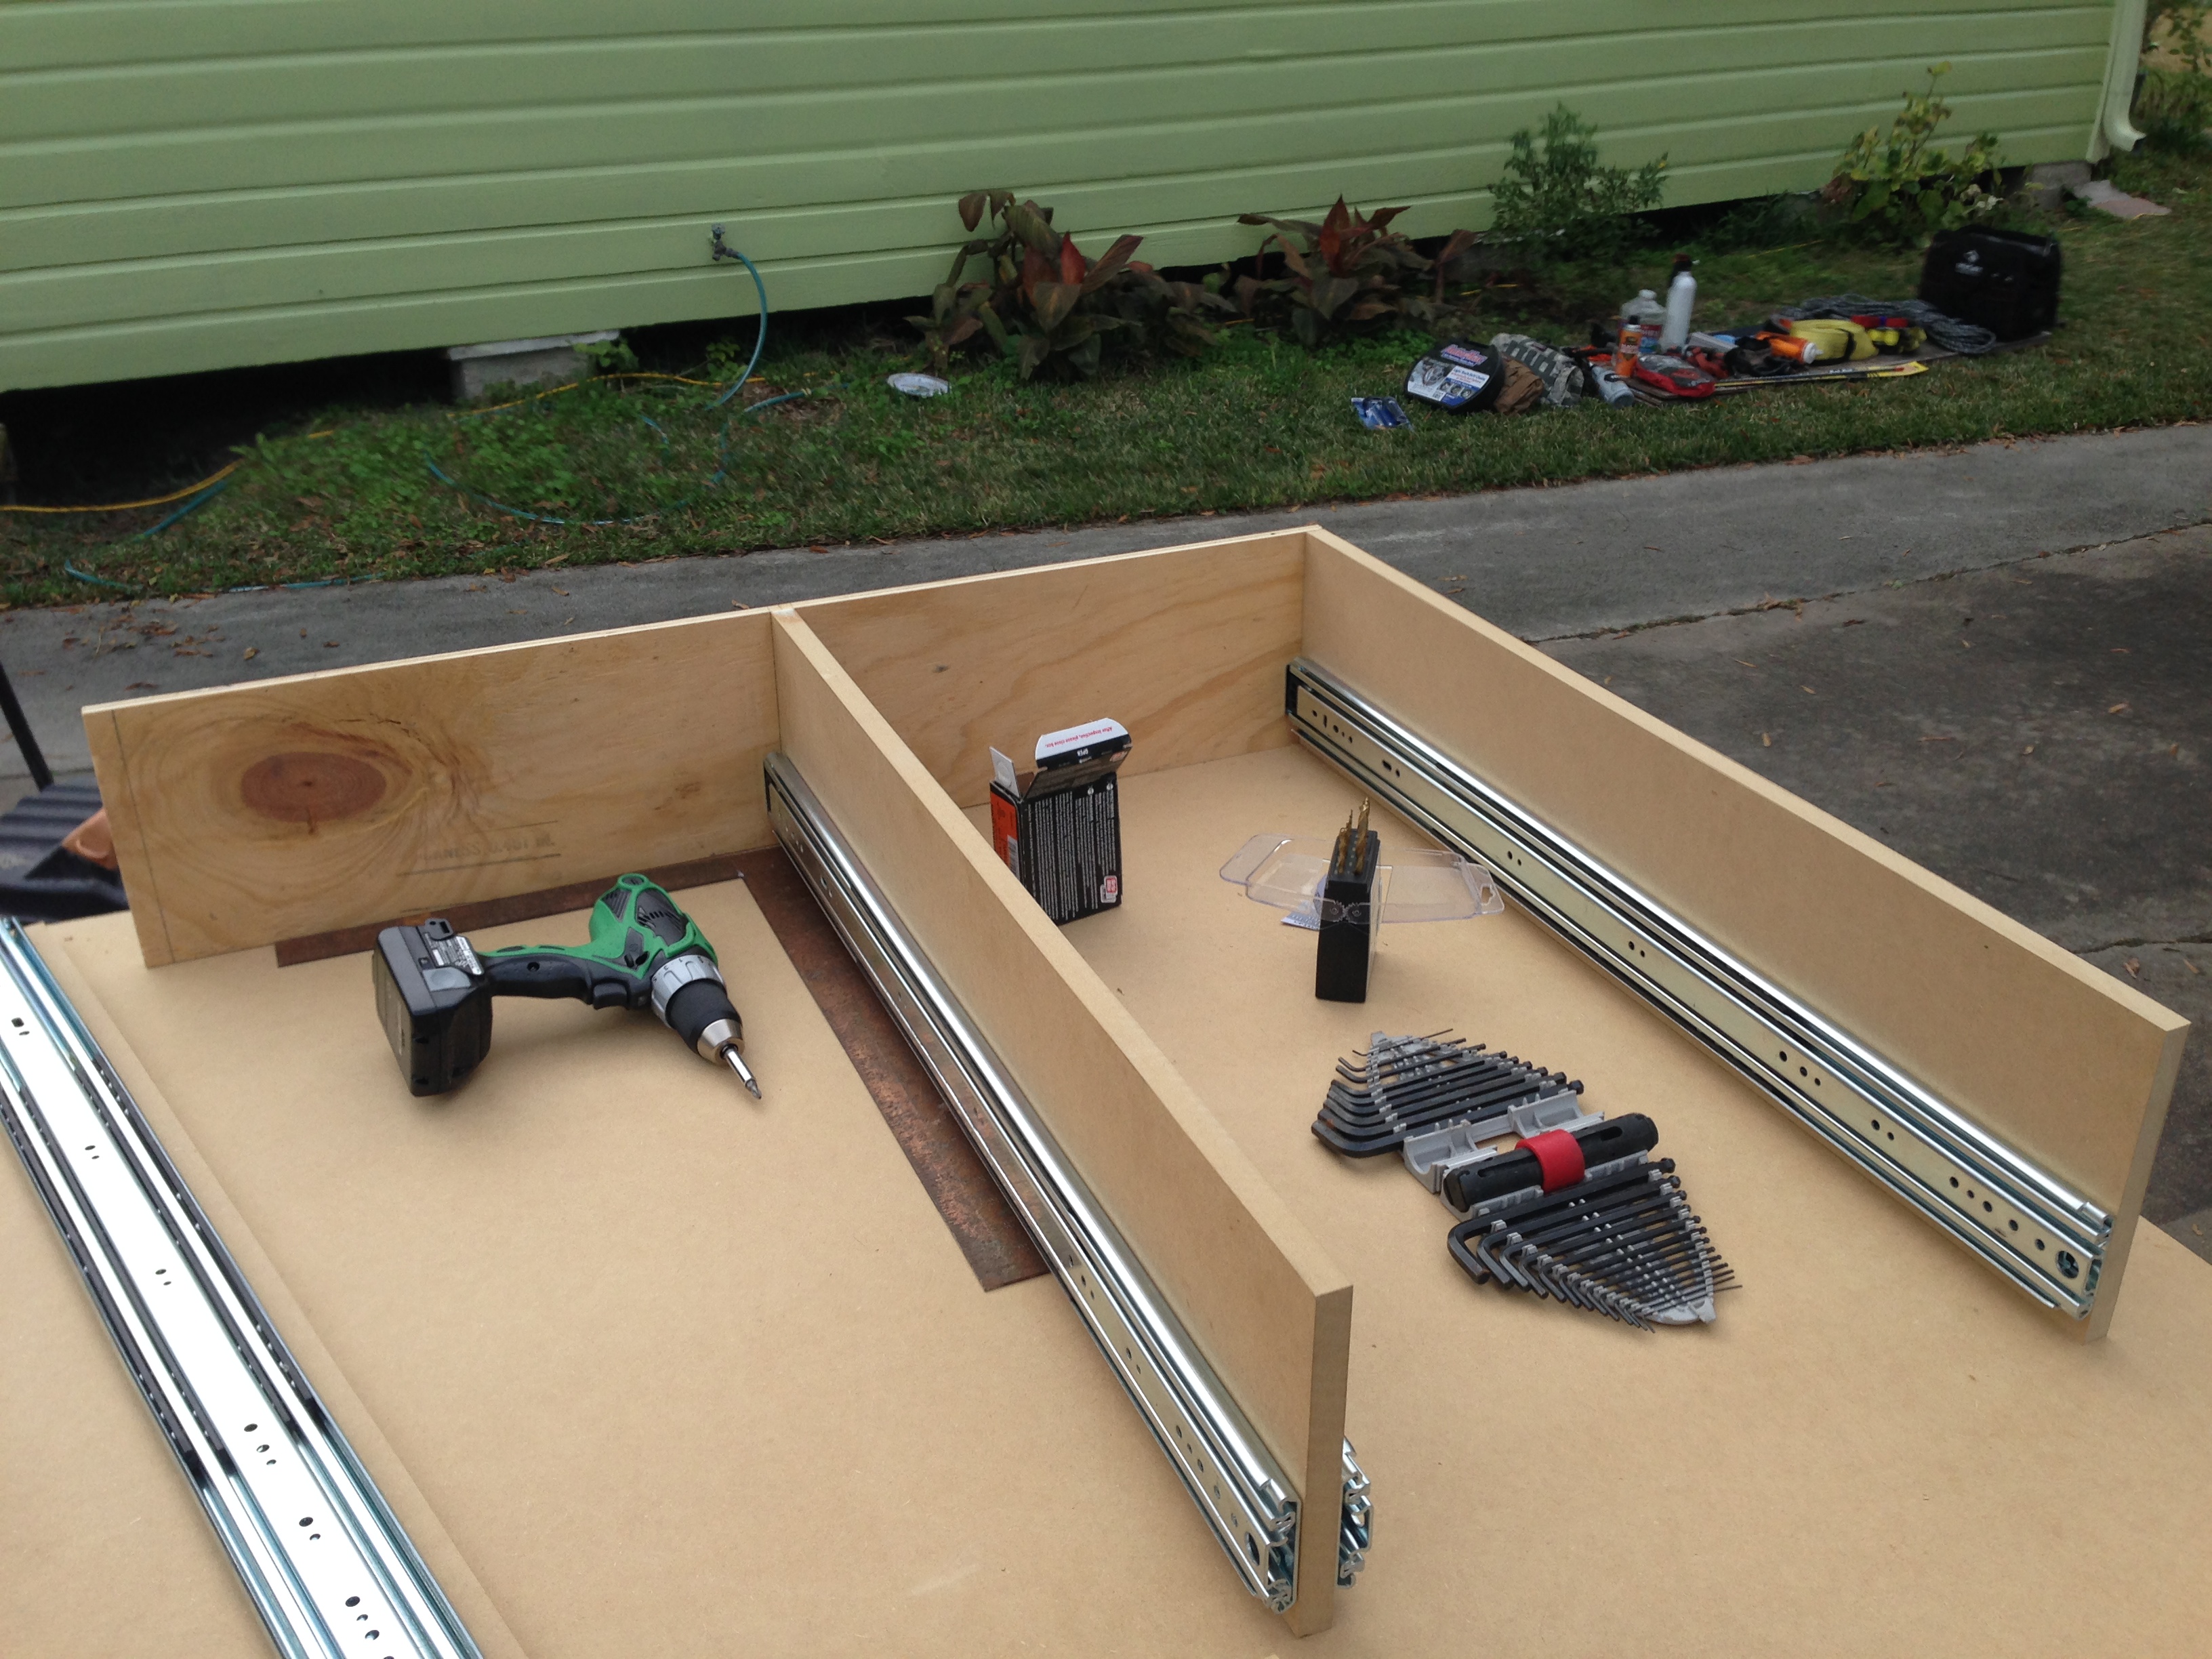
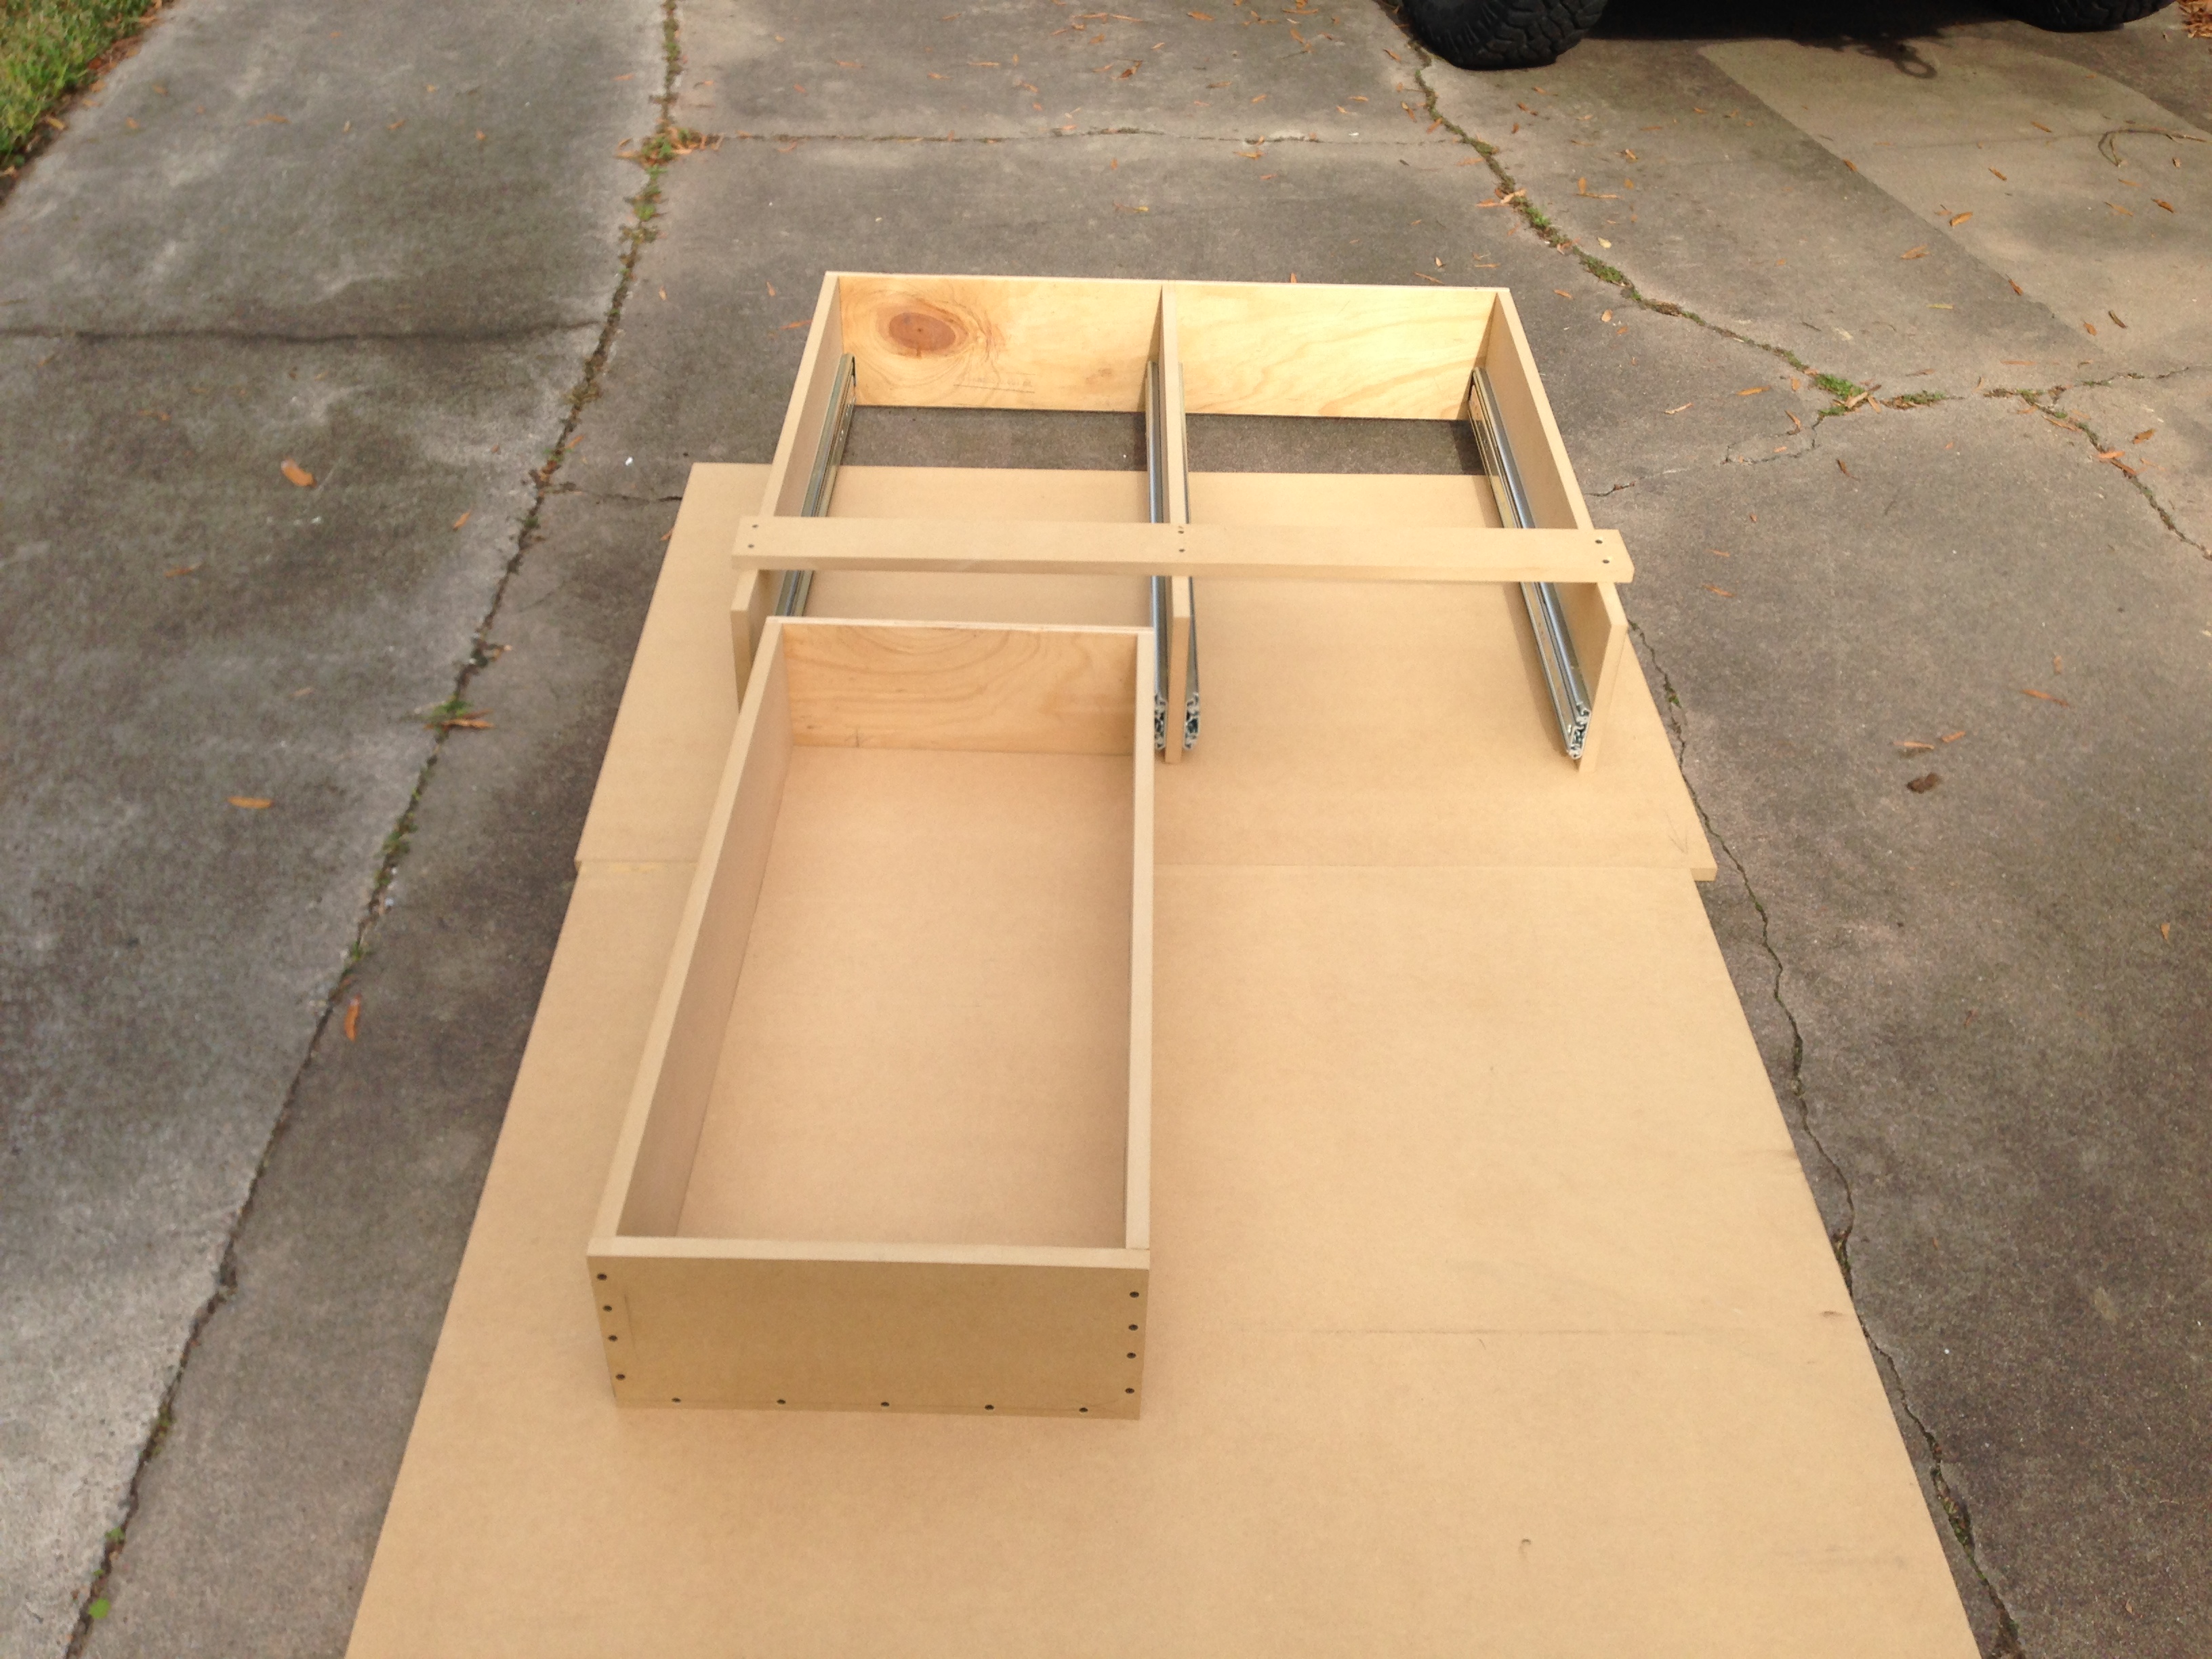
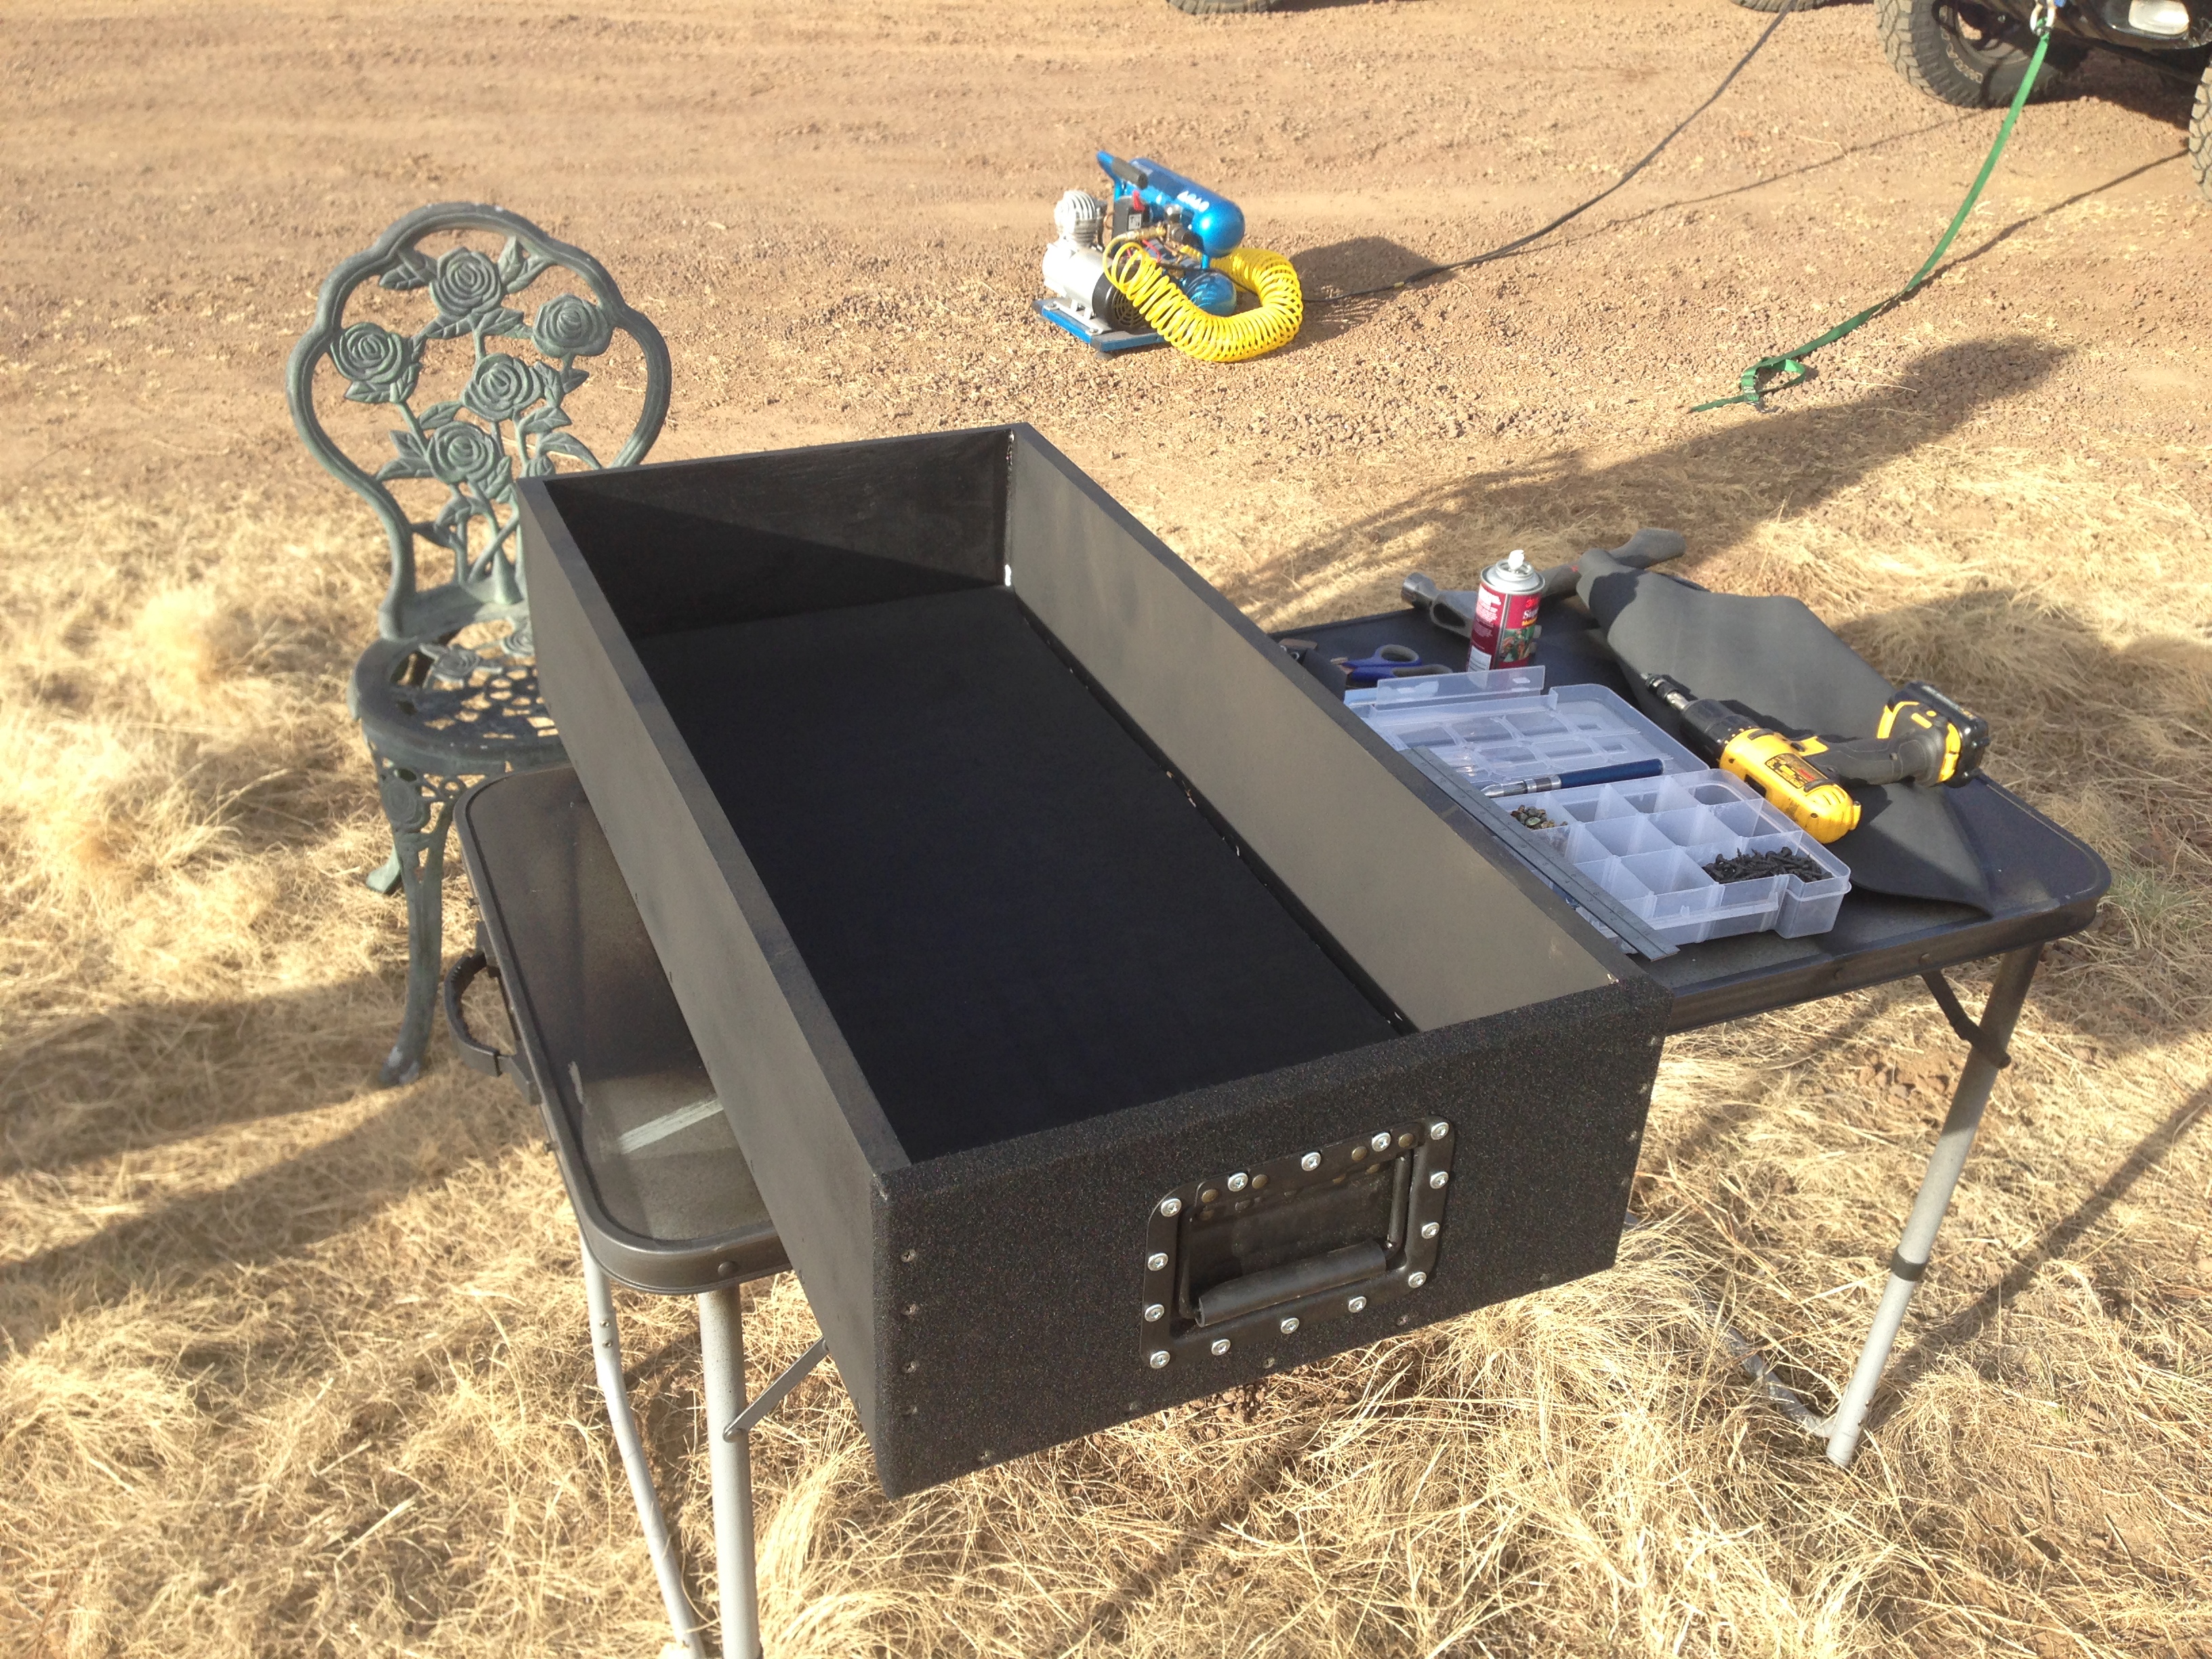
Once the “frame” was built, we began building the drawer boxes. I don’t have pics of the process, but the four sides were assembled, then the bottom was dropped in and screwed in, with screws about every 4-6″.

With the drawer boxes assembled, the frame was squared up and then a brace was added to keep everything lined up.
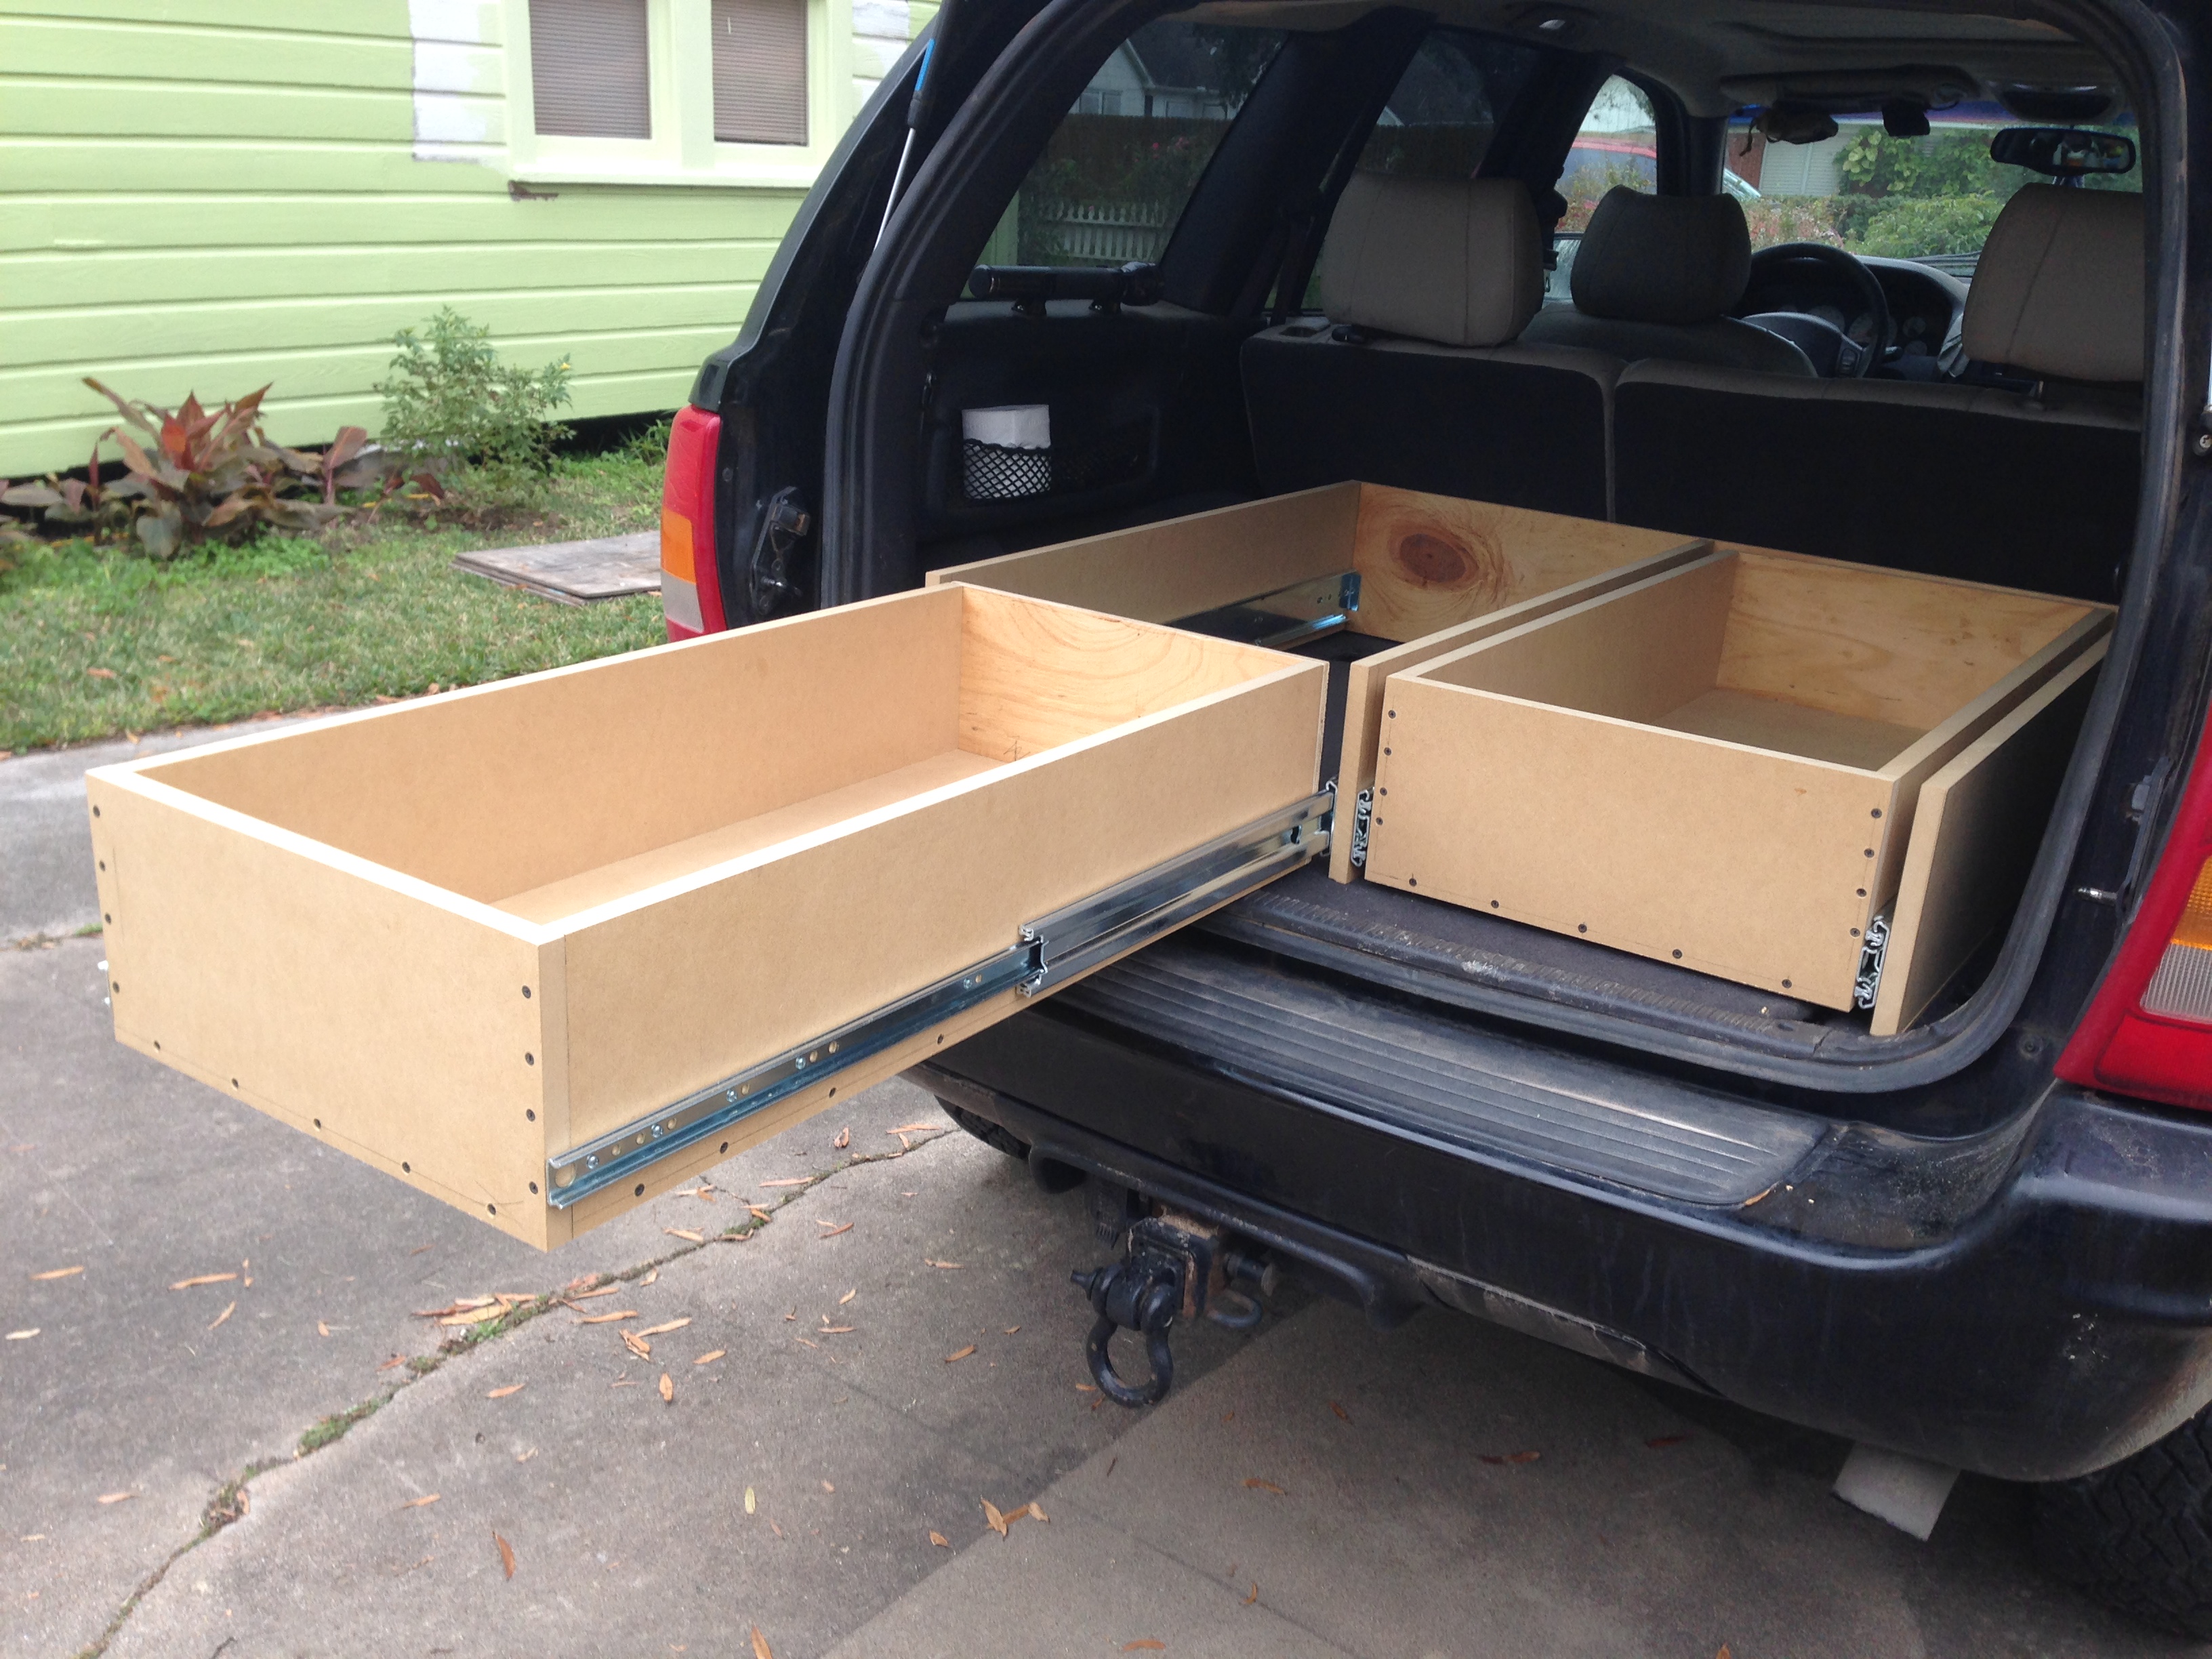
The drawers were spaced 1/16″ up from the bottom of the frame and the slides were mounted using 1/4″ long wood screws (pre-drilling not required here because it’s into the “flat plane” of the material).

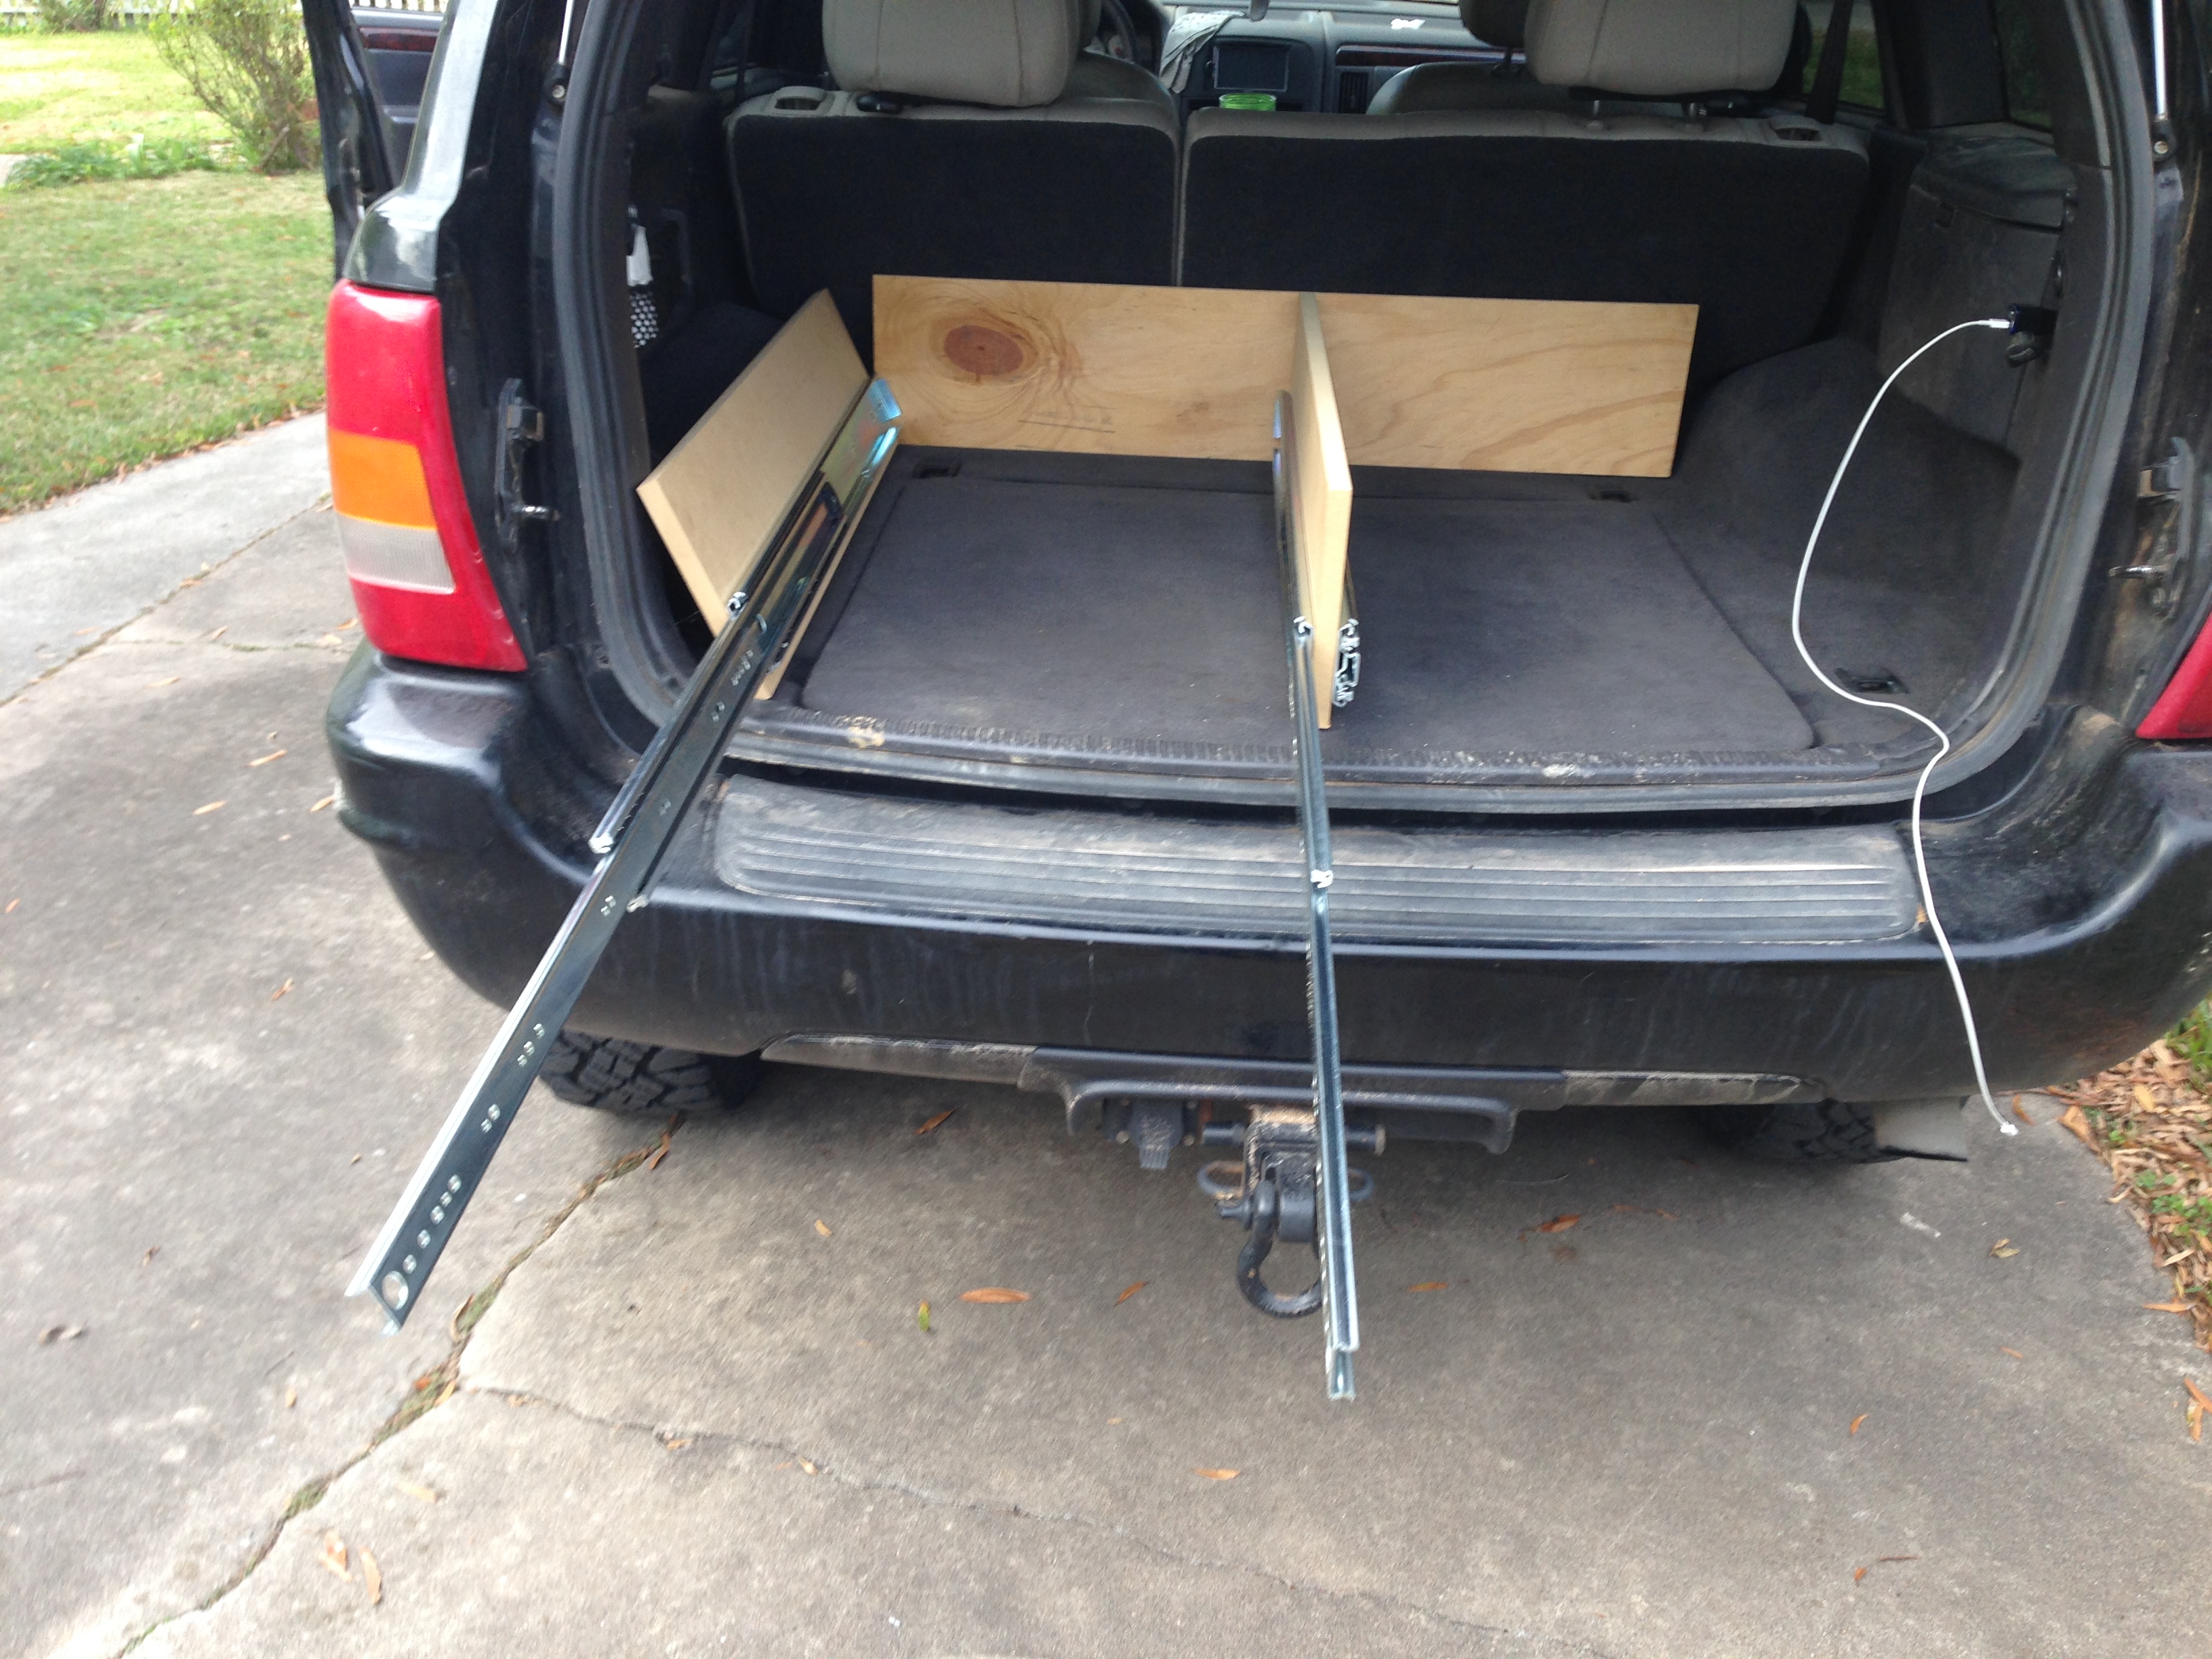
Test fit of drawer assembly.

The top, which I don’t have any good pics of, was just roughed in as a temporary top to make the drive back to AZ, but I ended up using it after all.


The drawer faces were cut out for the pull handles using a chisel and hammer. PROTIP: If you go this route, use the chisel upside down. It’ll keep the chisel from digging in too deep. BETTER PROTIP: Don’t go this route.


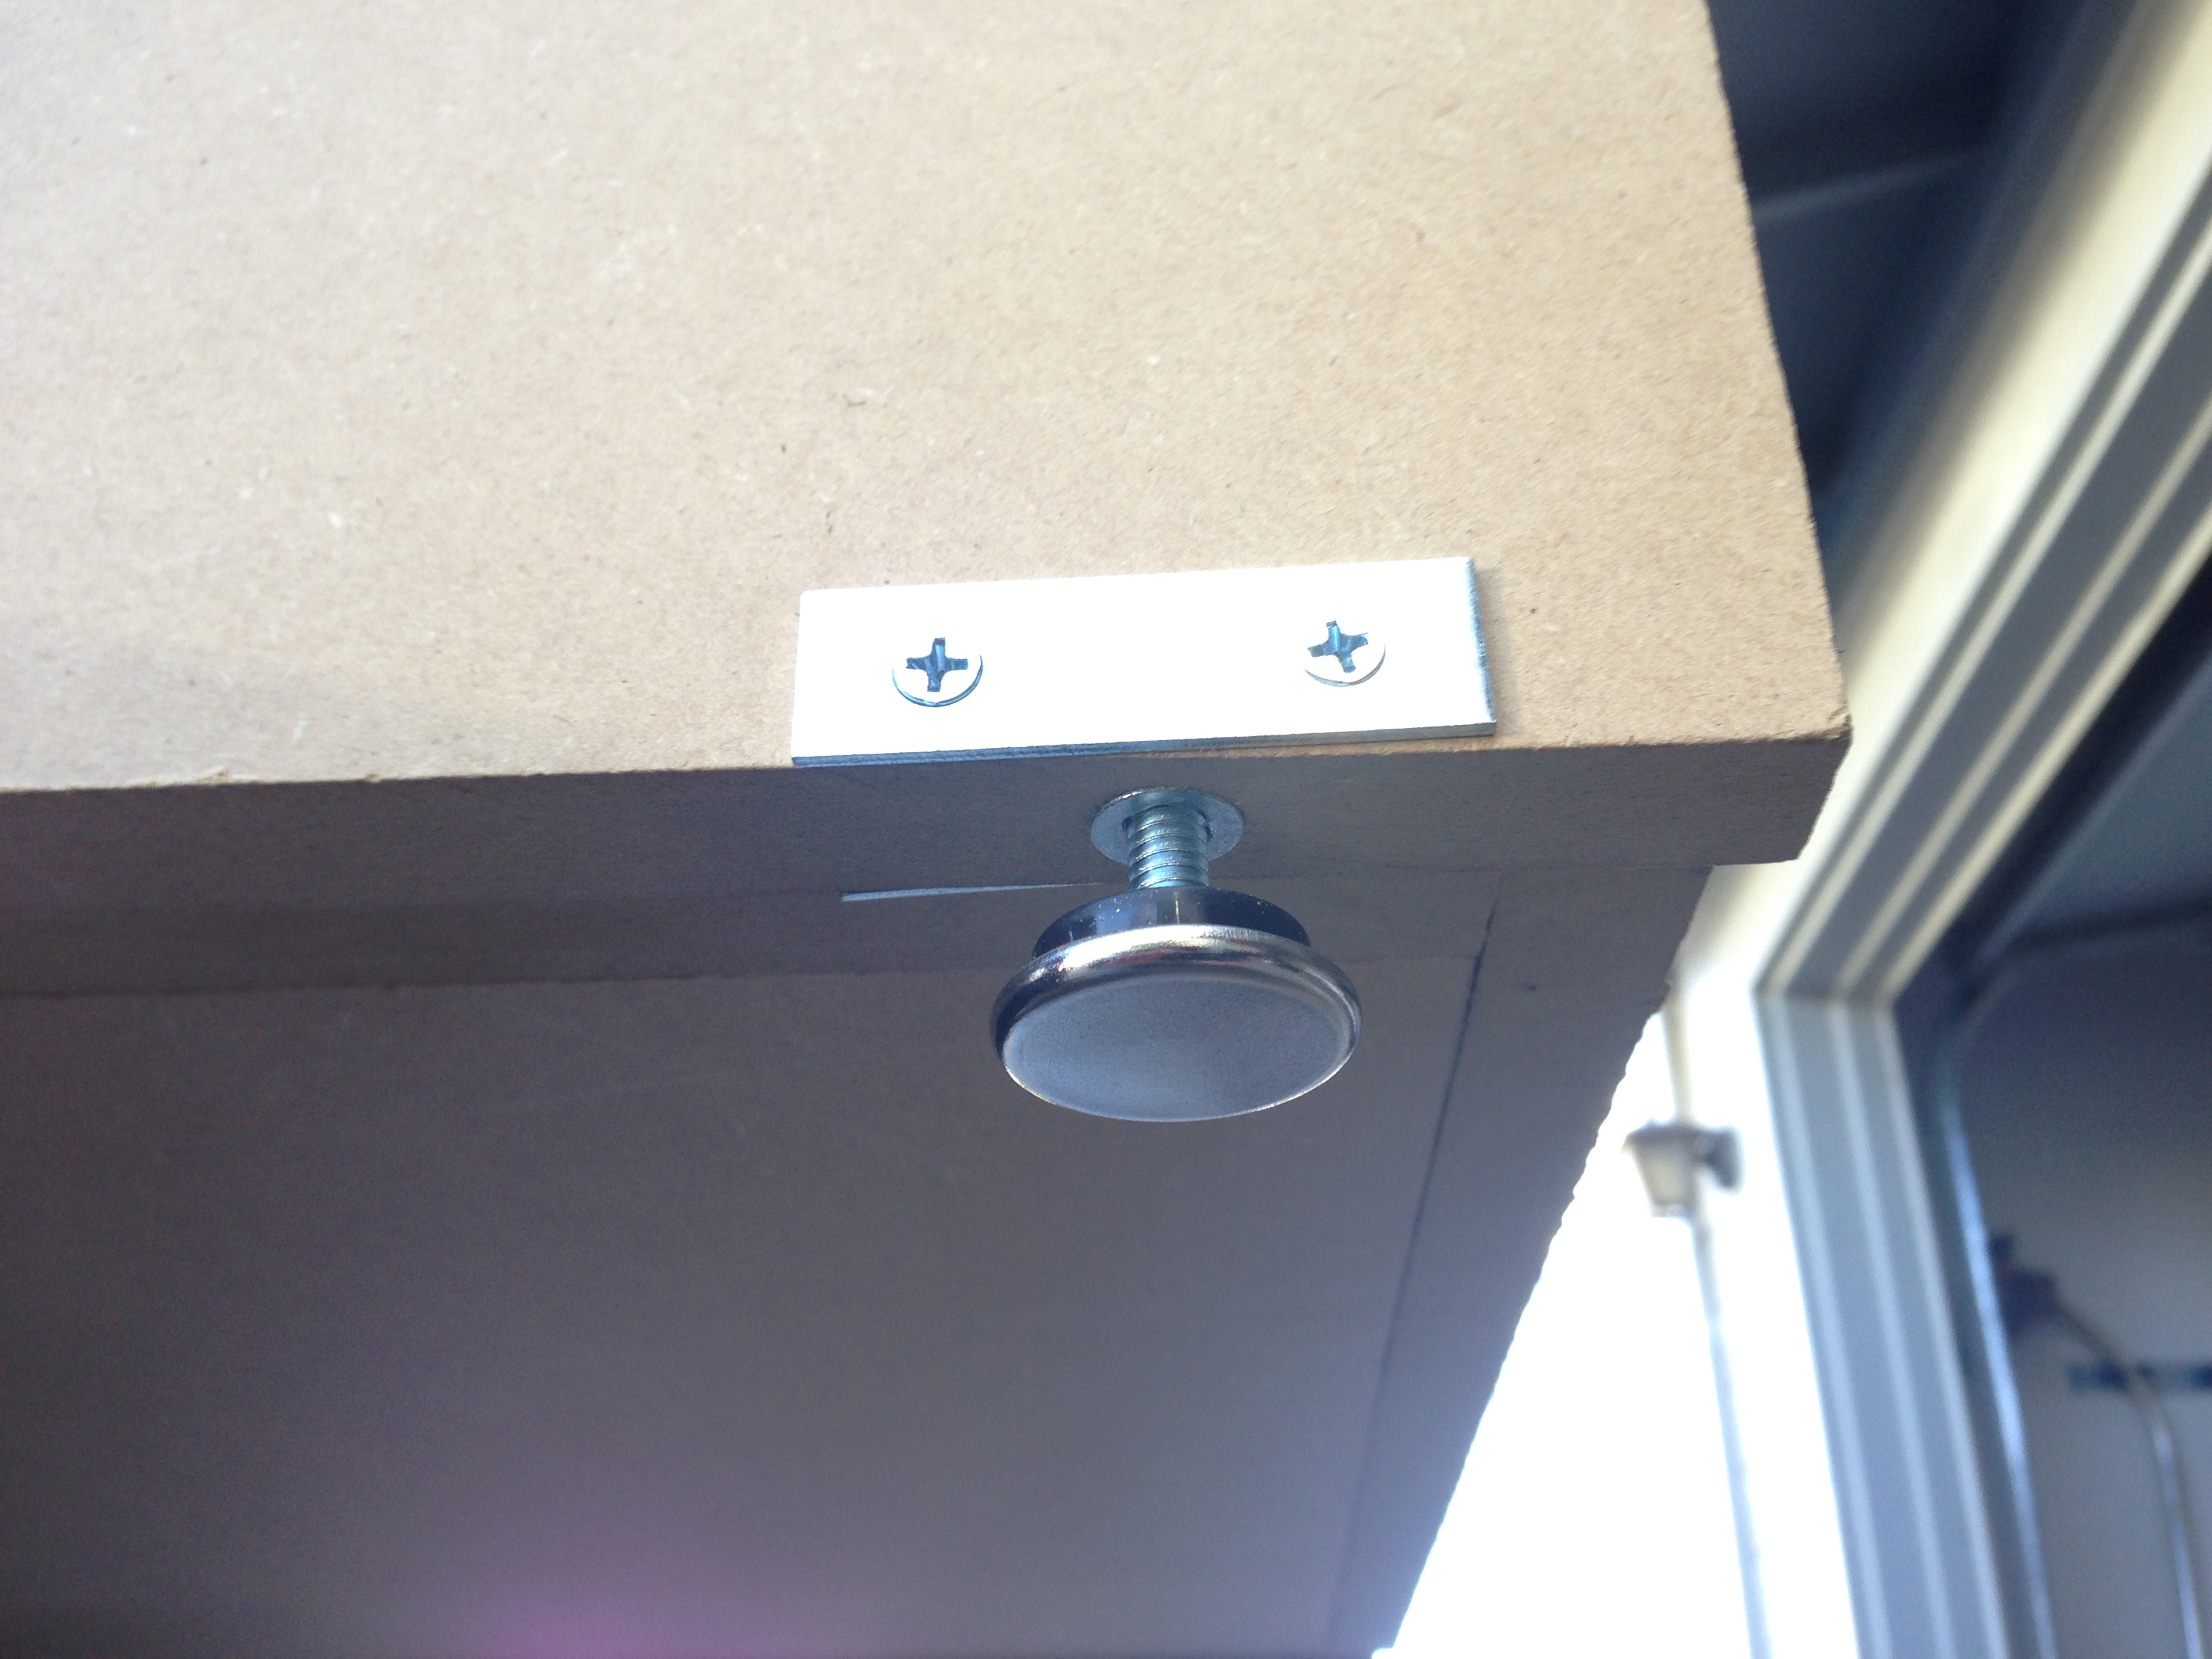
A few other odds and ends were installed in this phase, including the slide latches to prevent the drawers from opening unintentionally. I also added threaded feet to allow for height adjustment if necessary. I used a metal nutsert and added the metal brackets on the side to prevent the MDF from splitting over time. There are nine feet total. Three on each panel of the frame.
The entire assembly was removed from the Jeep and disassembled for waterproofing and paint.


Drawer faces wrapped in carpet and reinstalled. I pulled the drawer face and wrapped the carpet around the face (between the panels), so that the carpet couldn’t slip off even if the glue lost adhesion over time.
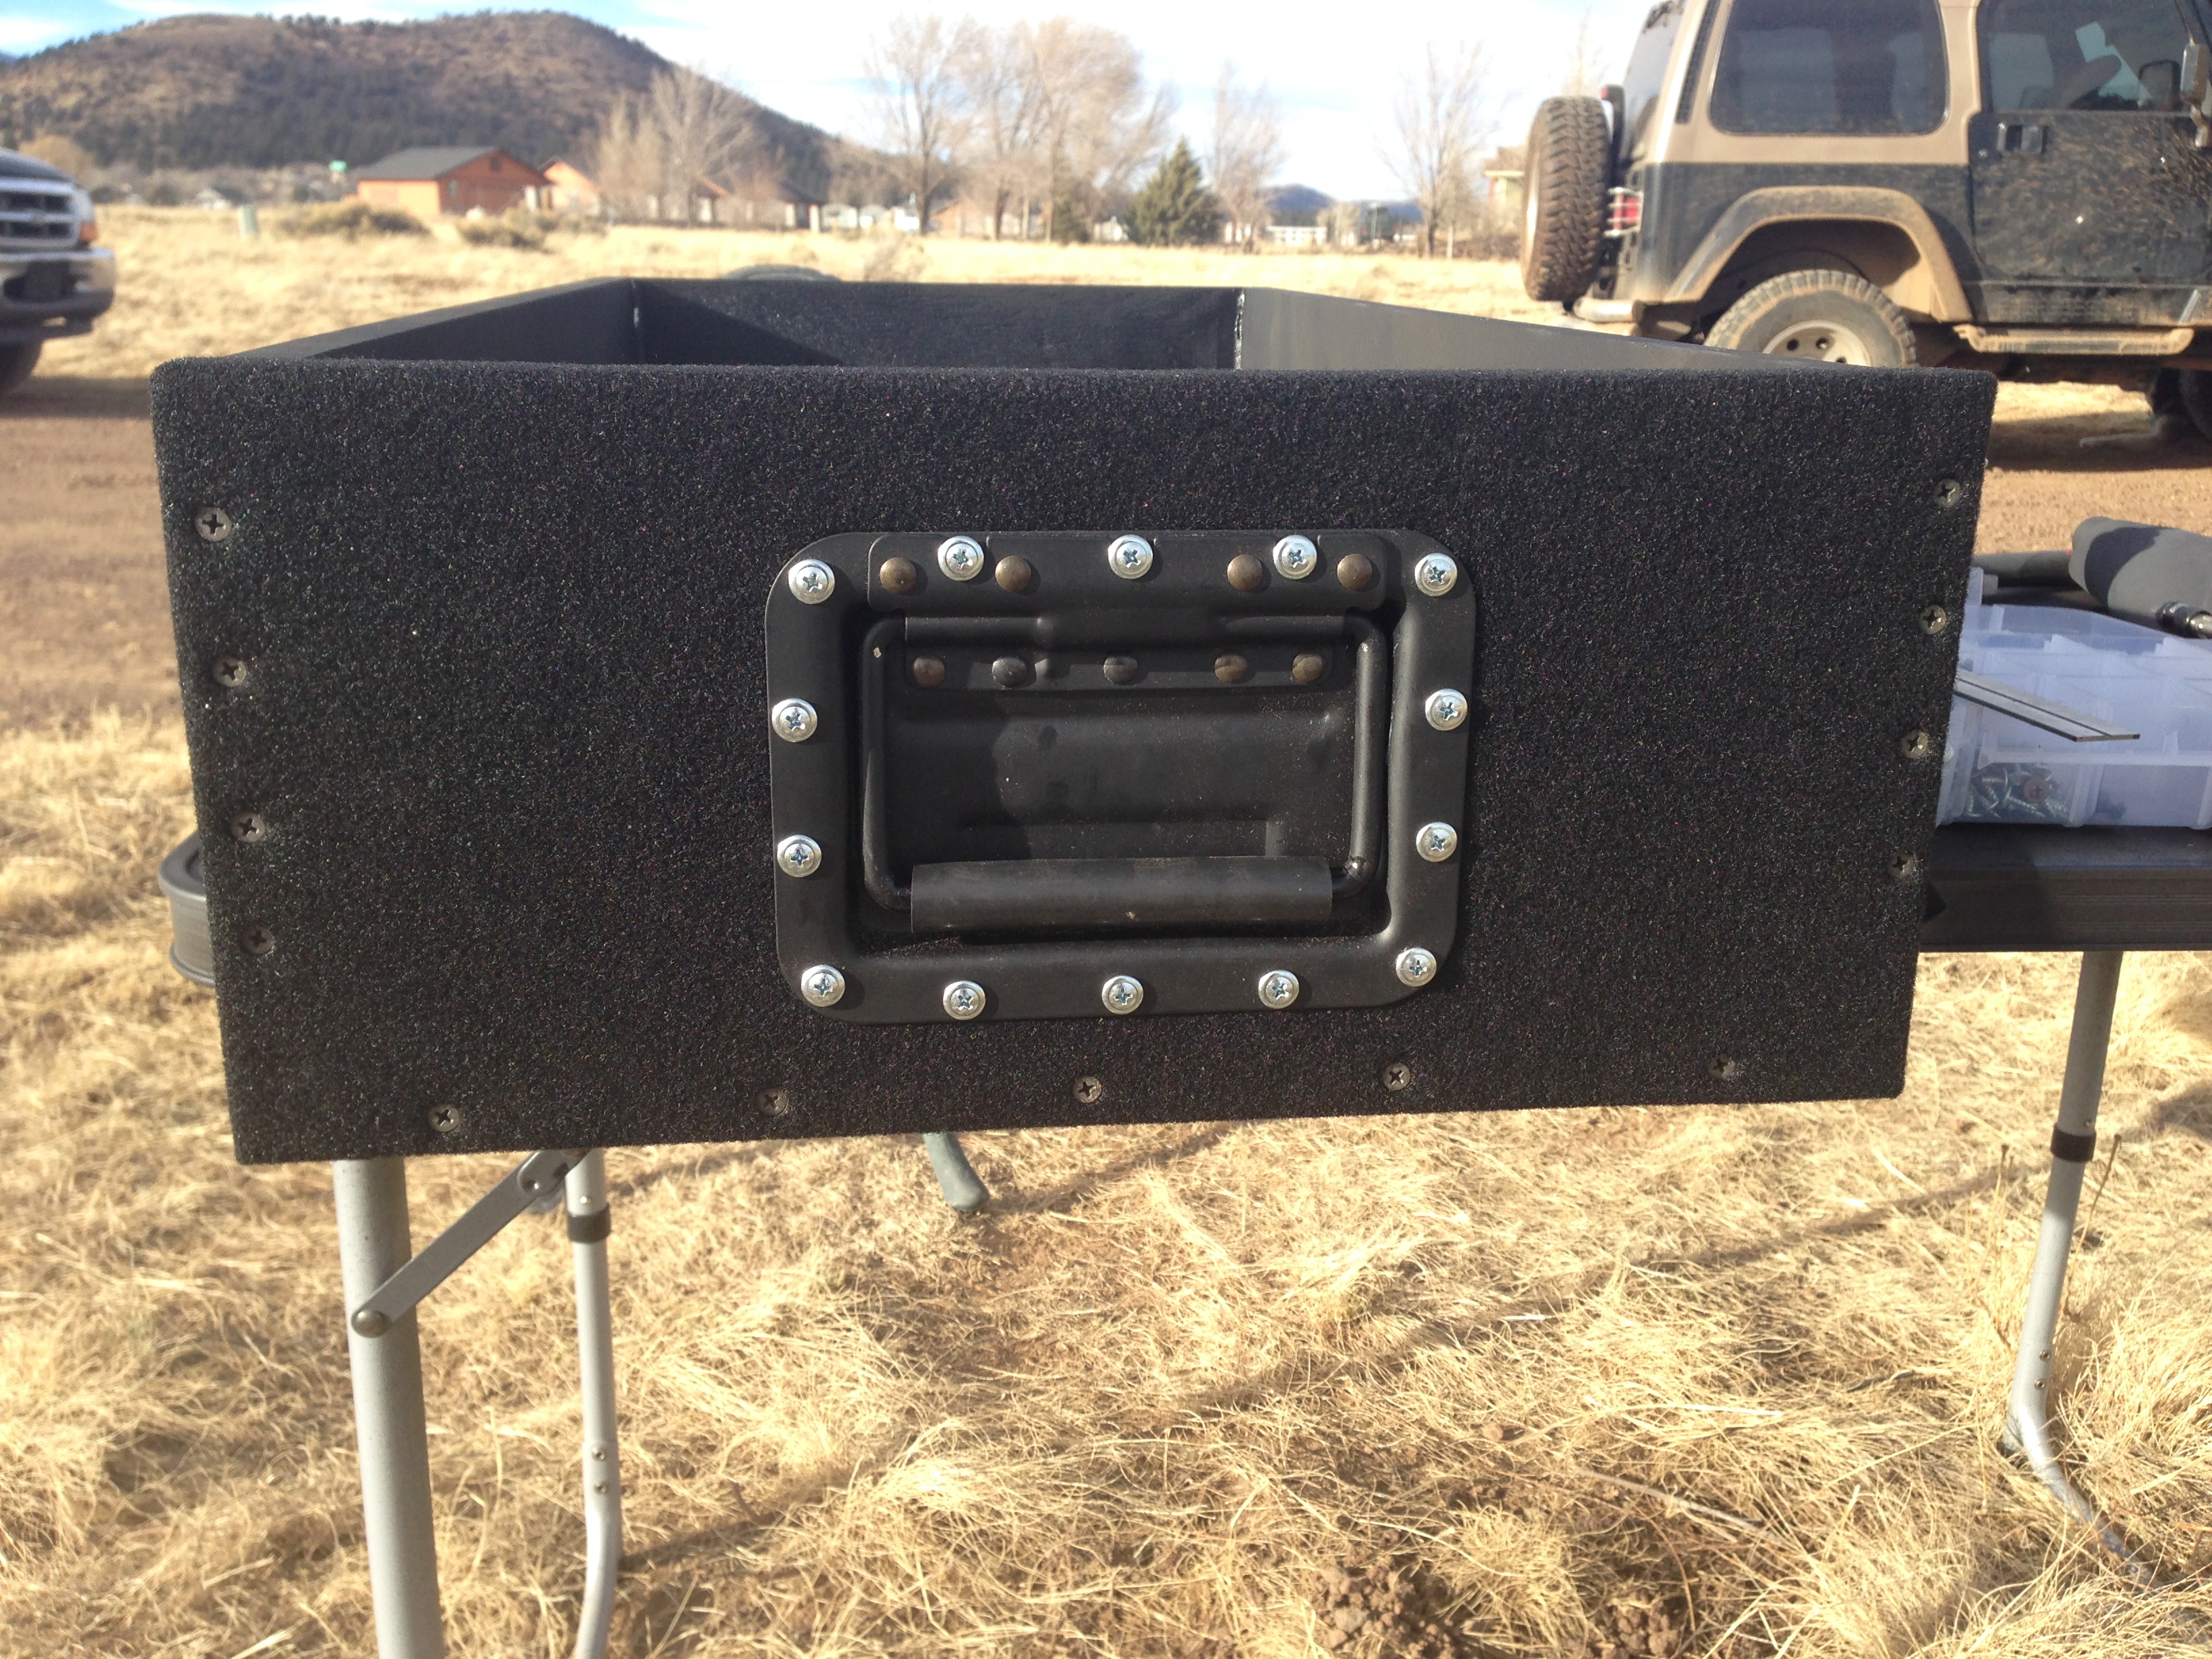
It’s hard to tell in the picture, but I also added a rubberized mat to the bottom of the drawers to prevent any spills from leaking into the MDF.
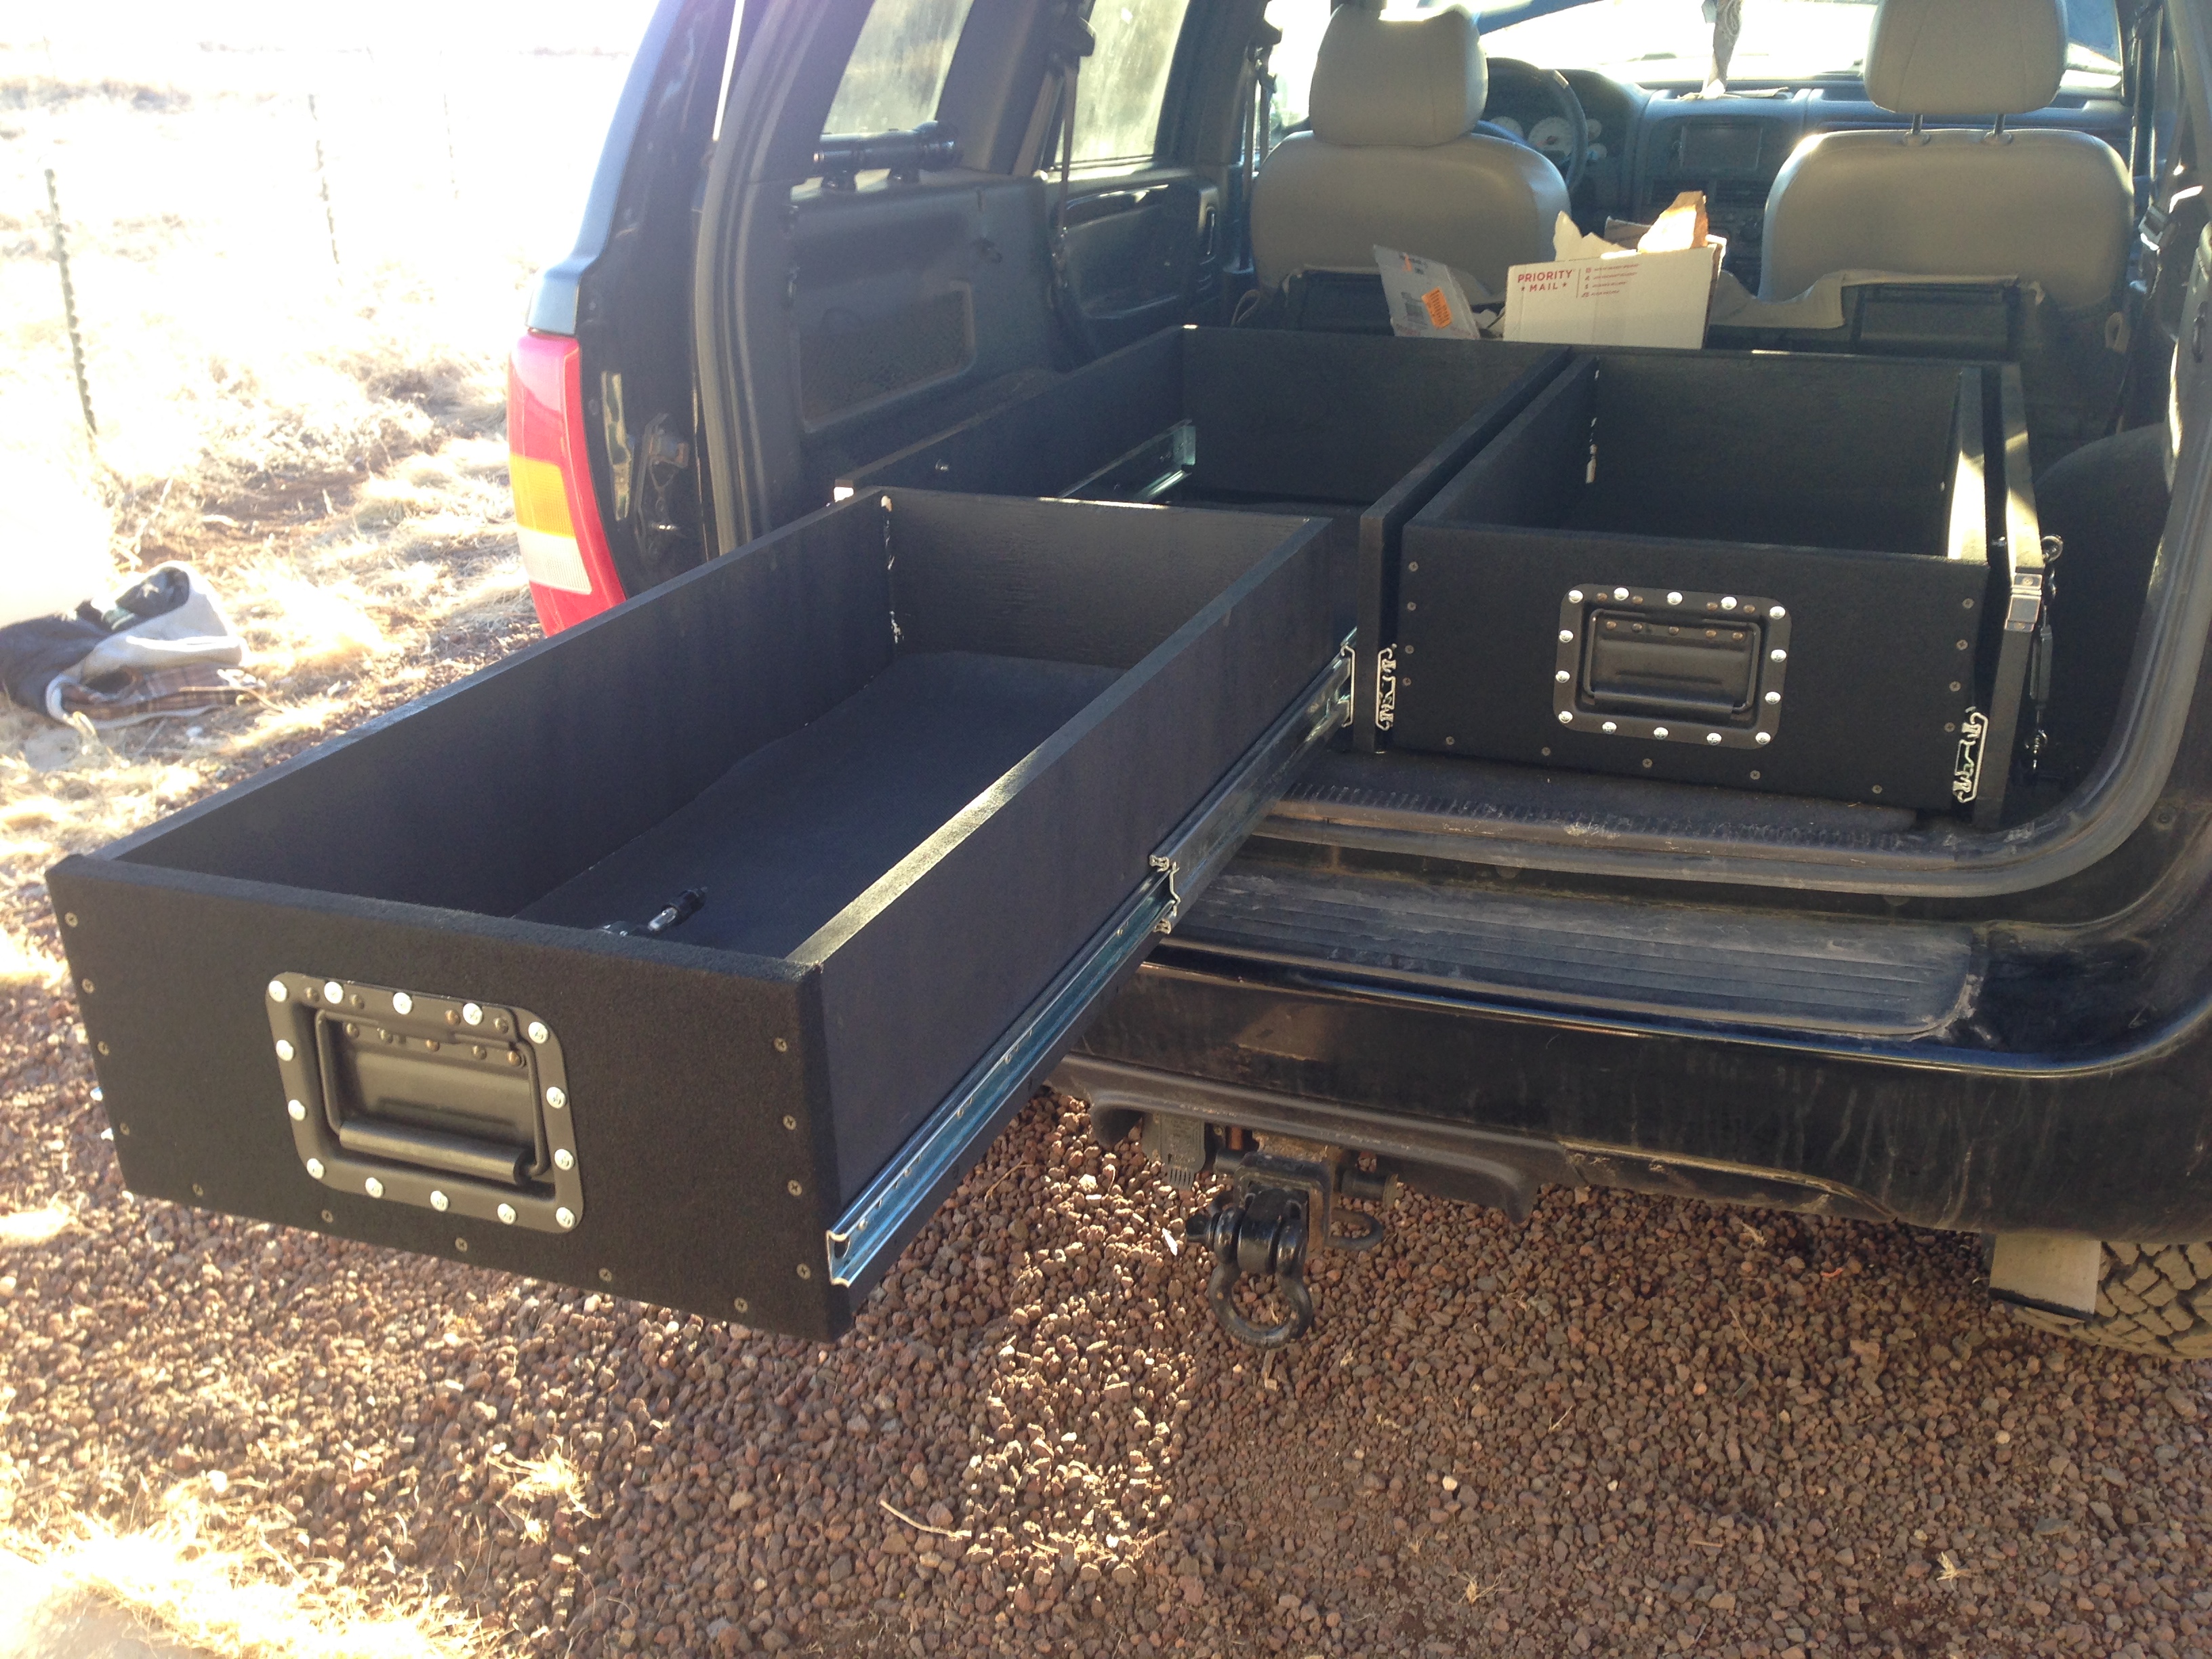
Drawerset reassembled and reinstalled
Wrapped the top in carpet and then reinstalled it.


The whole assembly is mounted to the factory tie downs at the face of the drawers with two turnbuckles and D-Rings. At the back of the drawers, the drawerset is mounted using two L-Brackets.
Below are some ROUGH dimensions for the drawerset. I took these measurements in about five minutes at the end of a lunch break one day, and cannot be held responsible for their accuracy. I highly recommend you take your own measurements for your rig. Having said that, they’re probably pretty spot on. Probably.
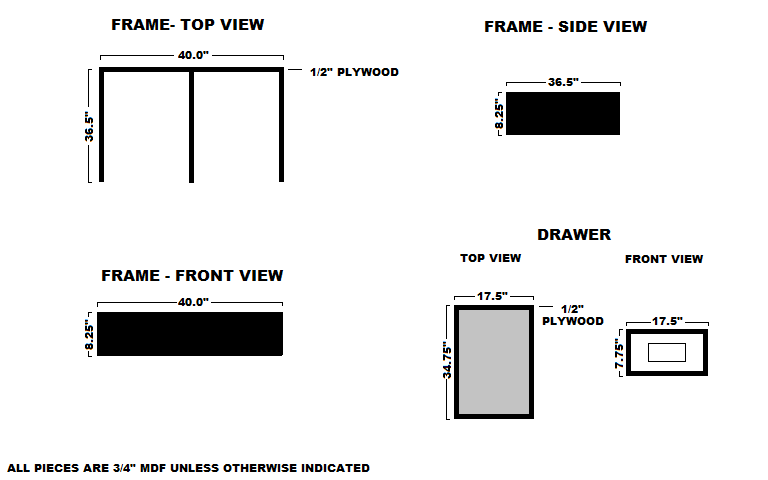
Here’s a PDF:
Materials:
2 4×8 sheets of MDF
1 4×4 sheet of 1/2″ plywood that I happened to have lying around
1 box of 100 1 1/2″ coarse thread drywall screws
2 pair KV 8900 series ball bearing drawer slides (500# rated). Found here on Amazon.
2 heavy duty handles. I used these, but the options are limitless)
2 heavy duty slide latches. Again, I got these from Amazon, but I am not happy with them, or at least the way I chose to mount them.
Literally all the rest of the stuff I used came from Home Depot, including the nutserts, and the adjustable feet. There are a lot of options for those things, so you’re better off figuring it out on your own.
Oh, and one more thing… I used stainless steel hardware and fasteners everywhere that I could. It looks awesome and it’s resistant to all the elements I drag my rig through. I recommend picking up this practice whenever it’s practical. (Stainless hardware cannot be used in every application. DO YOUR RESEARCH!)
