One of the tenets of off-roading is that lowering the air pressure inside the tires allows us greater traction on the trail. This is true. To that end, we’ll talk a little bit about what on board air is, what it’s used for, and how I’ve implemented it.
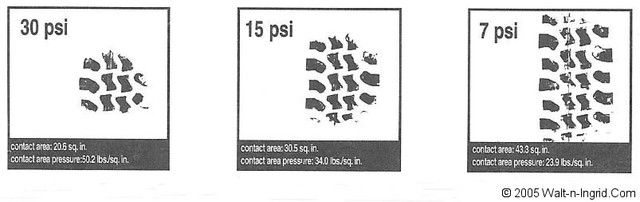
To get the tire pressure thing out of the way, when you let some air out of your tires (typically 30-50% for most of us), more of the tire makes contact with the ground. With lower and lower pressure, the larger this “contact patch” gets, and the more traction the tire is able to maintain. Here’s an illustration to illustrate my point:

There are plenty of tools out there to air down your tires, ranging from the keys in your pocket to screw on caps that are pre-adjusted to let the exact amount of air out of the tire.

The hard part is getting air back in the tires once you’re about to get back on the road to civilization. To do that, we need to bring an air compressor with us. There are other ways to air up, but a compressor is by far the most common (and usually the most dependable) method. If you’re interested, other devices are compressed air (or CO2) tanks (which can’t be refilled on the trail) filled to a couple thousand psi. Meh. Not interested.
Anyway, if you wheel, you’re eventually gonna get bigger tires. And bigger tires take longer to fill, so you need a bigger compressor, etc, etc, etc… I decided on a four gallon setup, dictated as much by the room I had available in my spare tire compartment as by the need for a lot of volume.
I had purchased the Puma self contained 12 volt compressor kit, with the intent of cutting it up when I was ready for the project. It’s been an awesome little kit all on its own, and I expect much more use out of all the parts now that they’re part of a bigger system. Here’s a link…
 This is the equivalent of a bar napkin drawing.
I decided to make a quick bracket to mount in the tire space until I do the tank tuck (more on that later). The quick bracket turned into a full tilt on board air system that will be able to run air tools, air actuated differential lockers, and of course quickly air up the tires on several vehicles.
The Puma came with two one gallon tanks, so I decided to follow suit with the other tanks I got.
- Two one gallon tanks from amazon, roughly the same size and shape as the ones I have already
- 25′ of air hose from hardware store
- A metric shit-ton of air fittings
- A 90-120psi pressure switch for when (not if) I forget to cut the system off. It’s from Brotech. How can you go wrong?
- A solenoid switch, to help manage the current draw the compressor pulls (this is experimental, in place of a relay pack, so we’ll see how it goes…)
- OTRATTW.net switches. Because I’m worth it.
- Additional electrical connectors ‘n things
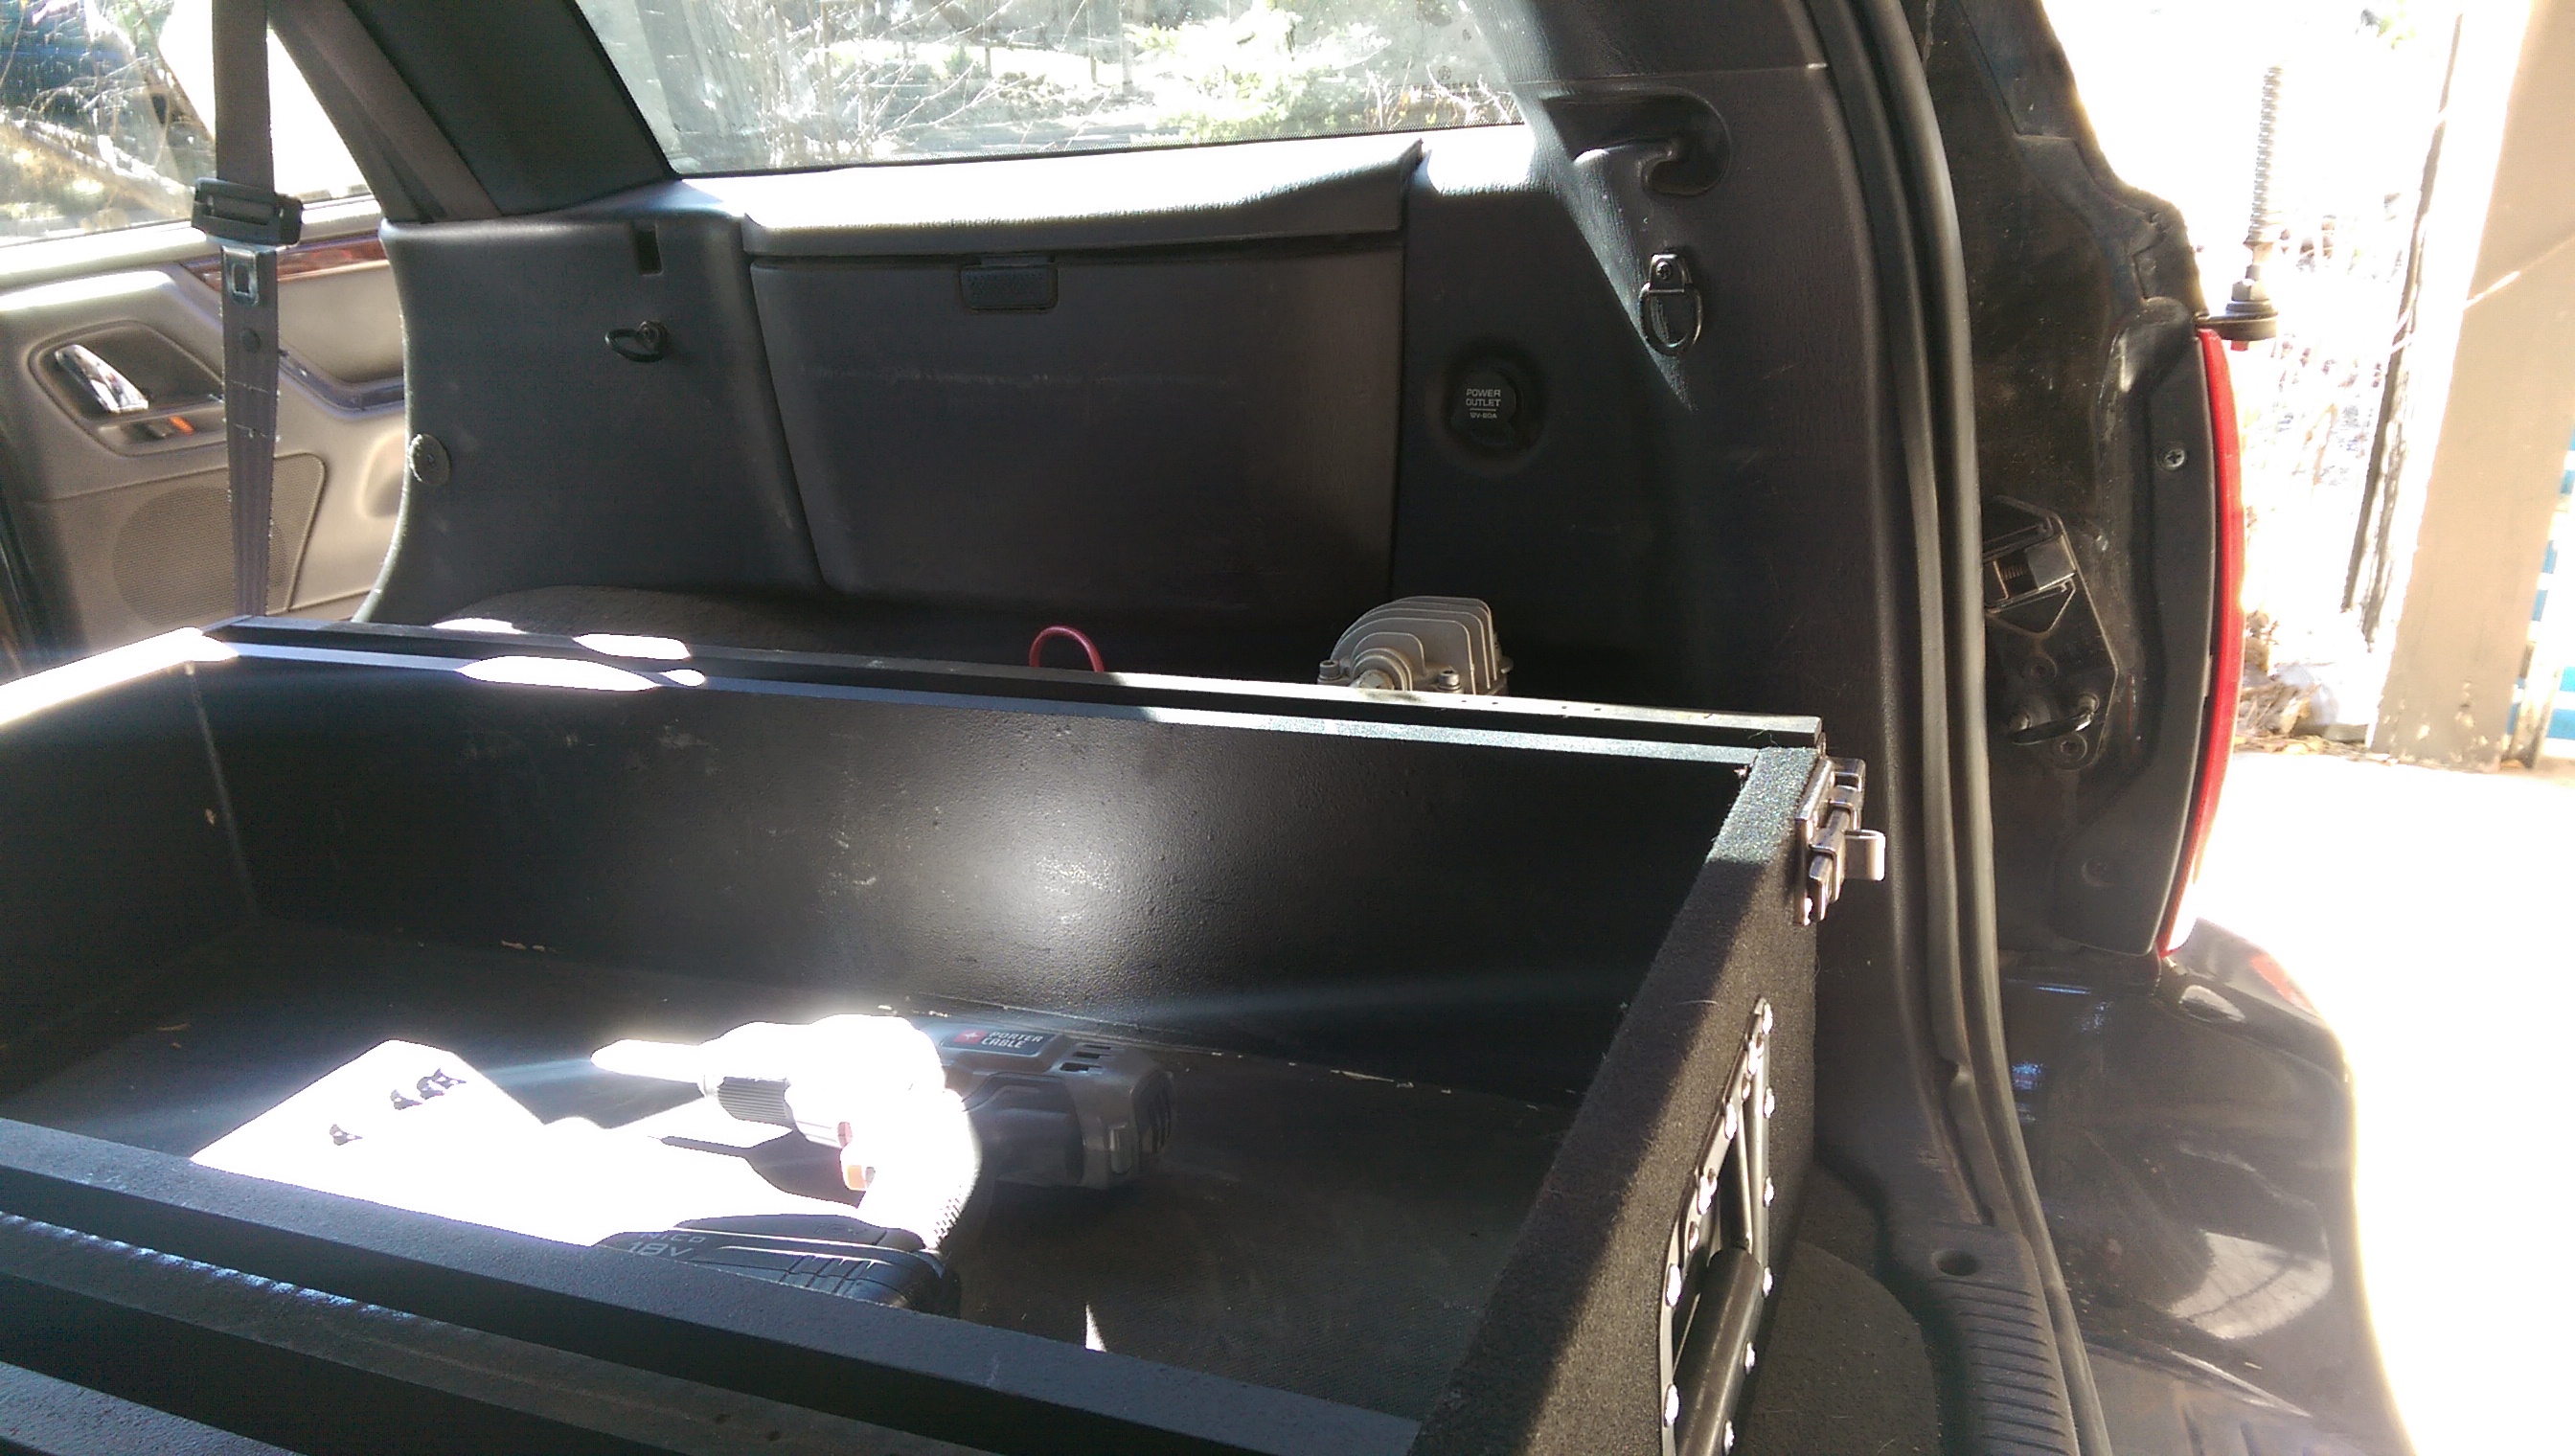
Since I’ve got those giant drawers in the back, space is actually at a premium, so I had to make sure there would be space for everything…
 It’s toight like a toigah!
Then the real work begins…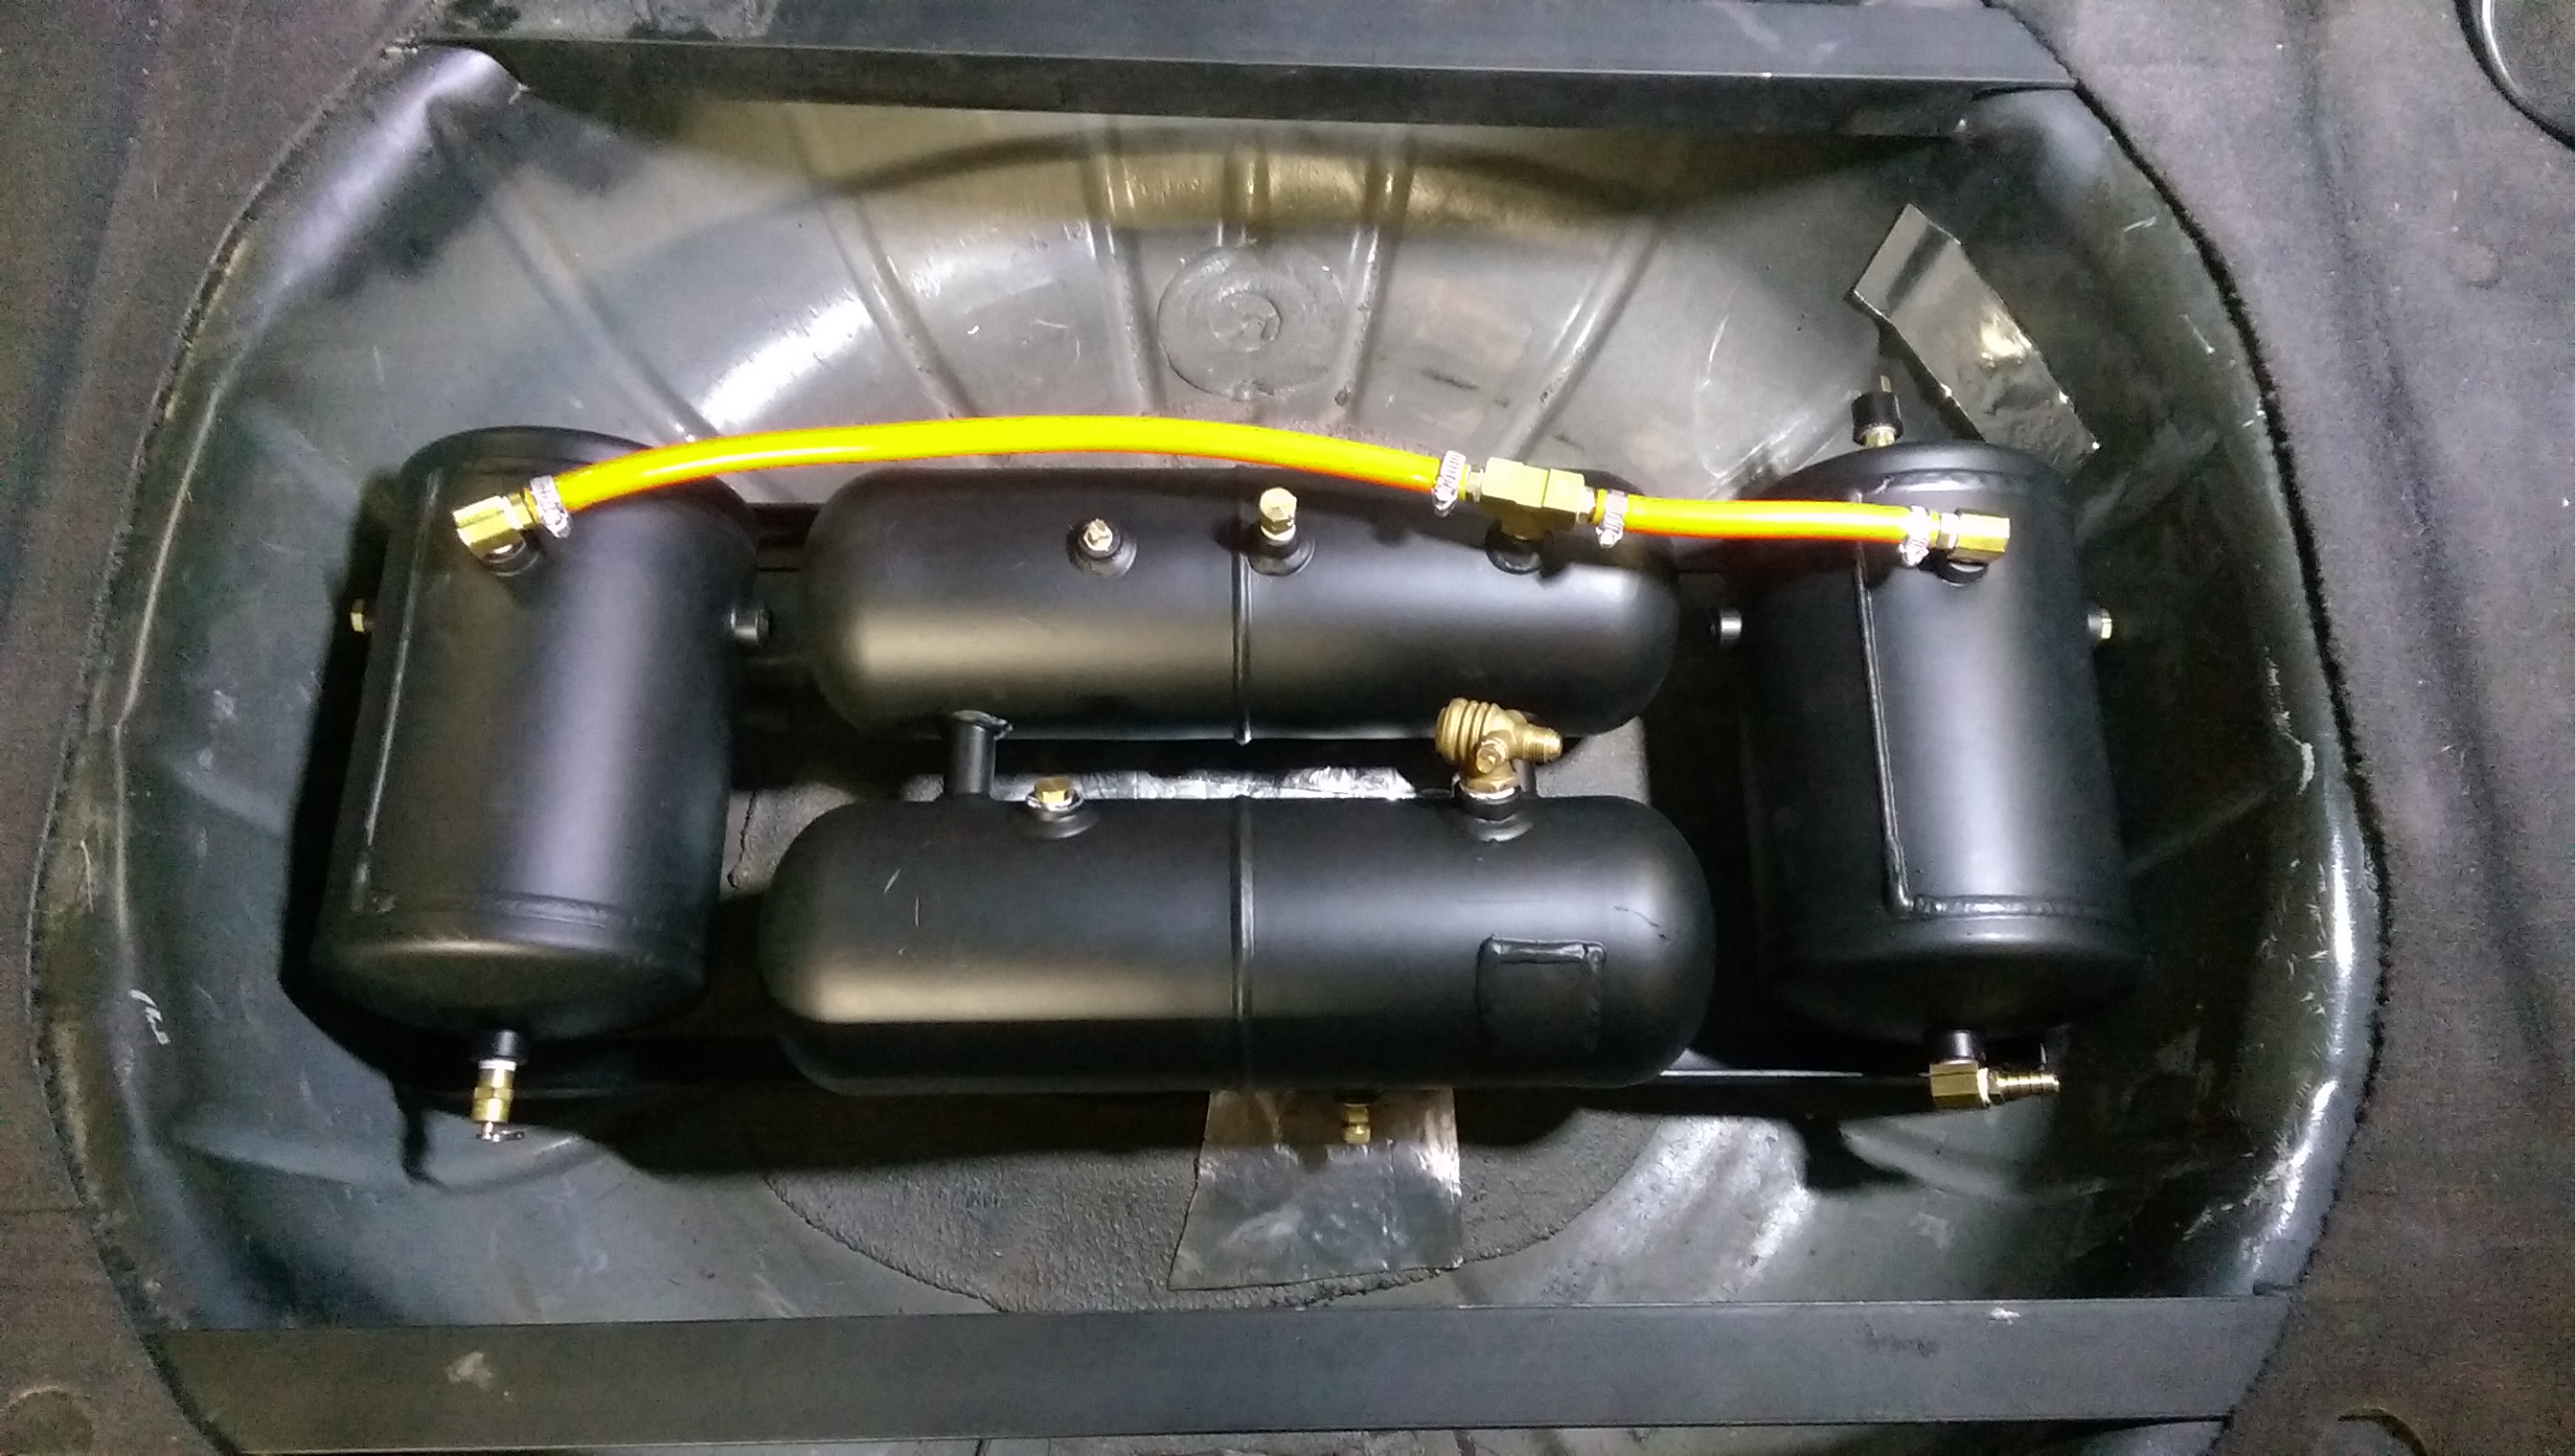
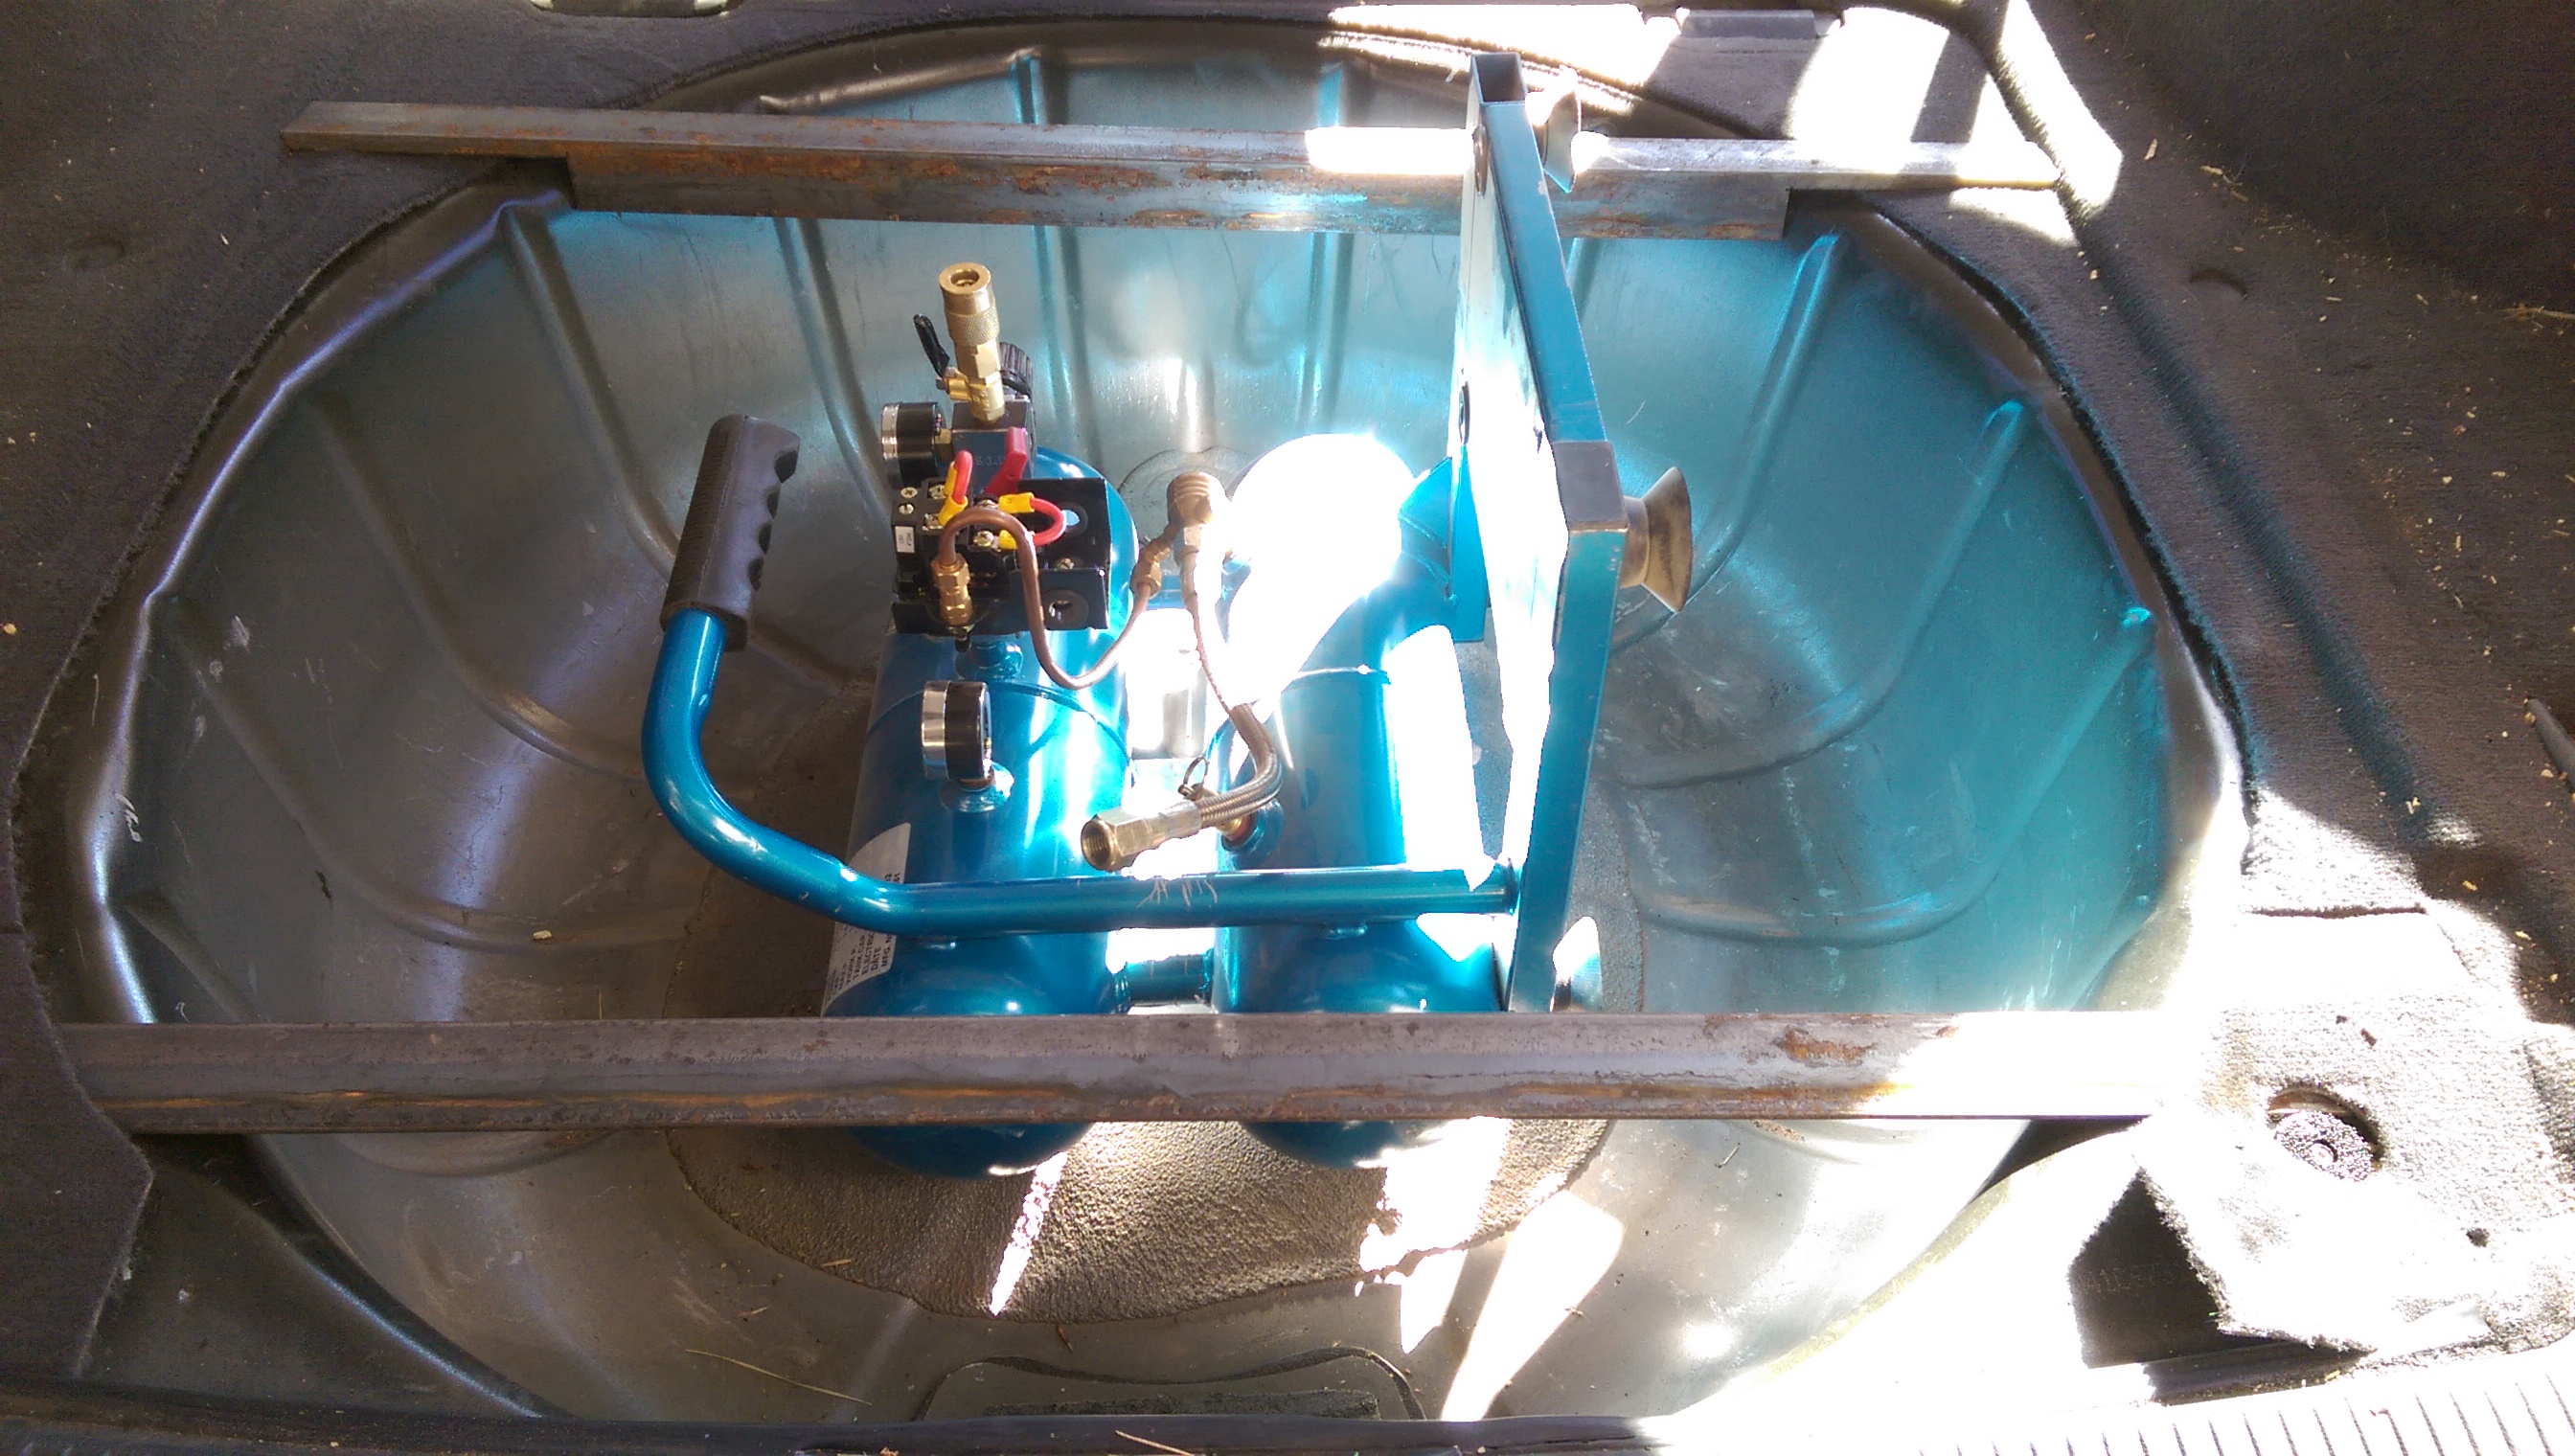
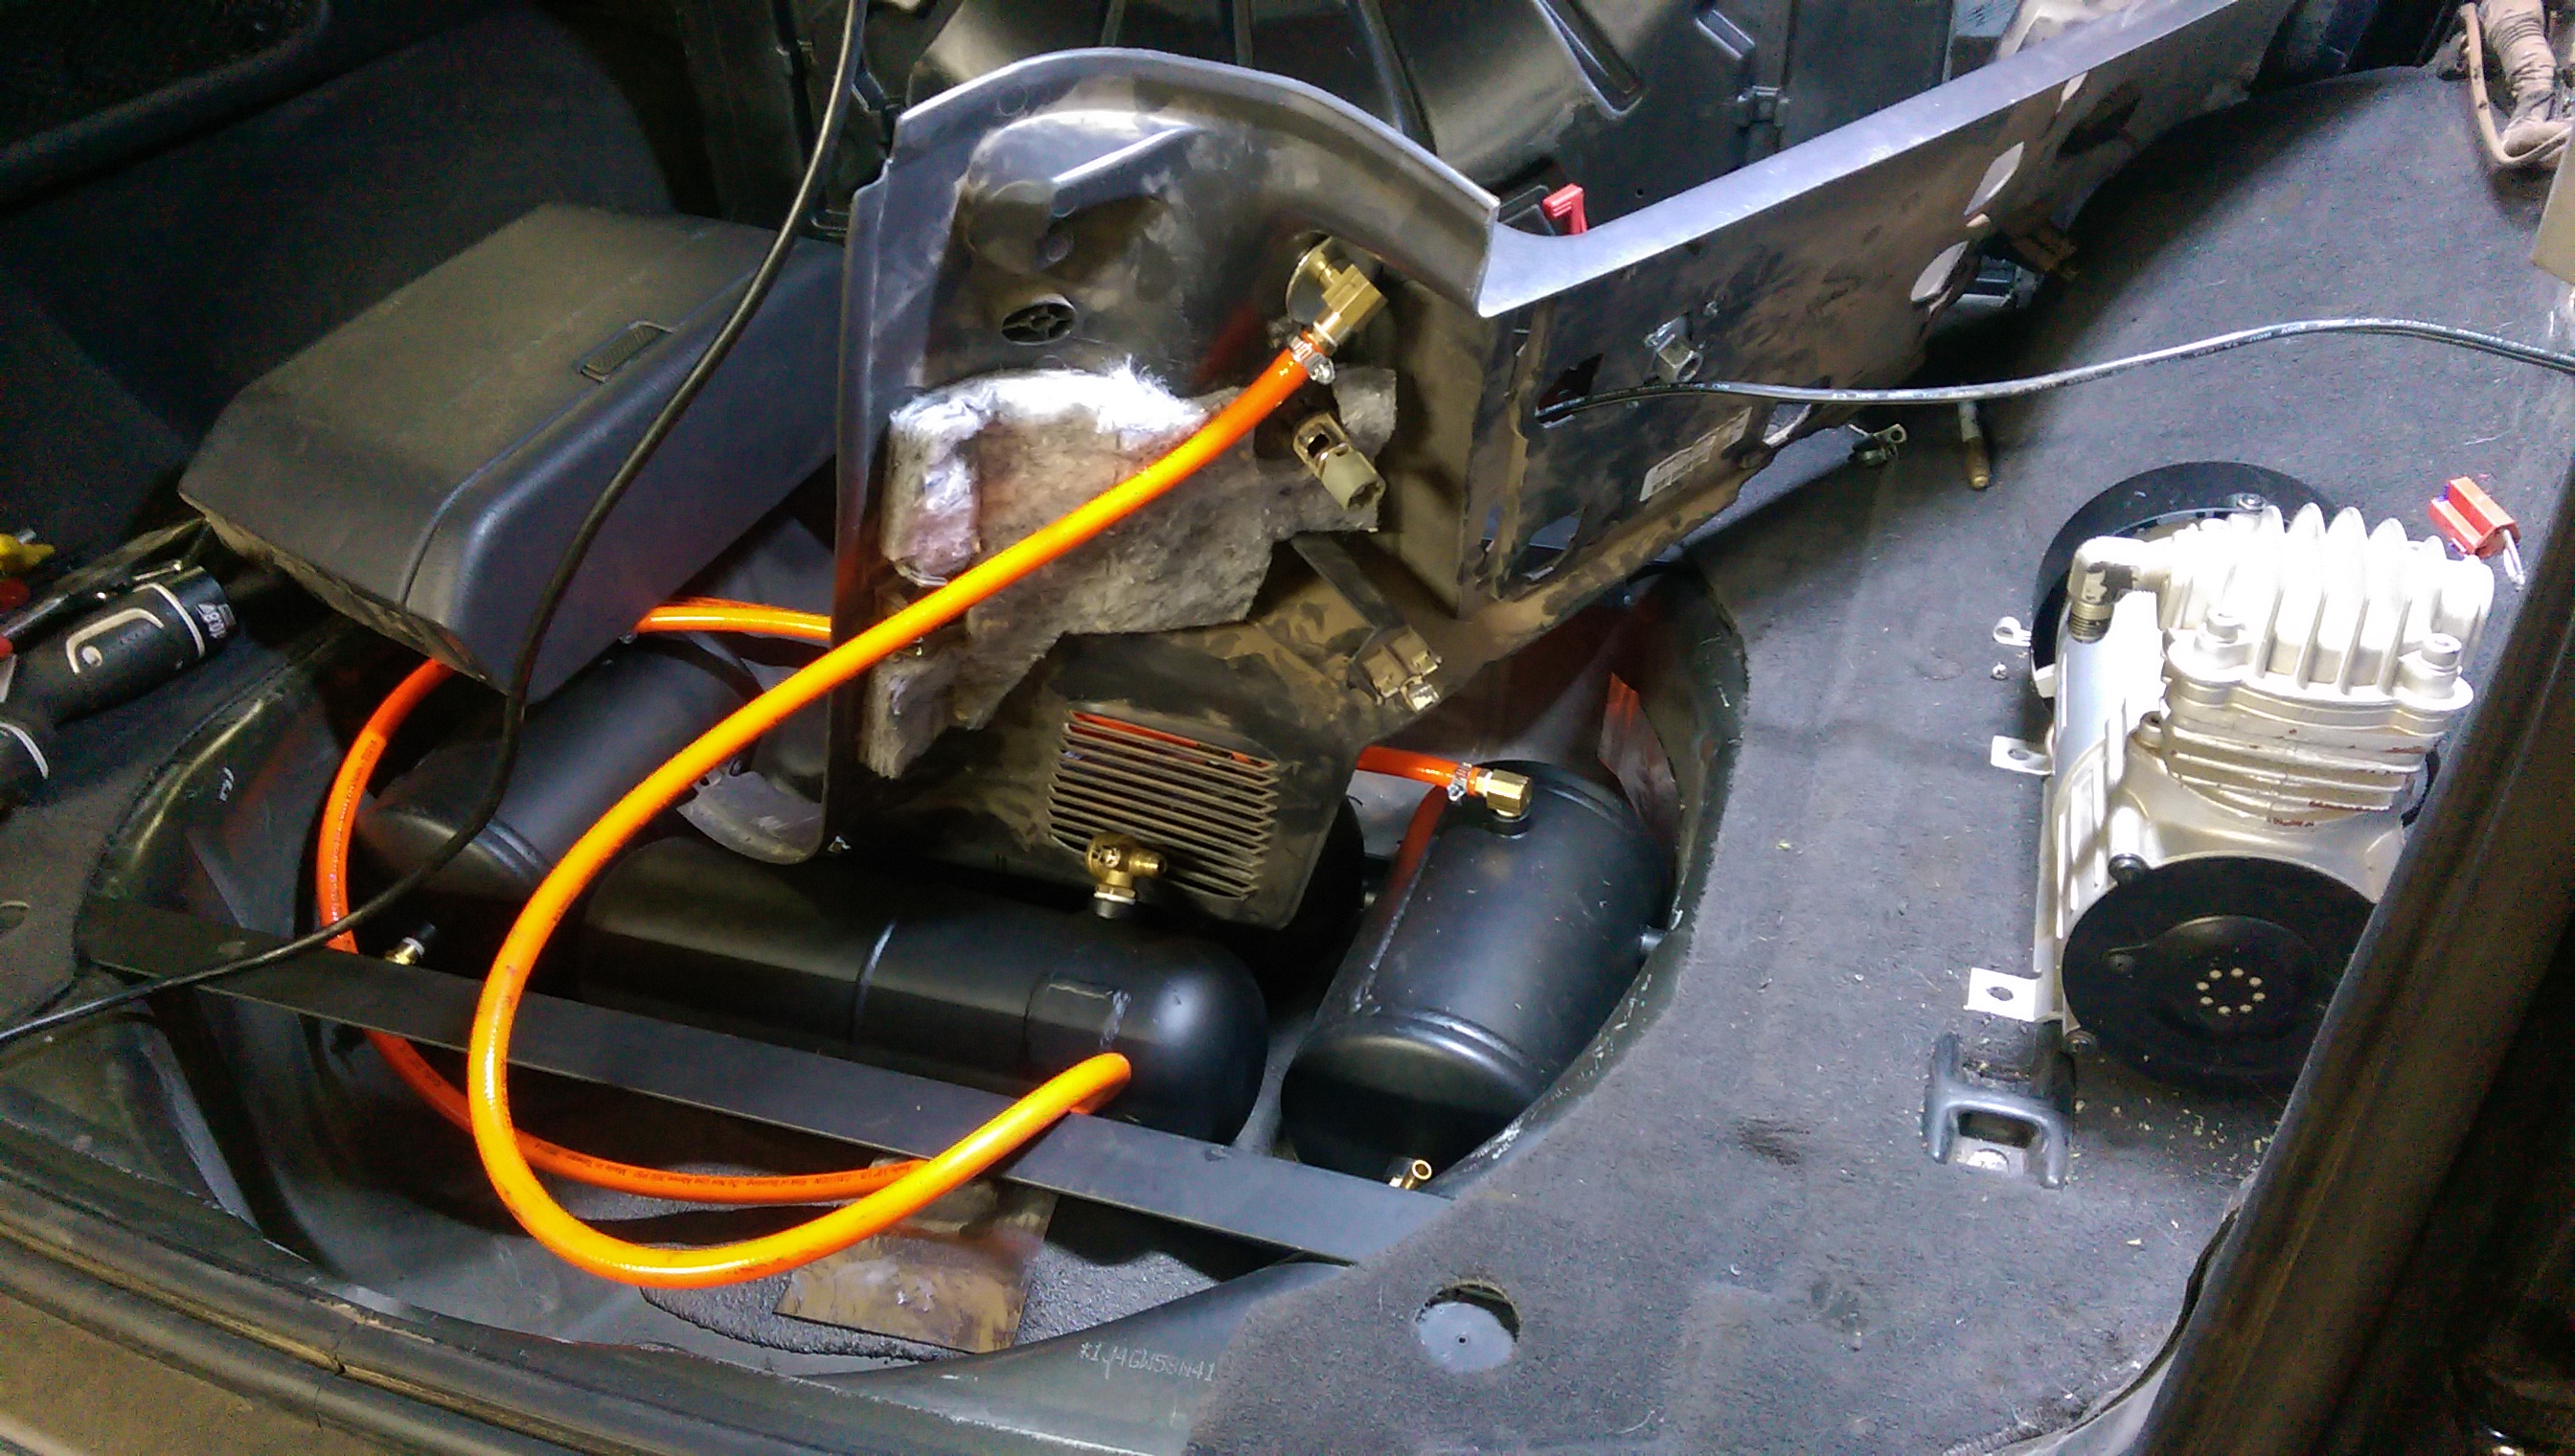
I built an 11×28″ frame from 1″ angle iron and welded the tanks to it.
I then added some tabs to the bottom of the tire hole, so the tanks could be removed if necessary.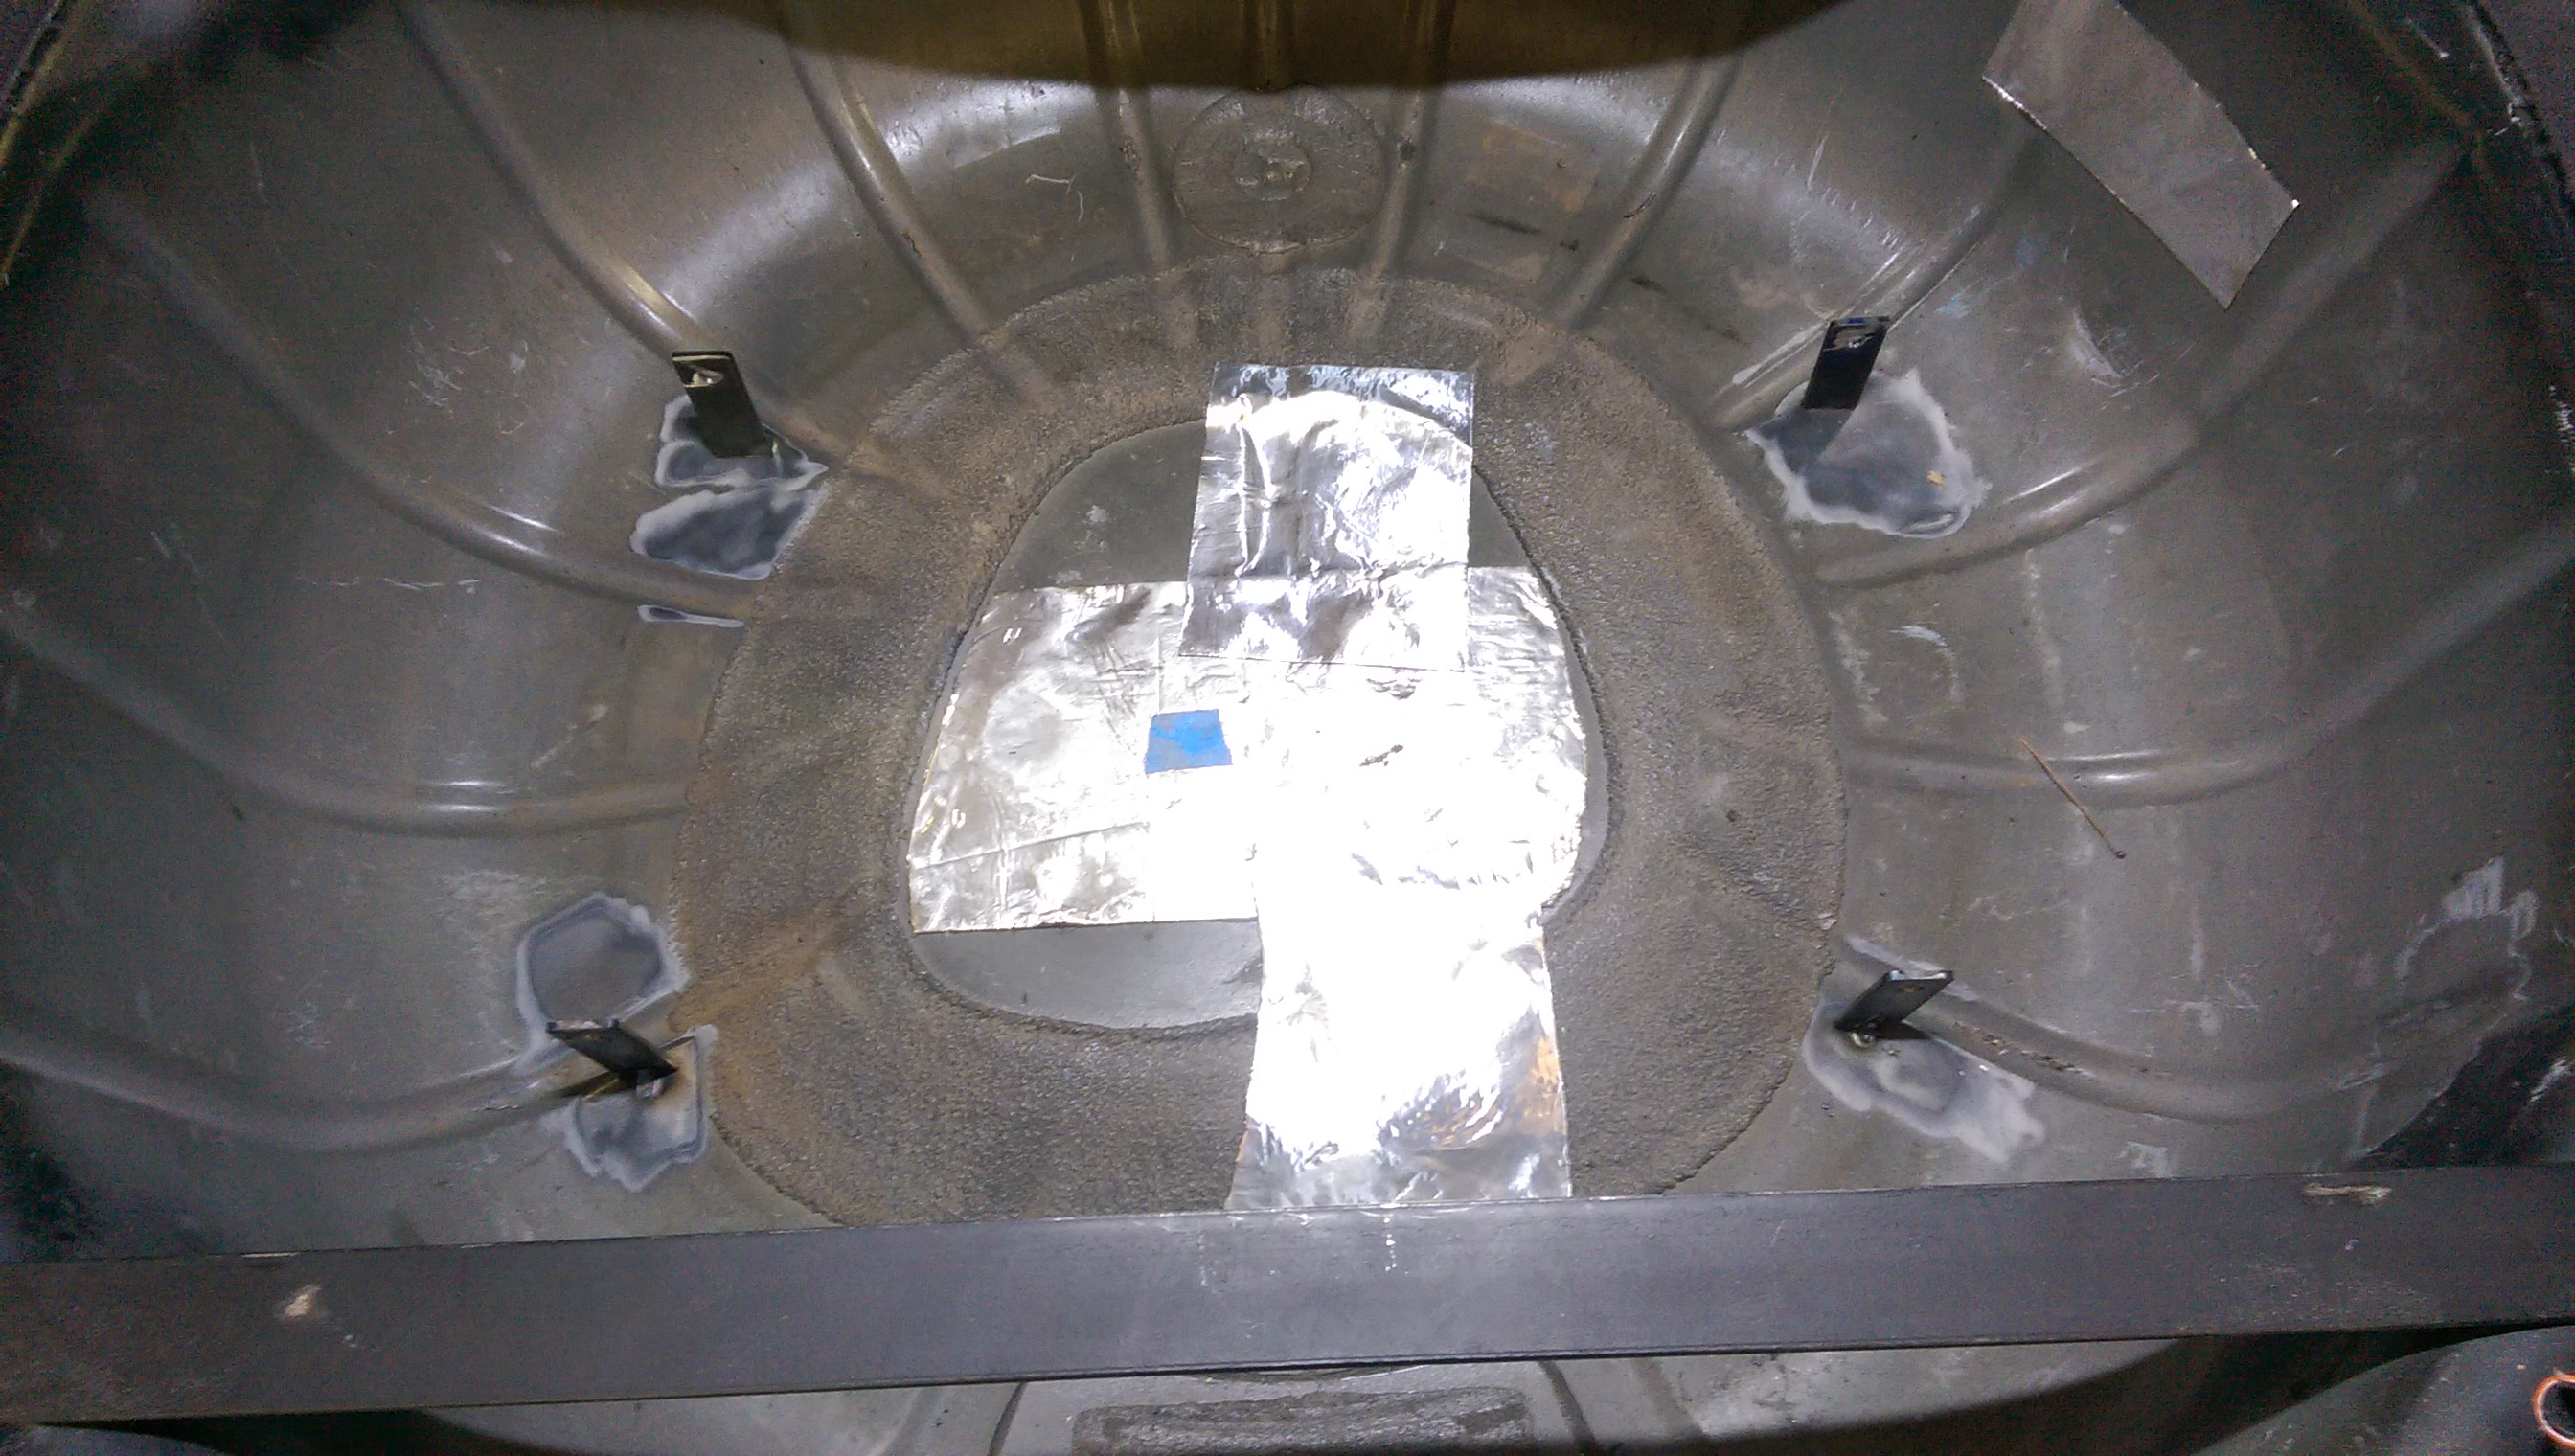

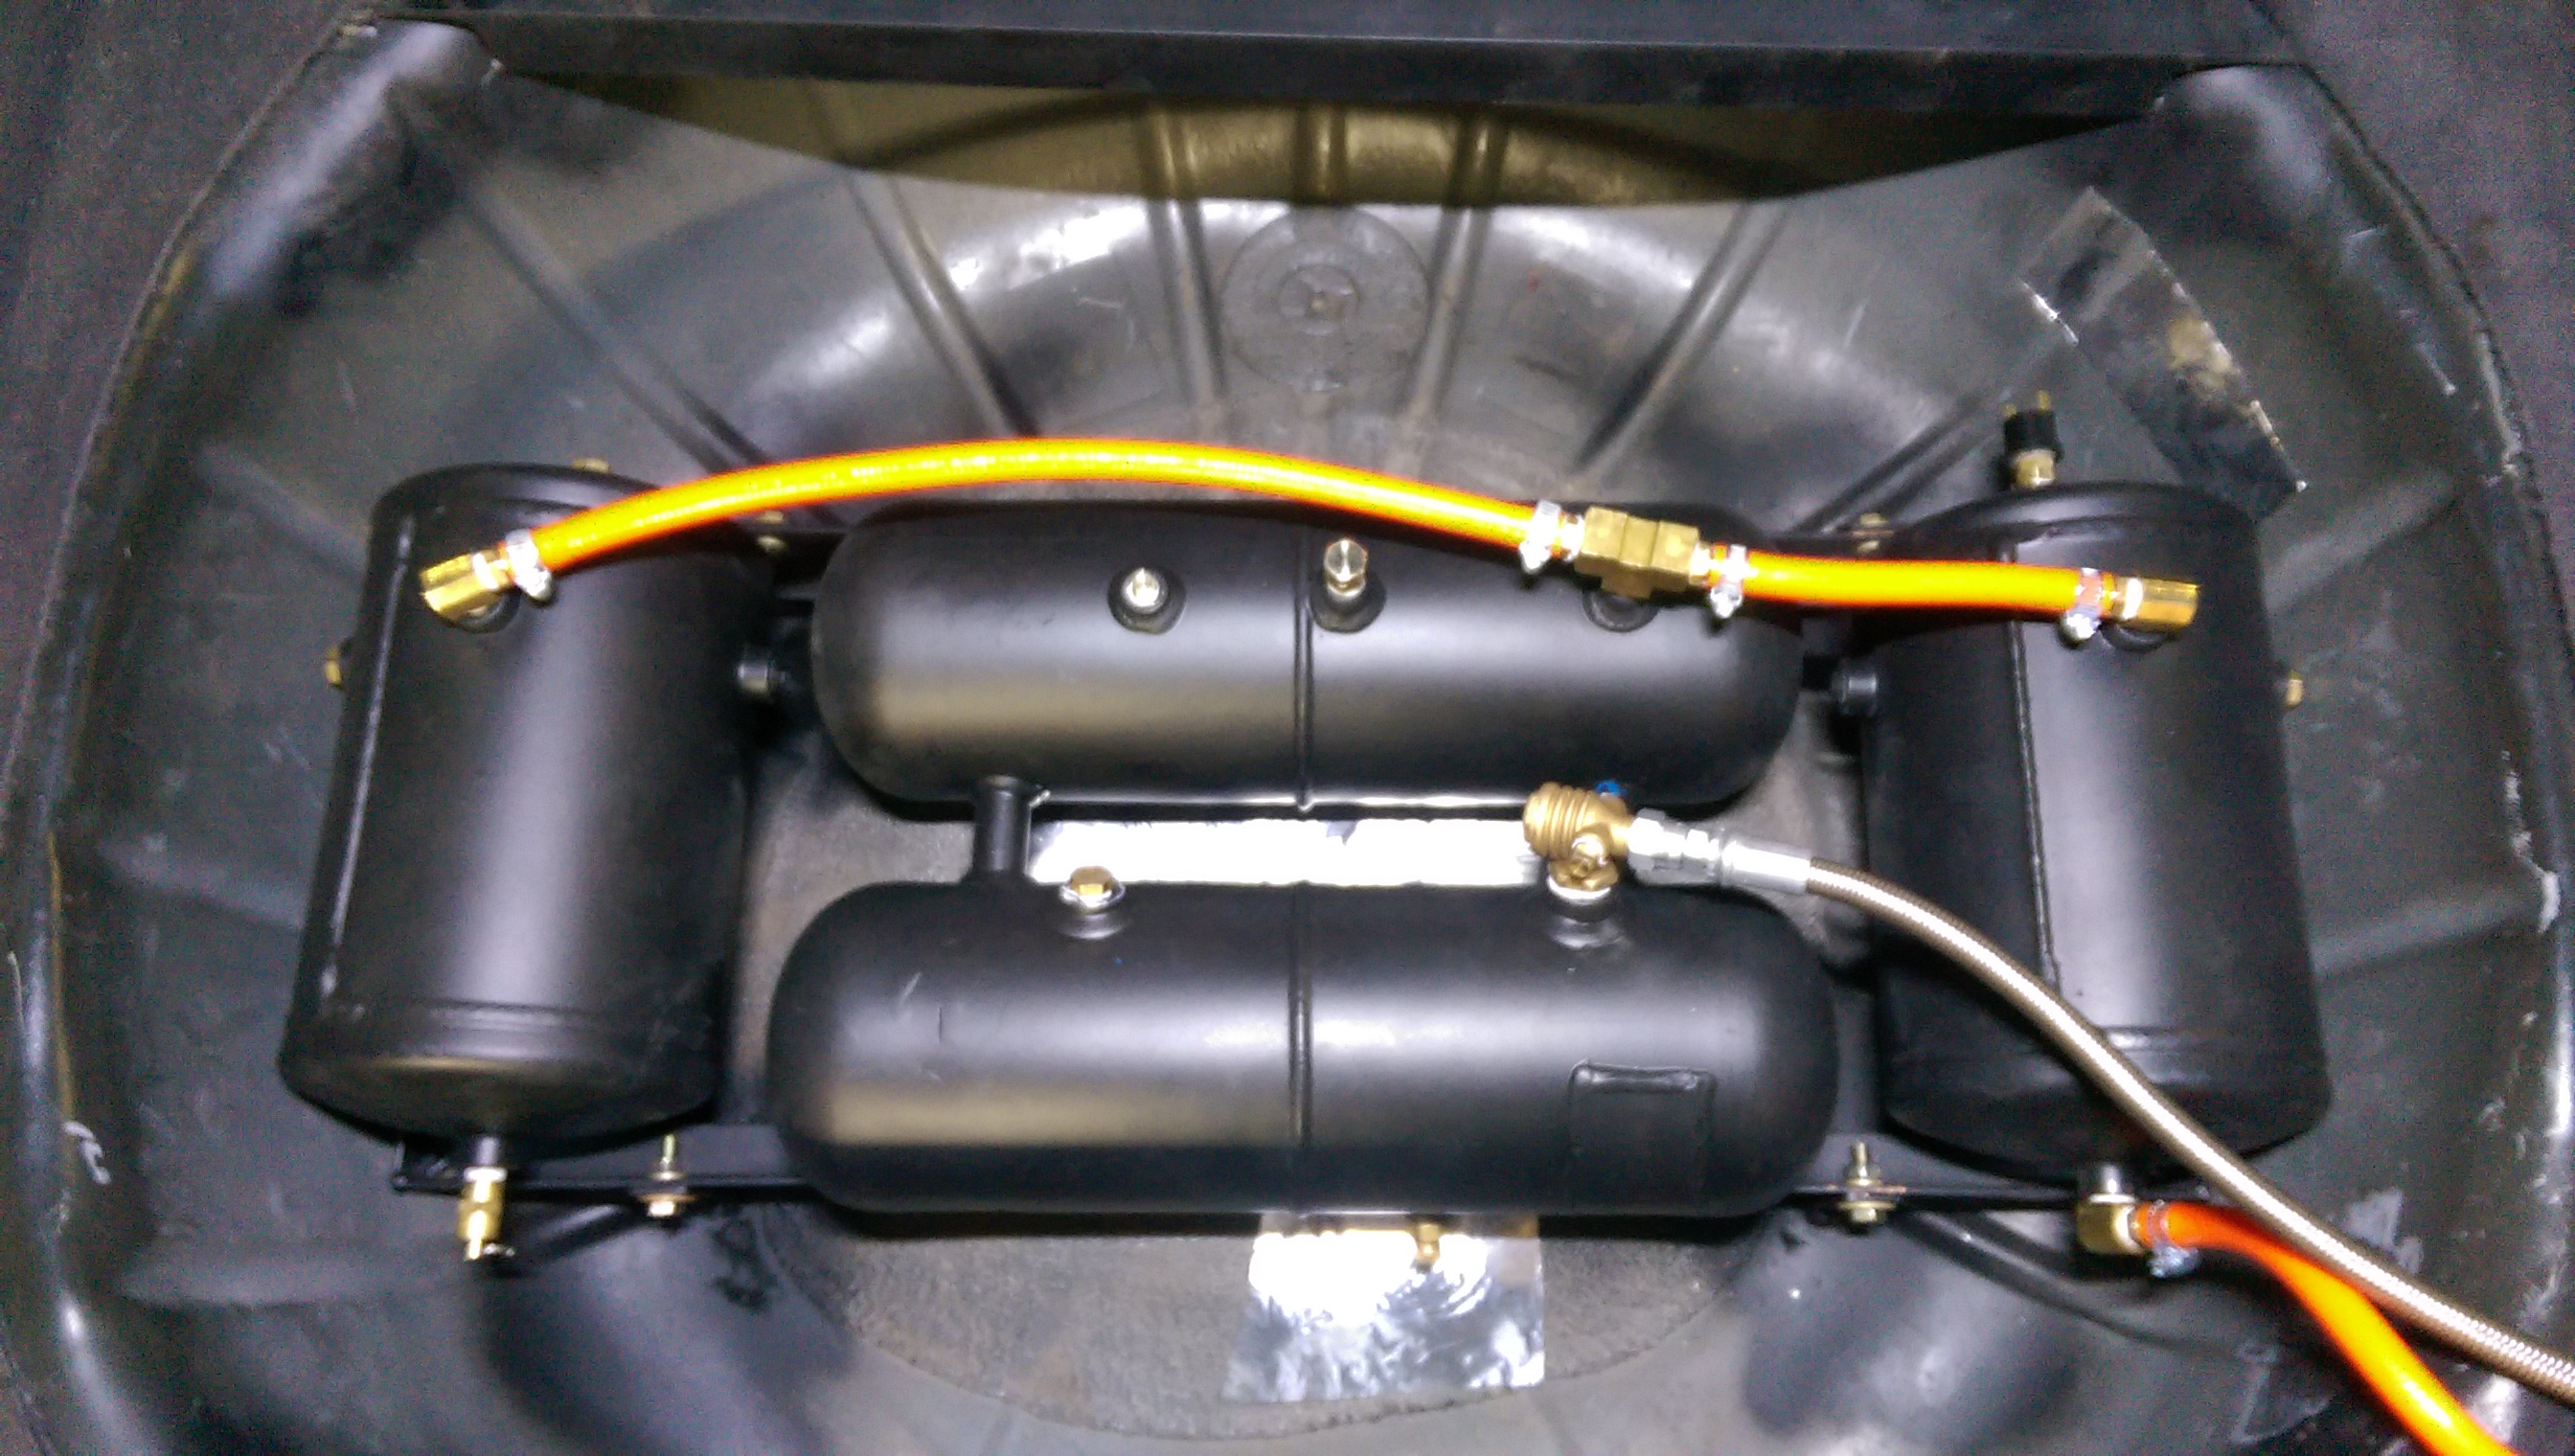
Bolted in…
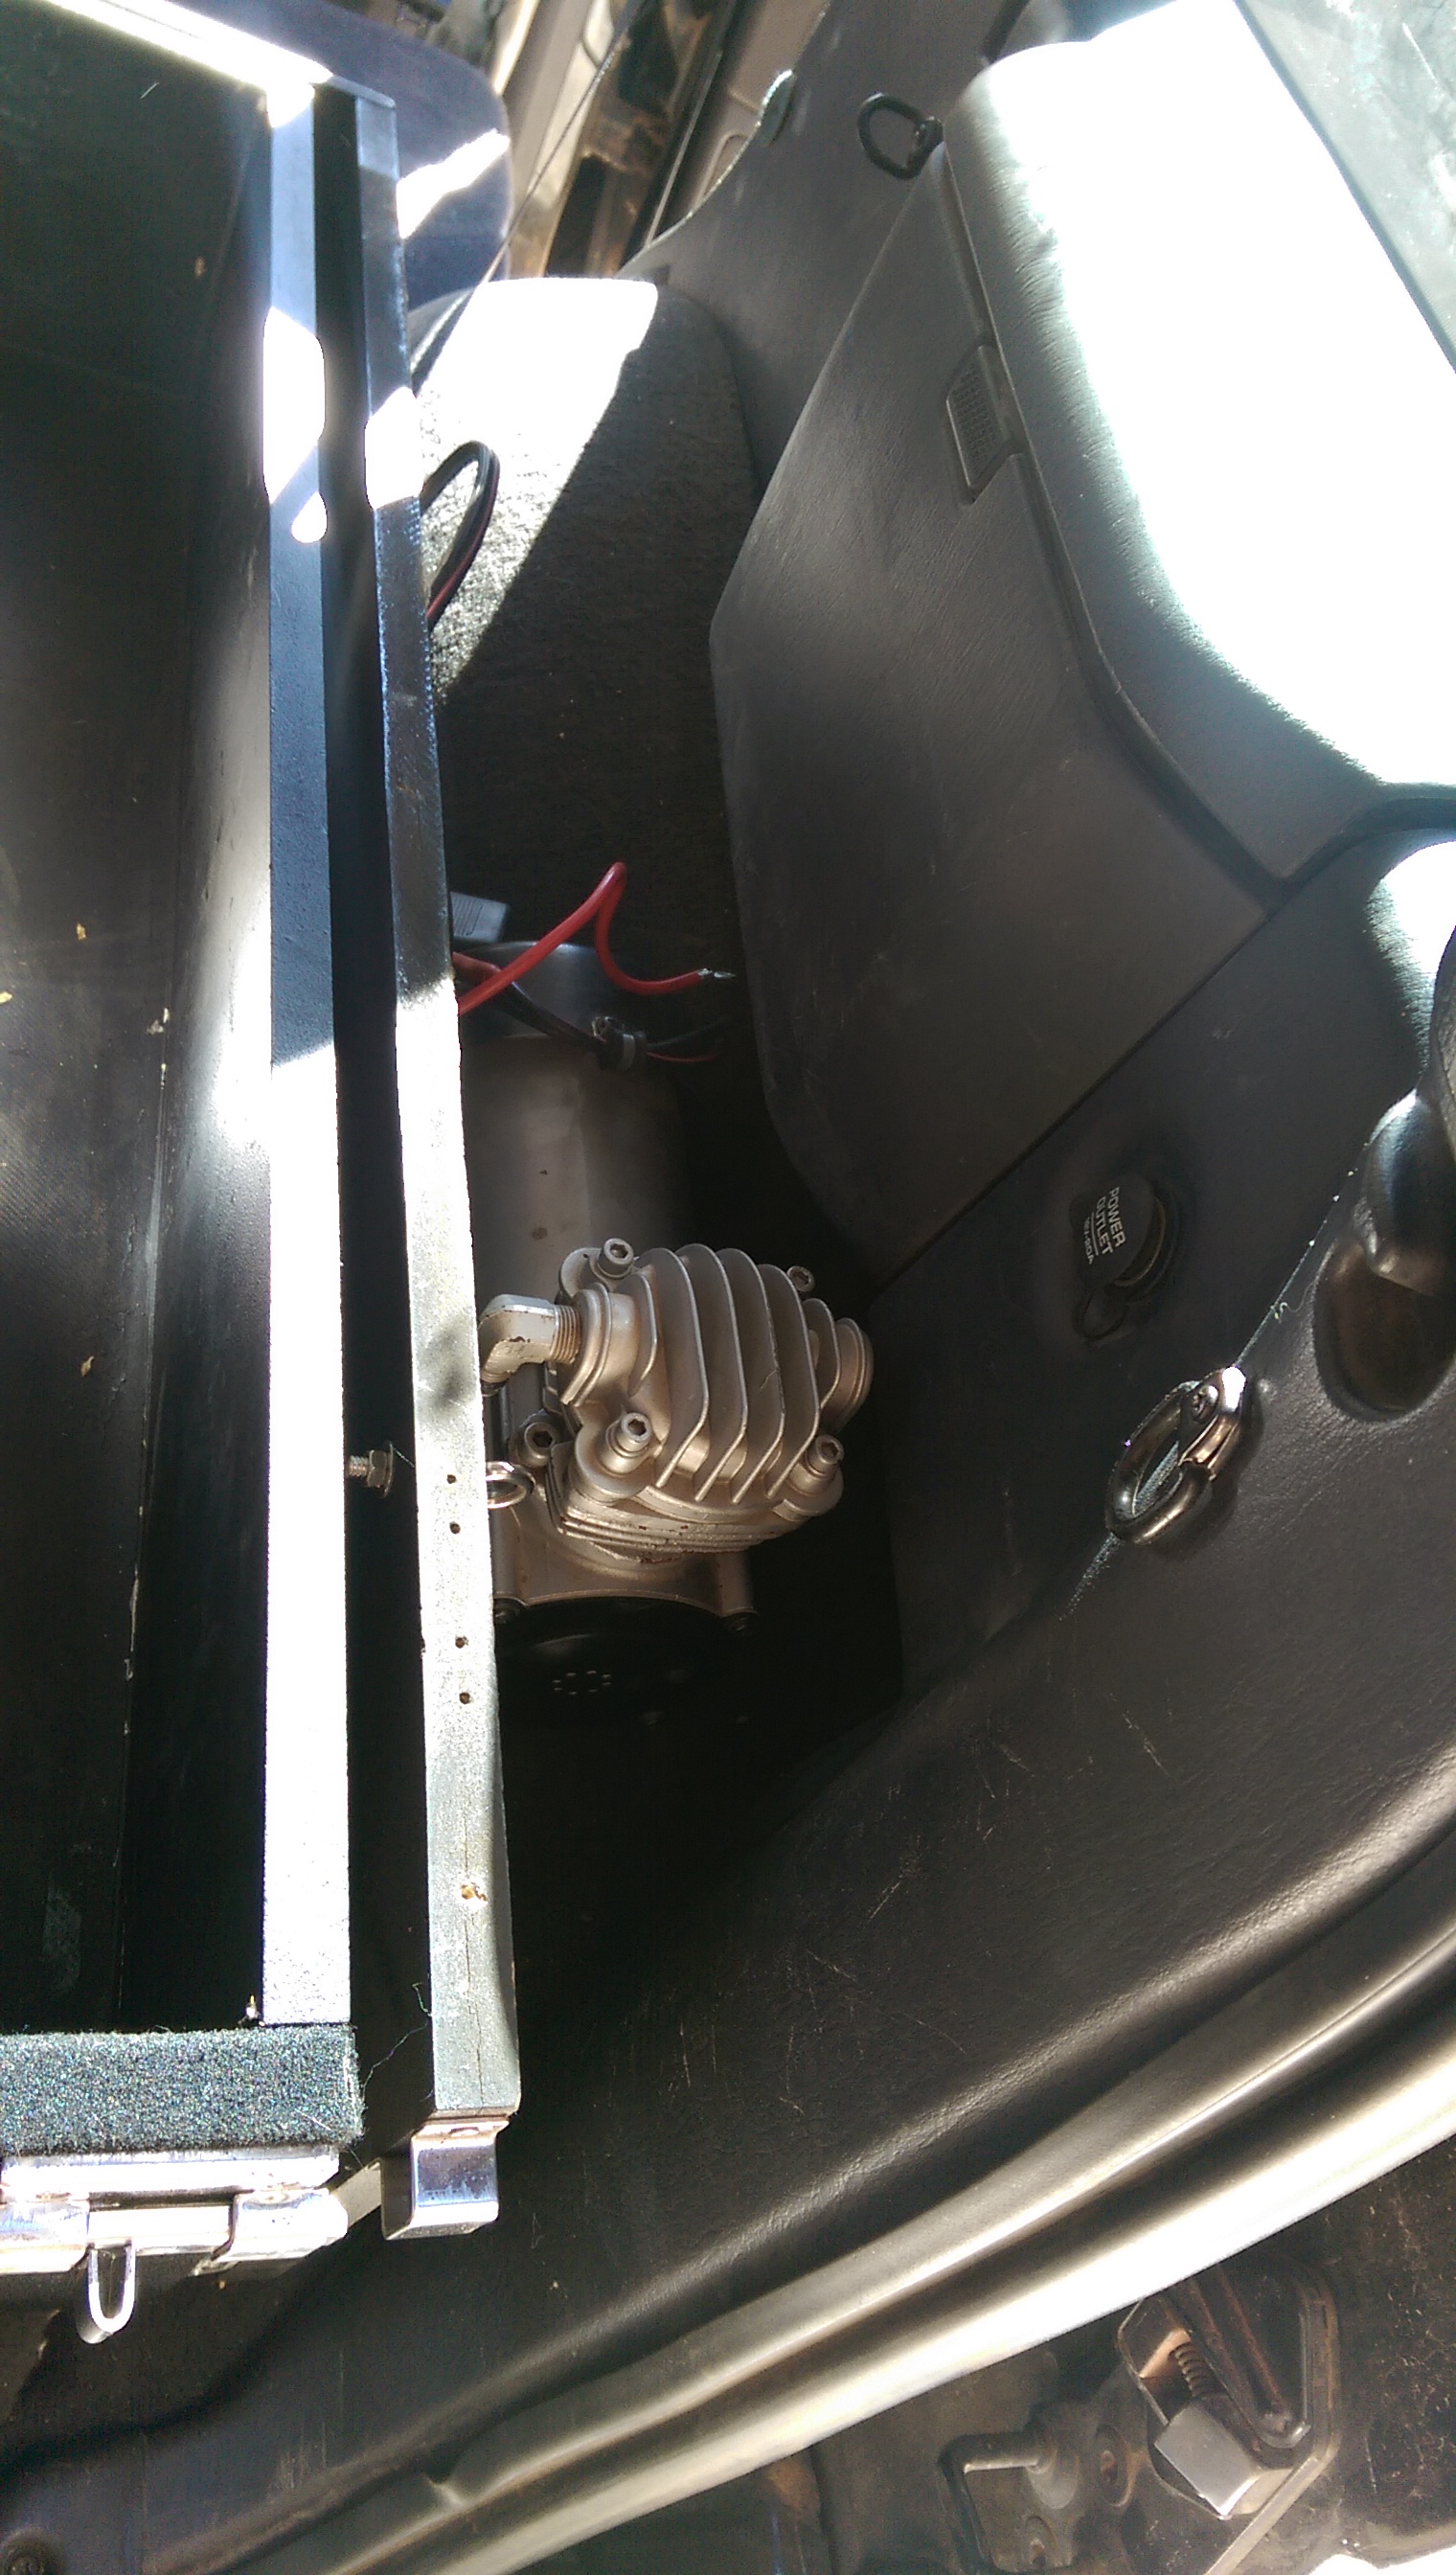
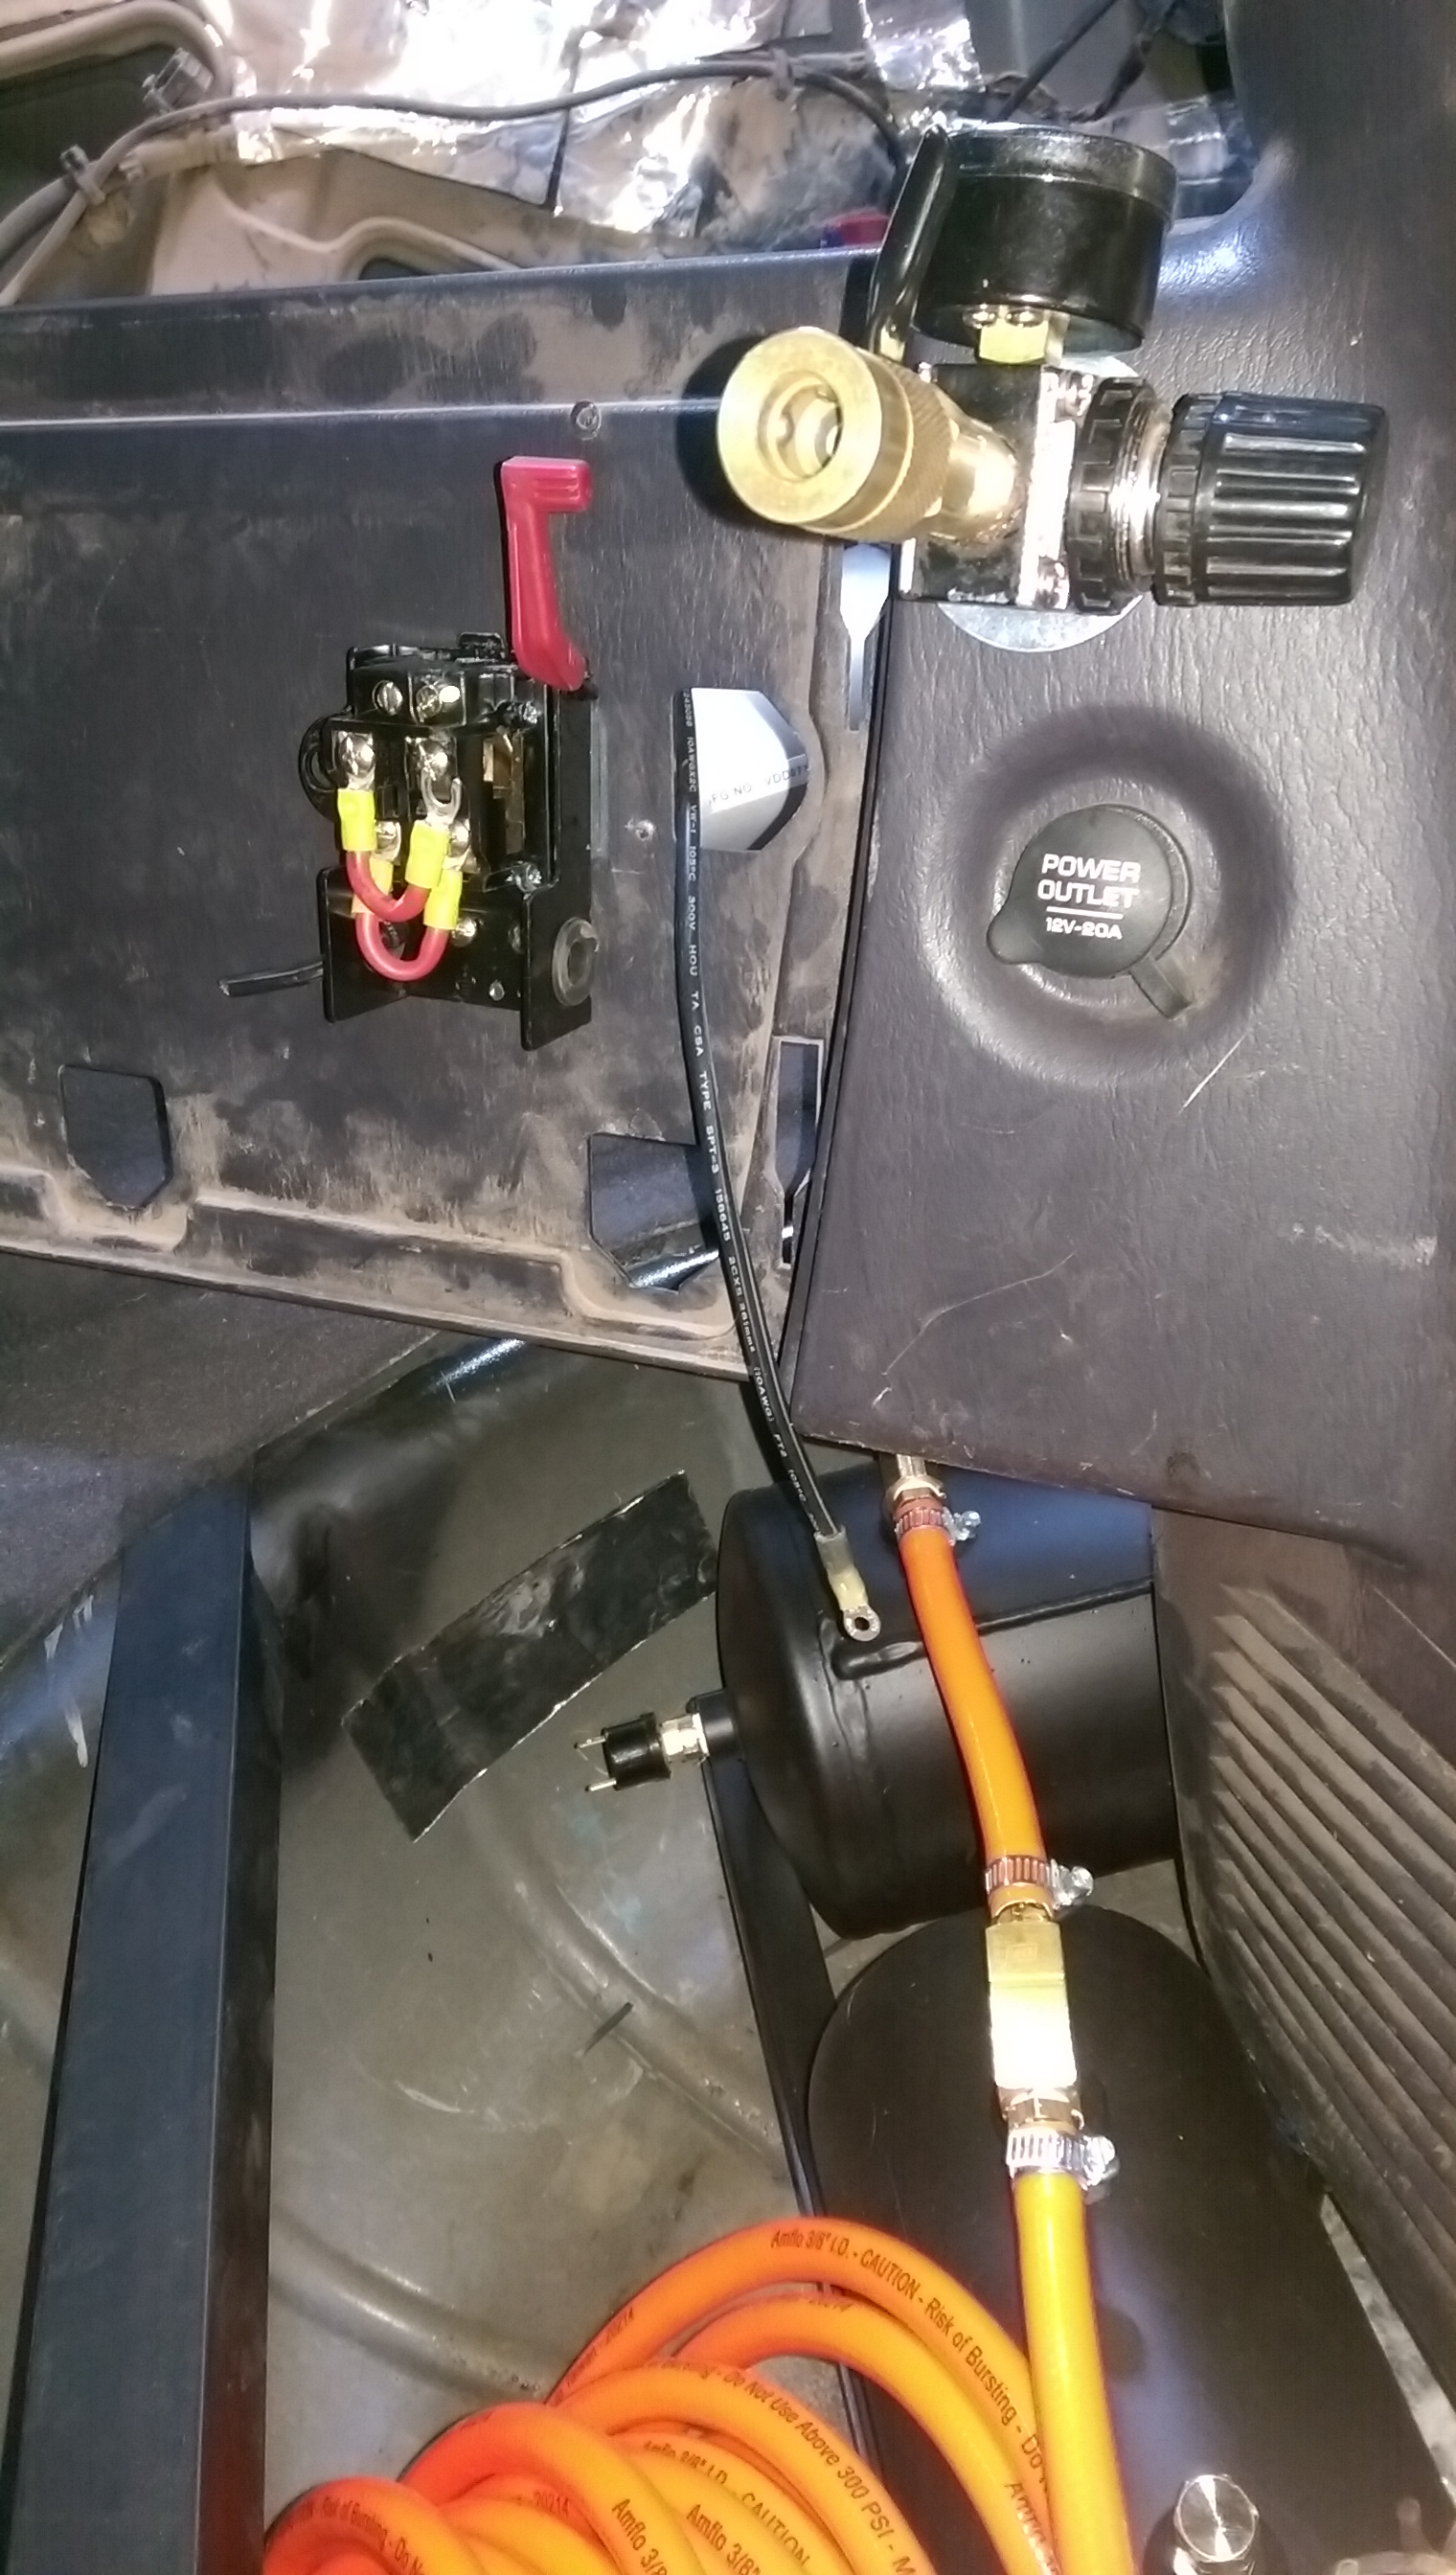
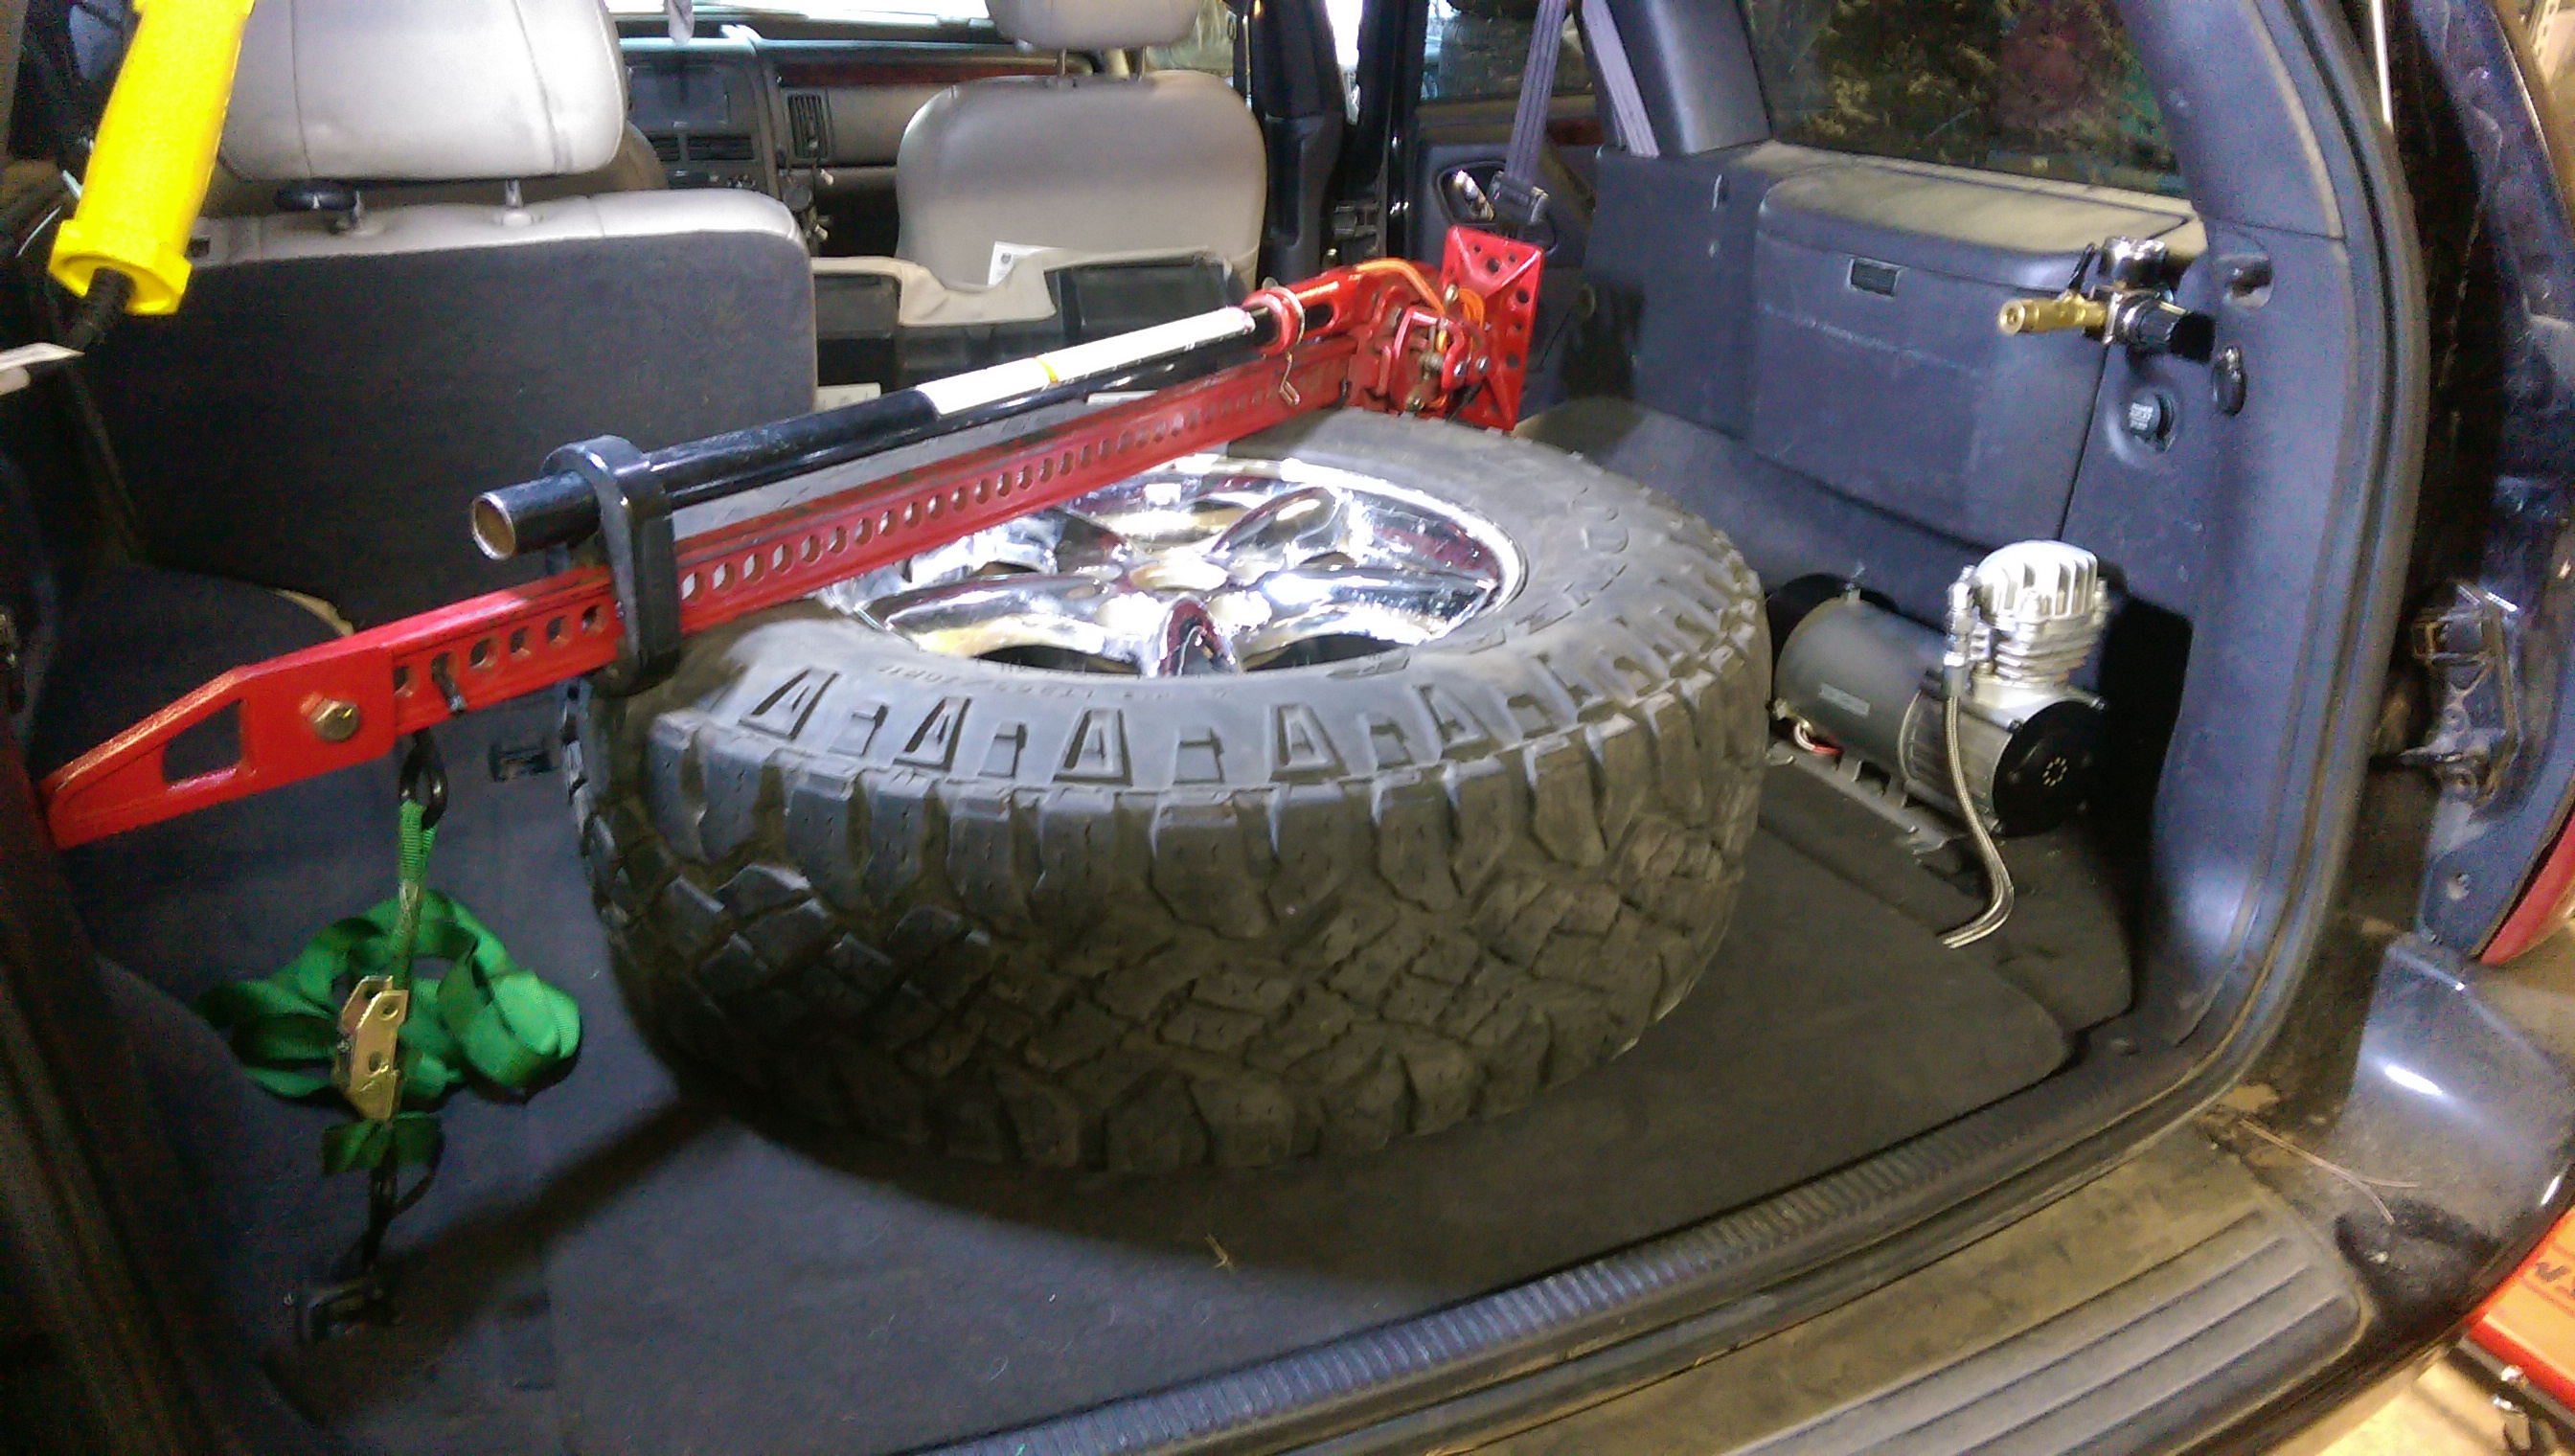
I ran 10 gauge wire from the battery to the compressor, with a 50a fuse on it. Once the rocker switch and solenoid arrive, I’ll have plenty of redundancy to make sure the electrics stay safe.

I bolted the compressor in and then took the factory switch apart (HUGE mistake… Everything exploded. It took two hours to get it back together, lol…) to get rid of the pneumatic components. It works, but this was the impetus behind the solenoid switch… I’ll update things when it arrives and I get a chance to install it.
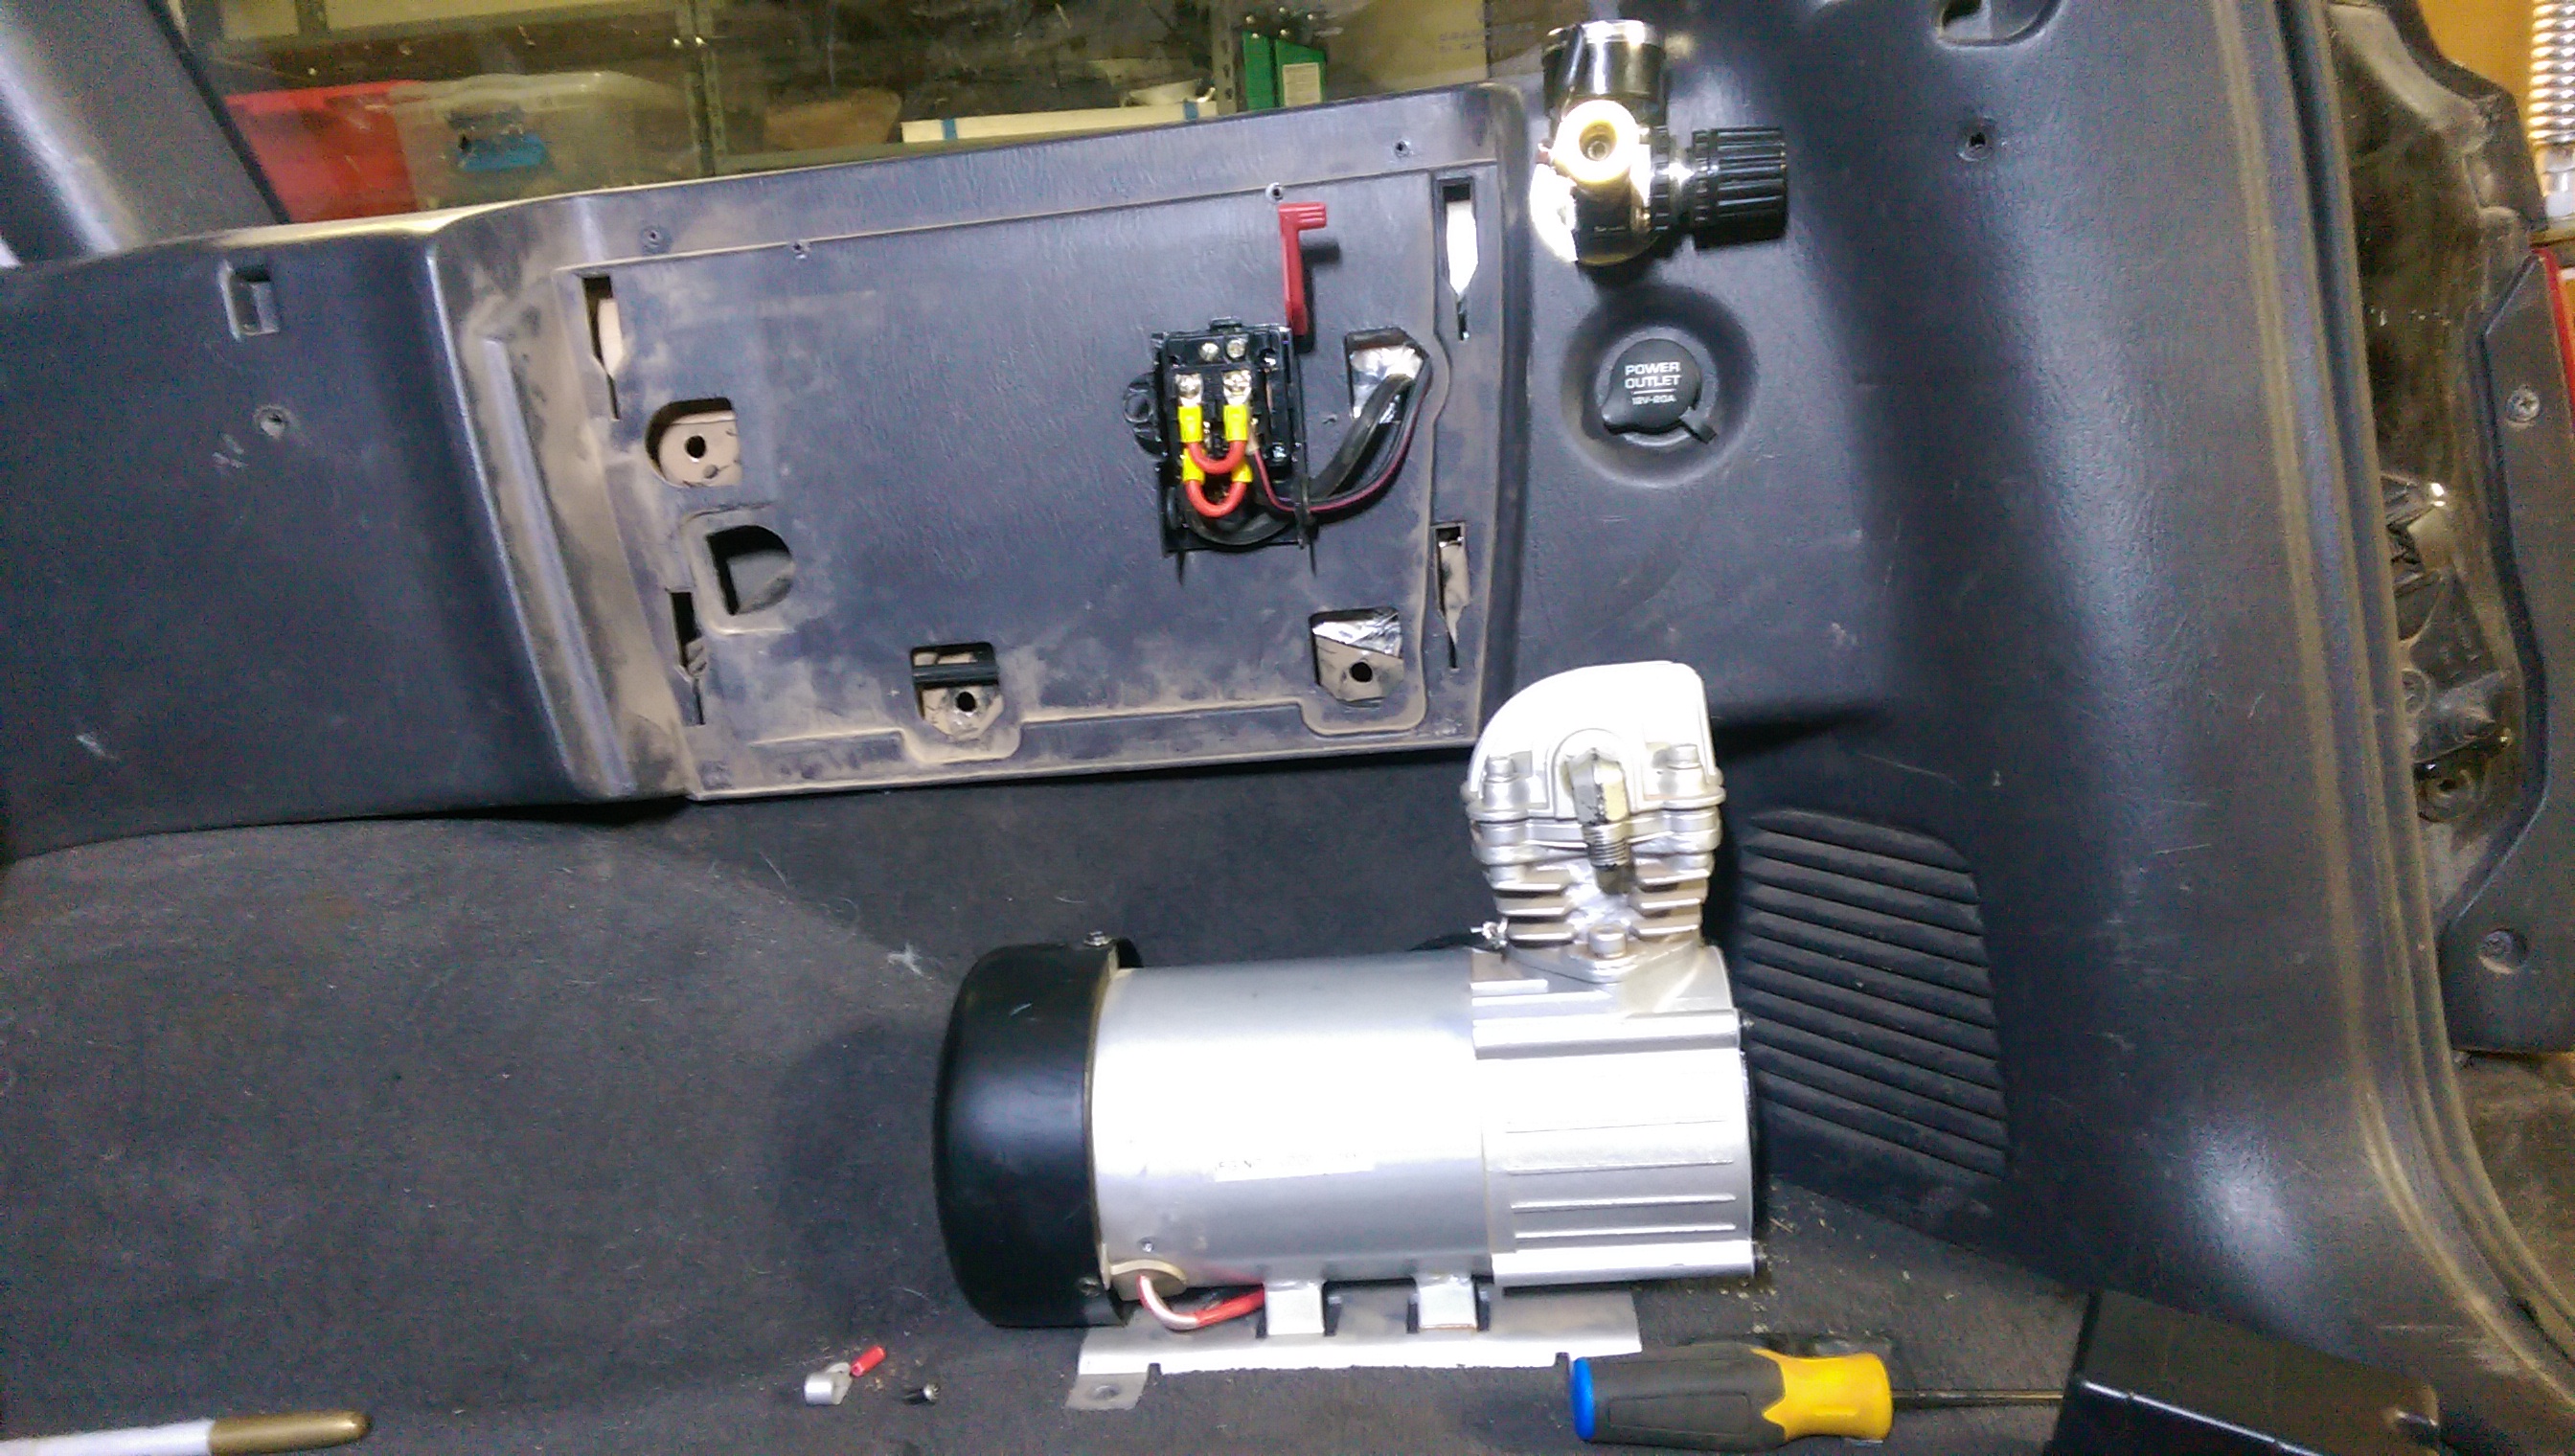
Even though the hose connection on the panel looks fancy and difficult, all it is behind the scenes is a fender washer and a 90 degree air fitting… Don’t tell anybody.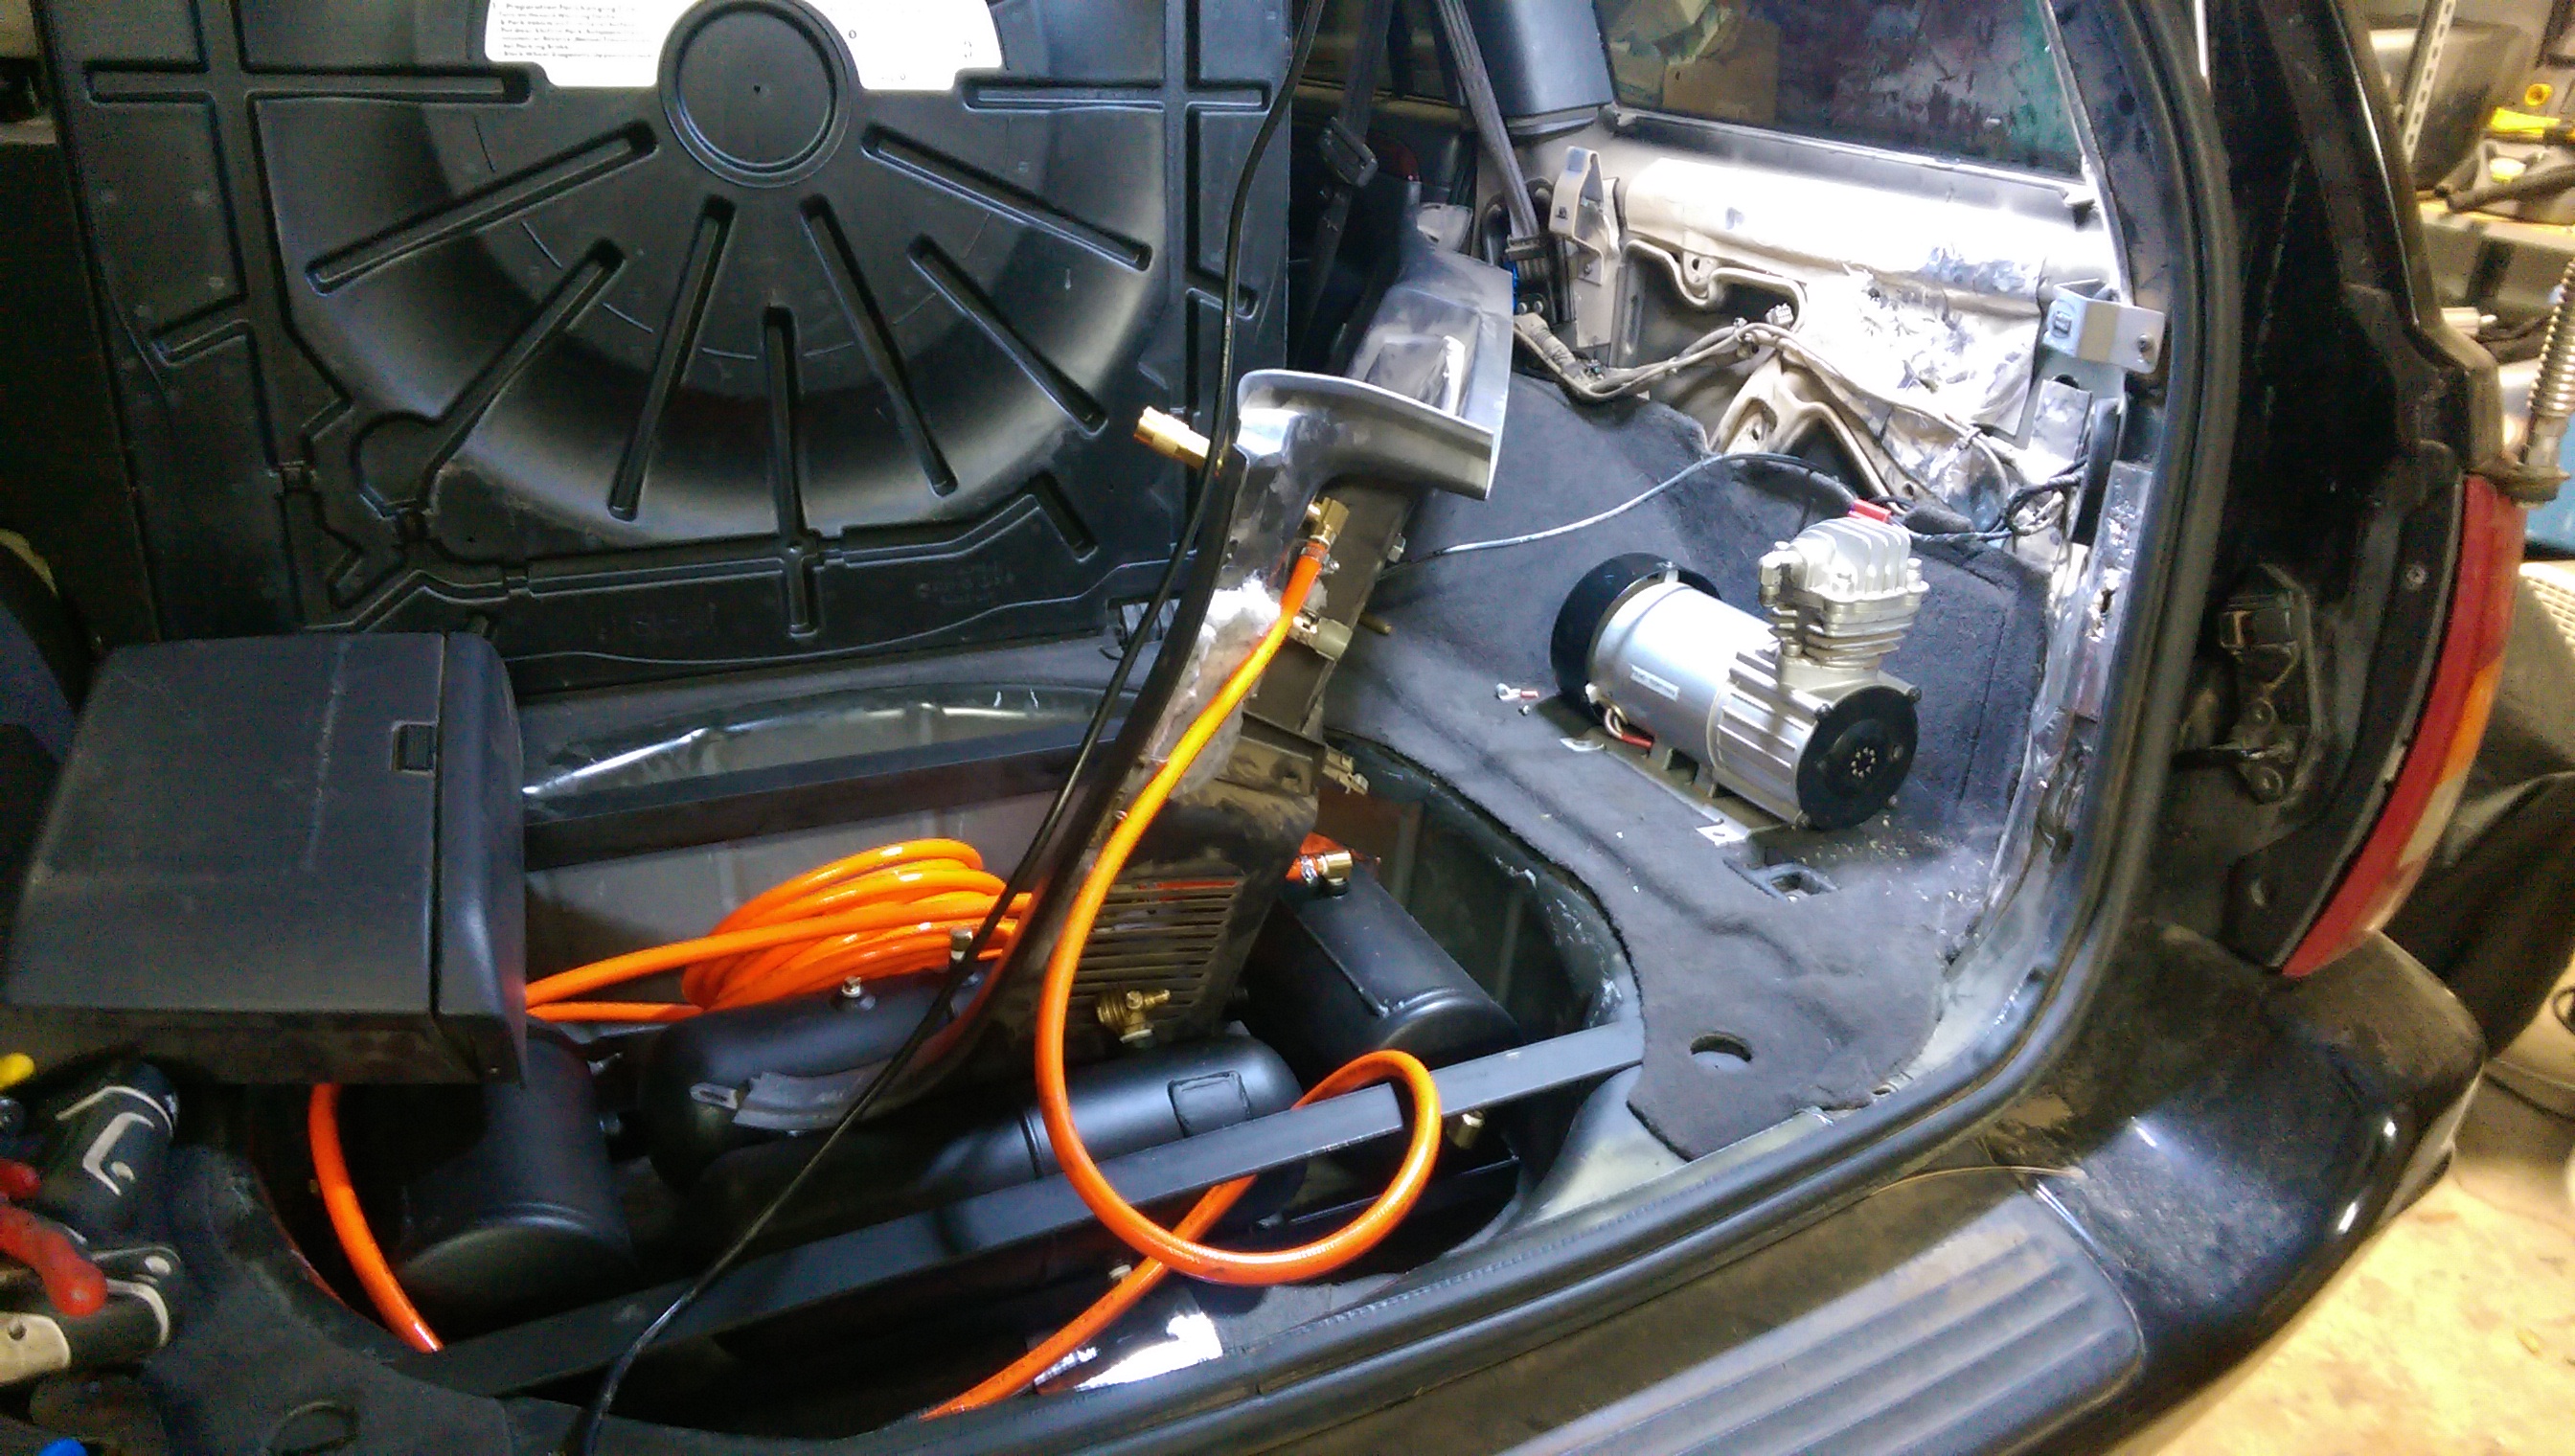
Once everything was plumbed up, reinstallation began…
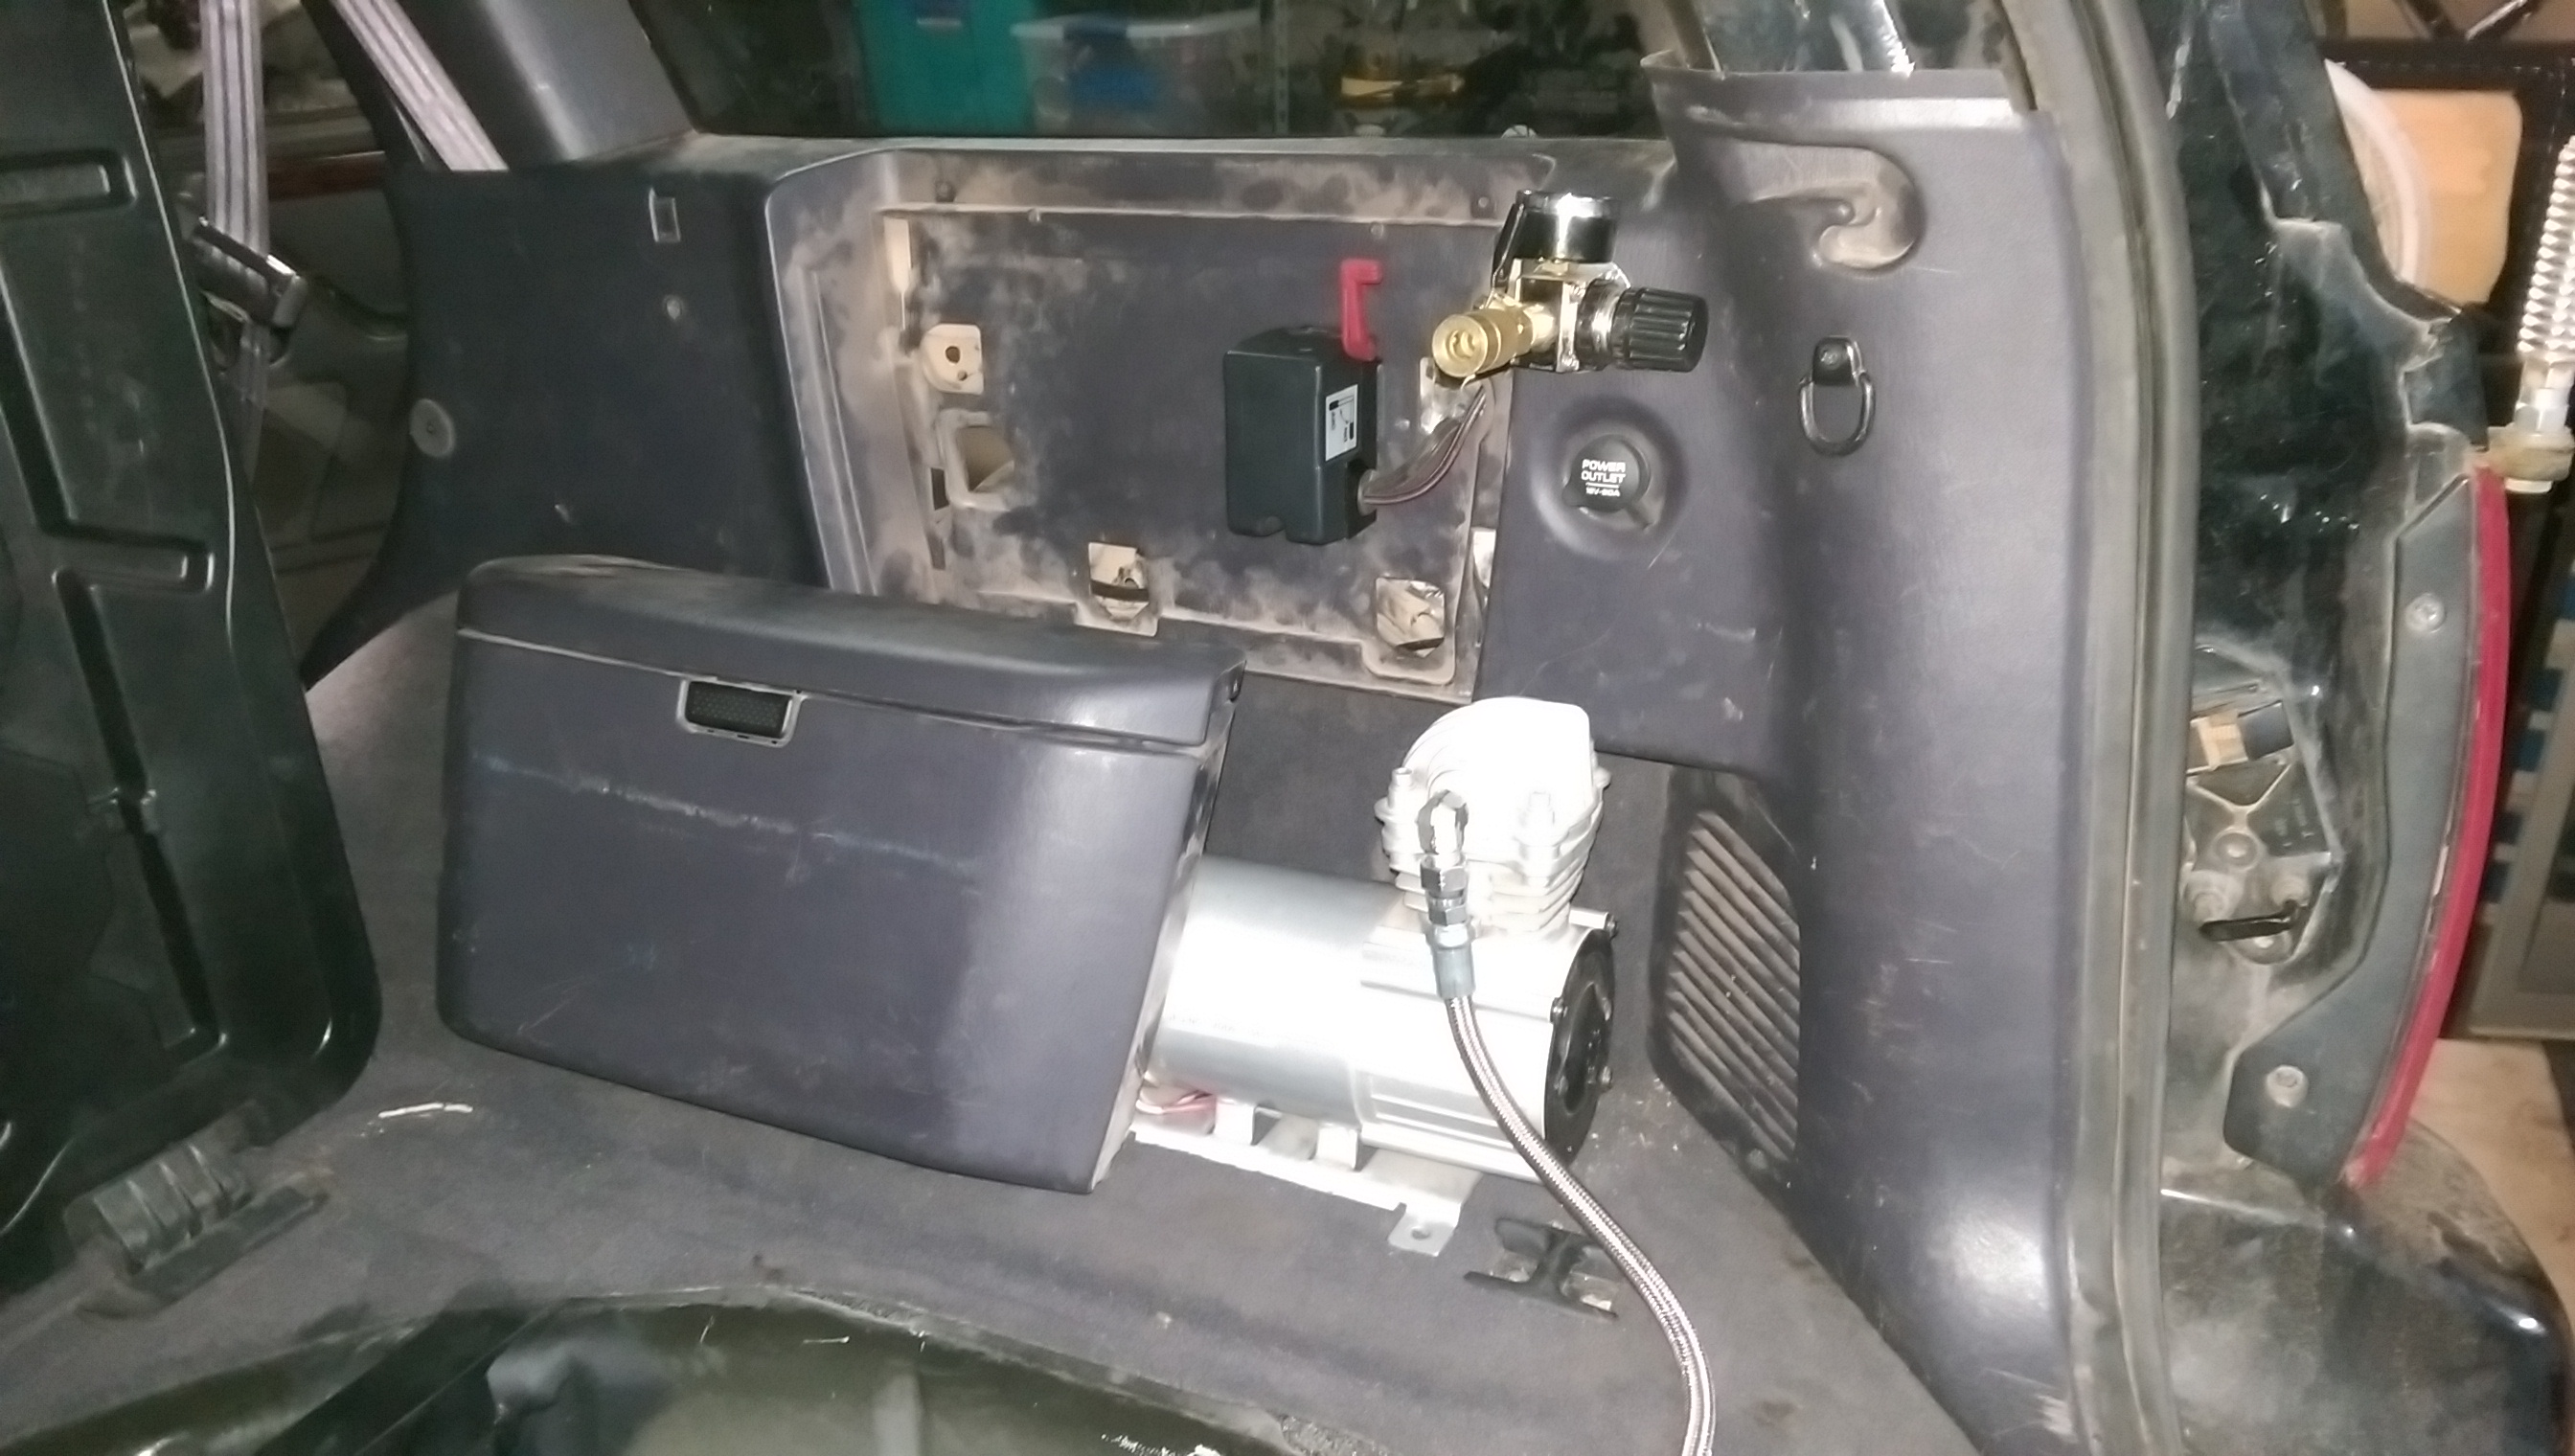
Popped the panel back in place

I really love how the switch and solenoid will both fit in the CD changer cubby. It cleaned up the compressor install without additional work, which is like getting something for free as far as I’m concerned.

This is how it’s sitting right now, until I finish everything up. What’s left will be to wire in the new switches and solenoid, double check for air leaks, and then trim the drawer top to fit around the compressor head.
