In preparation for stage two, I trimmed the fenders all the way around to make room for 35″ tires, which is the size I’ve decided to go with next time I buy a set. If you’re thinking about trimming your own fenders, this is a very general guide. You’ll need to take your own measurements, safety, etc, blah, blah… I had much help from my buddy Chad on this project. You’ve seen him and his giant green WJ elsewhere around the site.
I actually rolled my fenders instead of just cutting them off. This means that I cut a bunch of lines in the metal, and then folded it back over itself. It’ll make more sense with the pictures below.
Once all the cuts were completed and folded over, I slathered the entire backside of the fender skin with Seam Seal, which is basically a really heavy duty type of caulking that’s used to seal body panels together.
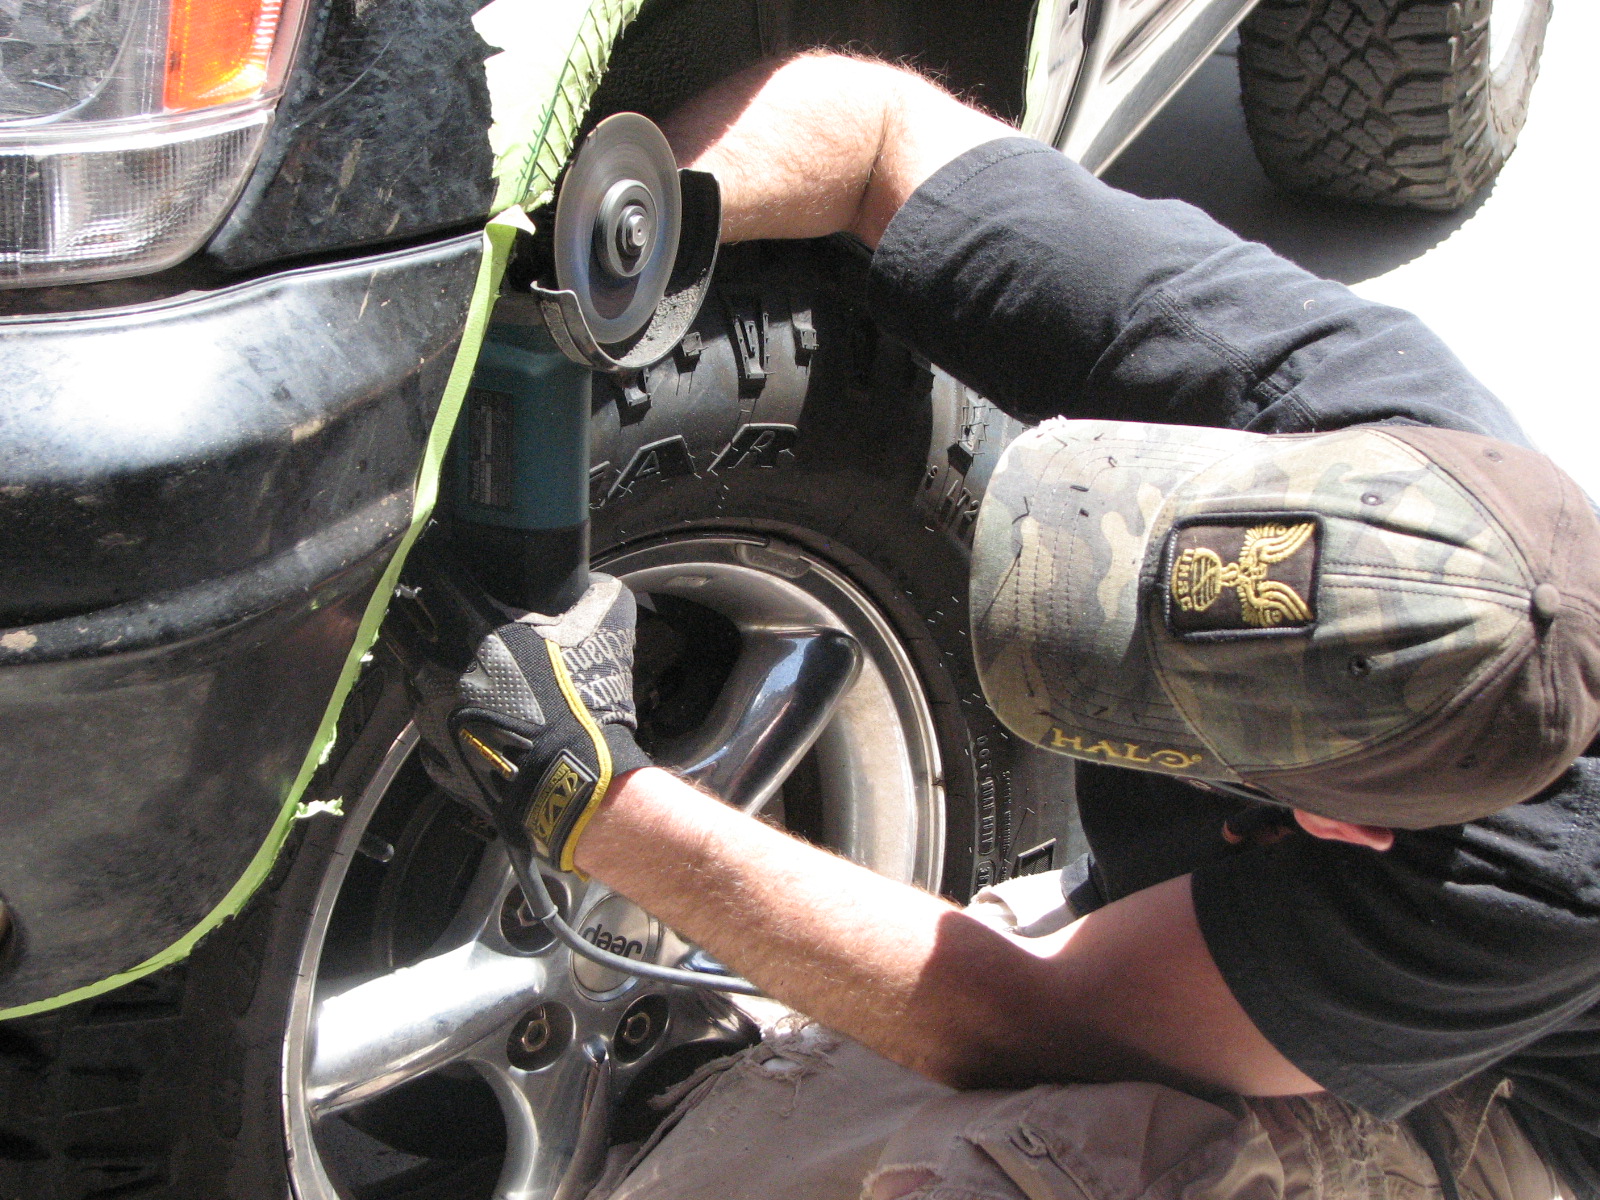
After that, I cleaned up all the rough edges with an angle grinder and tiger-disc (flap-wheel) and then 220 grit sandpaper for finish.
Lastly, the entire fender well got sprayed with 3M Underbody Coating to protect it from the elements and spruce up the wells a bit.
UPDATE: After a summer or two in Arizona, this stuff has faded to a nasty shade of brown. The other side of the coin though, is that it’s stood up to two summers and all the trail abuse and pinstriping (brush or branch scratches in the paint) I’ve put it through. Having said that, I think I may just paint over it with a good UV-resistant can of flat black since it’s held up so well.
Measurement and Layout
So, here’s the boring part. I taped off about 3″ around the area I was planning to cut and used a sharpie to draw the outline that I wanted. In this case, it followed a natural body line, so it was easy for me to freehand. From there, I measured 1″ IN (toward the wheel) and drew an additional line (the bottom line in the pic below). Wash, rinse, repeat at all four corners.


A few more measurements later, and I have the outline laid out for the rest of the fenders.
Really Important: When making relief cuts to roll the fenders, make all cuts on a radius close together. Otherwise, the metal will ripple when it’s folded. Also, you won’t really be able to make the radius tight enough to follow the body lines.

As you can see above, I had to make many more cuts along the tightly curved edges to maintain the radius I needed.
Cutting
The pics below are pretty self explanatory. I cut the perpendicular lines up to where I want to bend the metal in.


Rolling
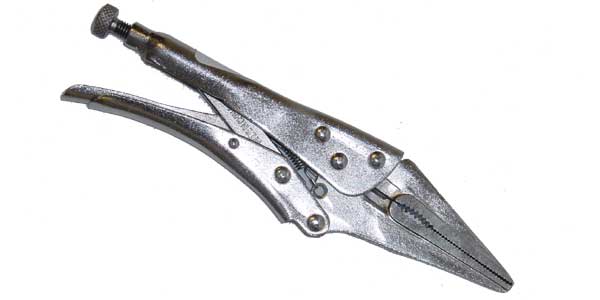
Unfortunately, I don’t have any pictures of the actual process, but the bones of it is: With these two pair of Vise-Grips:

I carefully bent each piece of metal back upon itself. It’s a long process, but if you’re into doing things right the first time, this is how you do it. You’ll see why later.

One can see the relief cuts underneath the door.


Prep and paint
Seam sealer gets in between all those pieces of metal I folded back. Then it dries, hardens, and makes the entire fender one really solid and strong piece again.

Amazingly, the seam seal actually brought the rigidity of the fender close to as rigid as it was before cutting, which was awesome.
After the seam seal has plenty of time to cure (about 24 hours), I started the prep for paint (underbody coating in this case…)
To cover the bare metal, I decided to run 1″ of coating on the outside of the fender. I’ve never been totally happy with the look, especially now that its so faded, but it’s done its job well enough.


Next, tape off the fender again and spray the fender wells. It’s kinda obvious, so I won’t narrate.

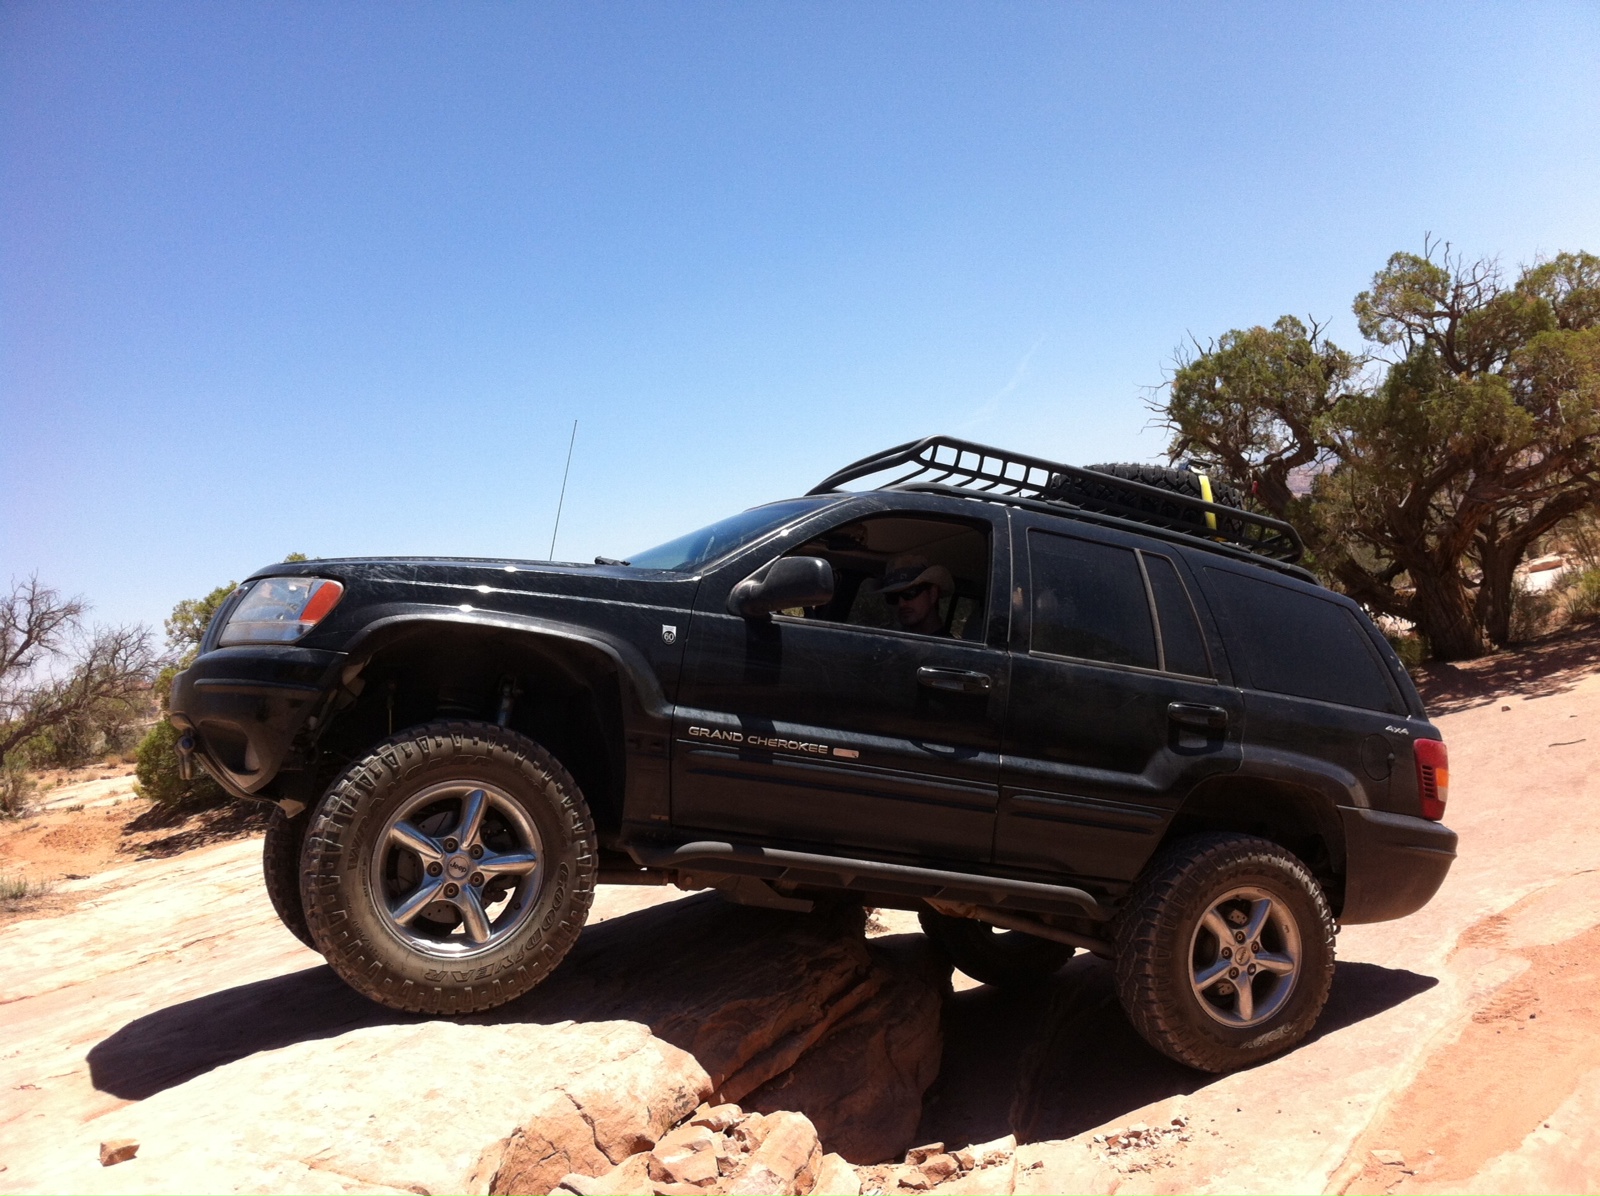
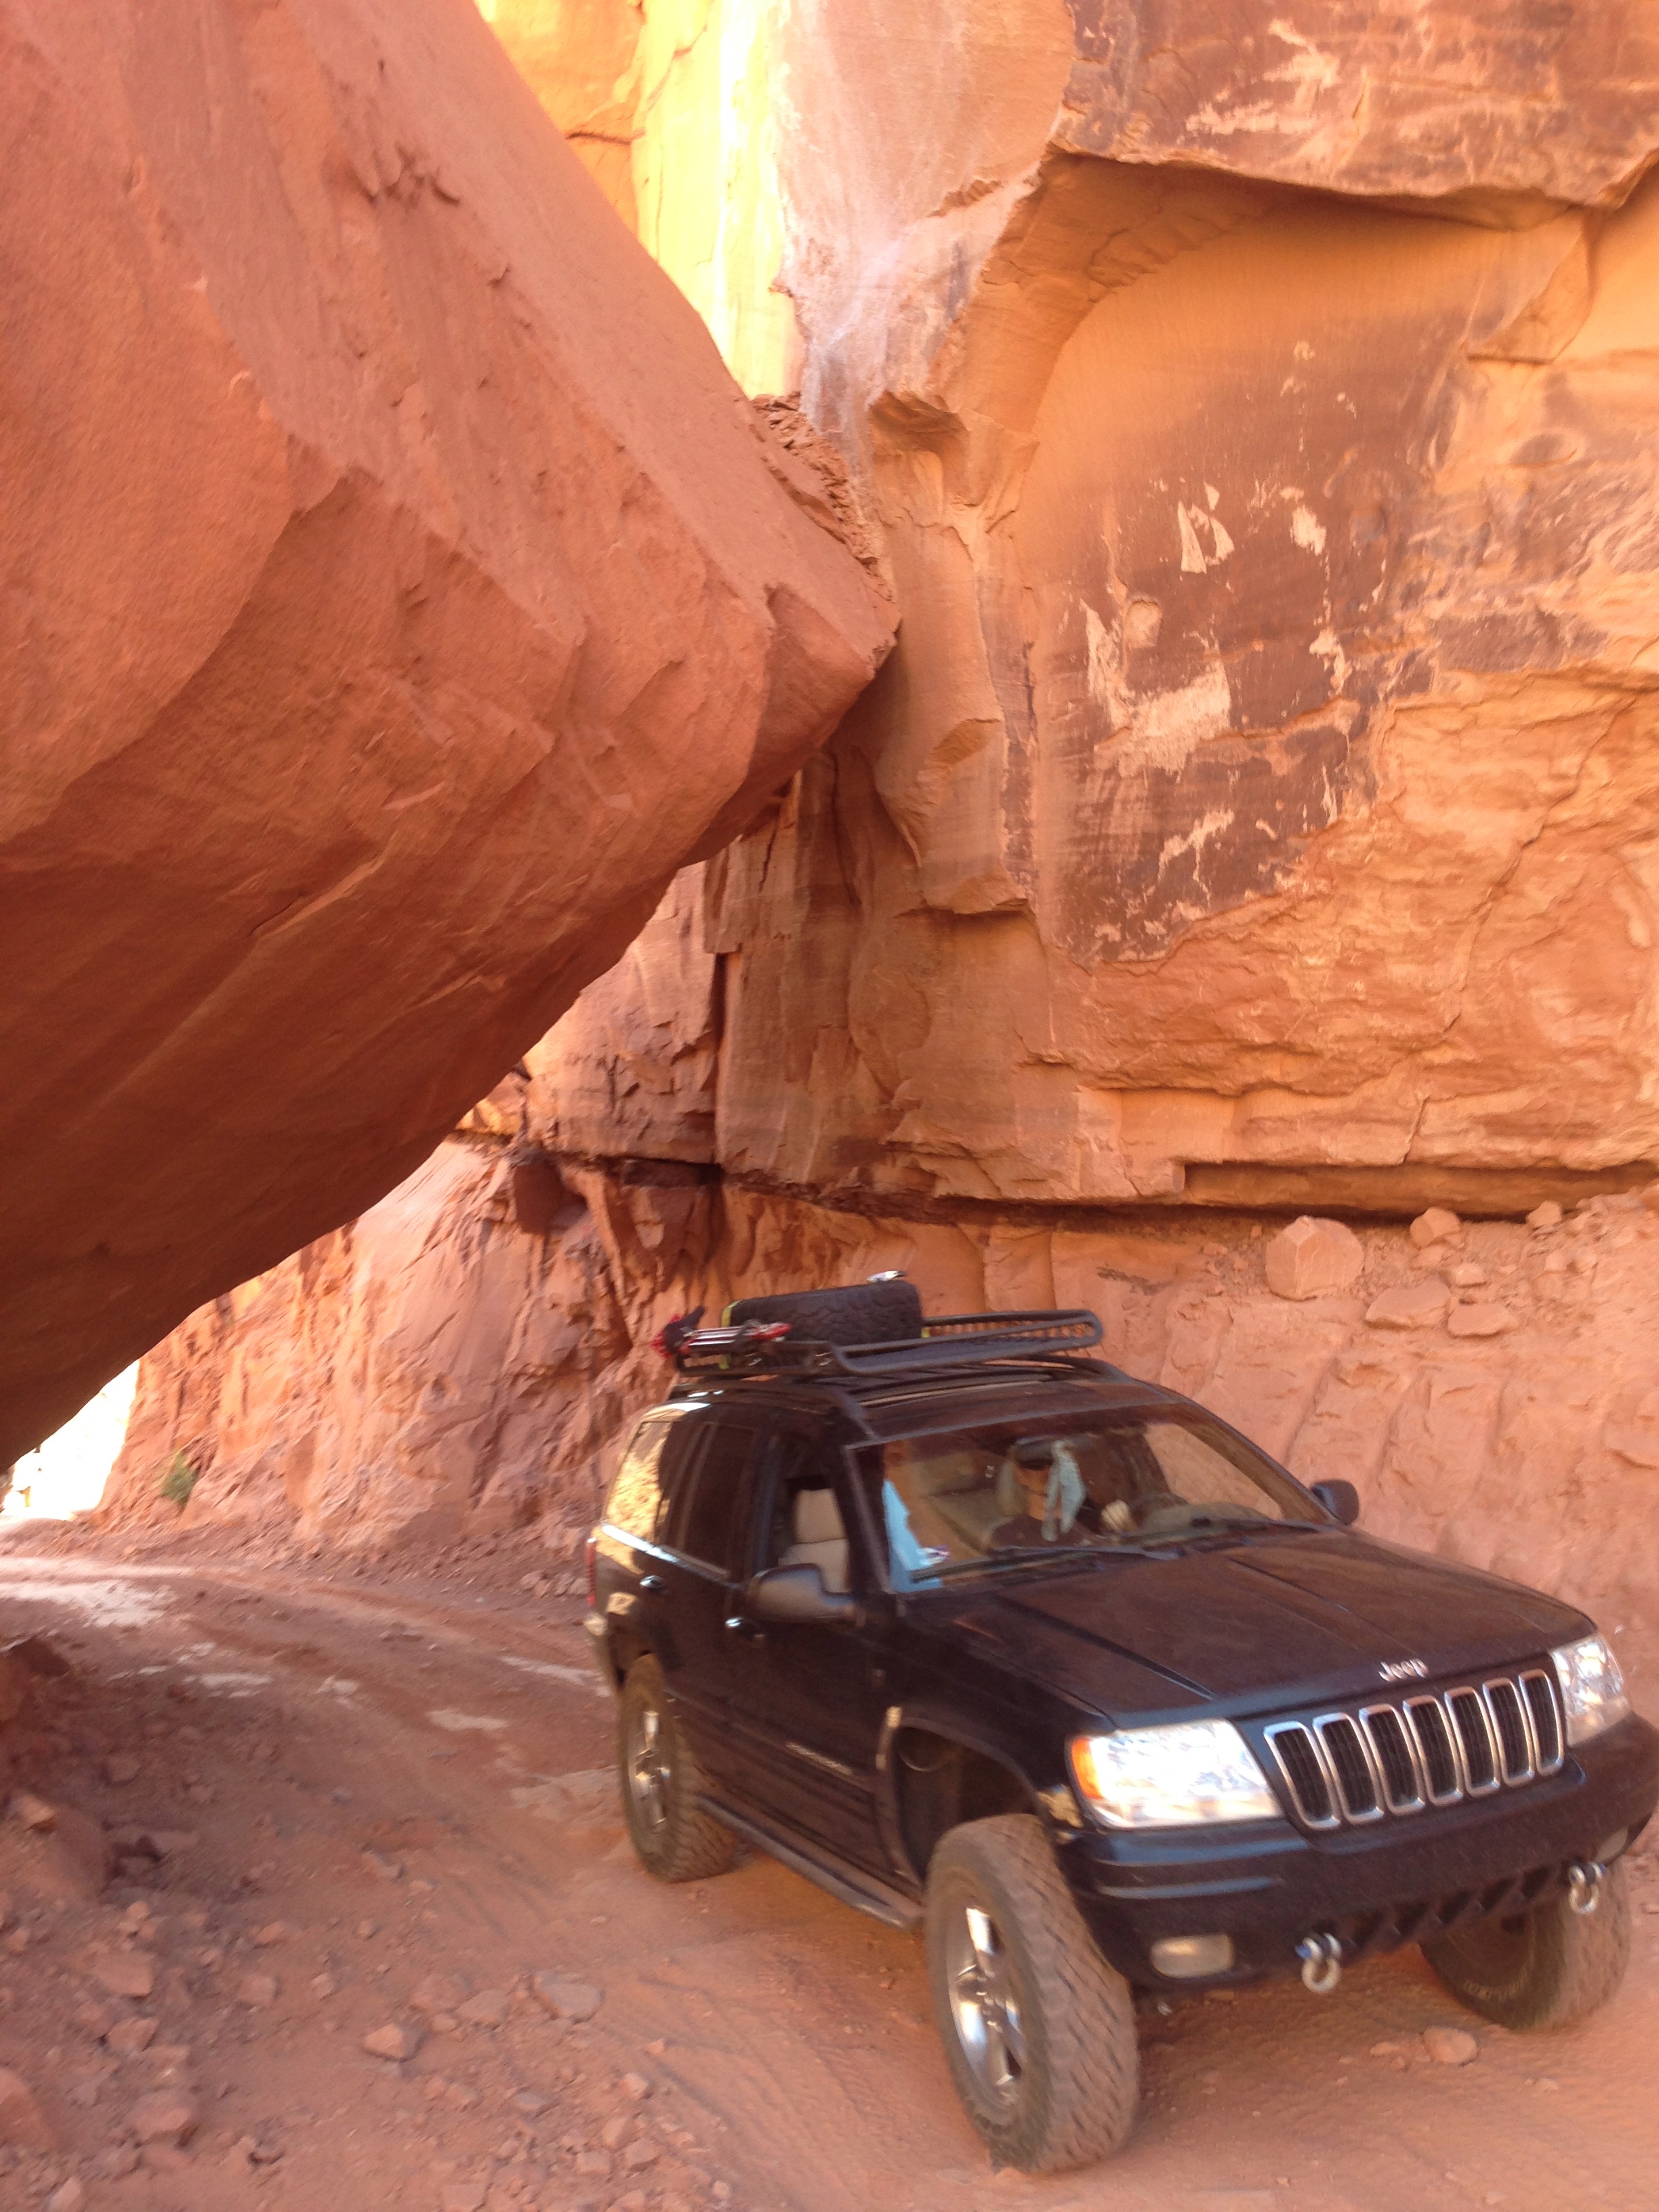
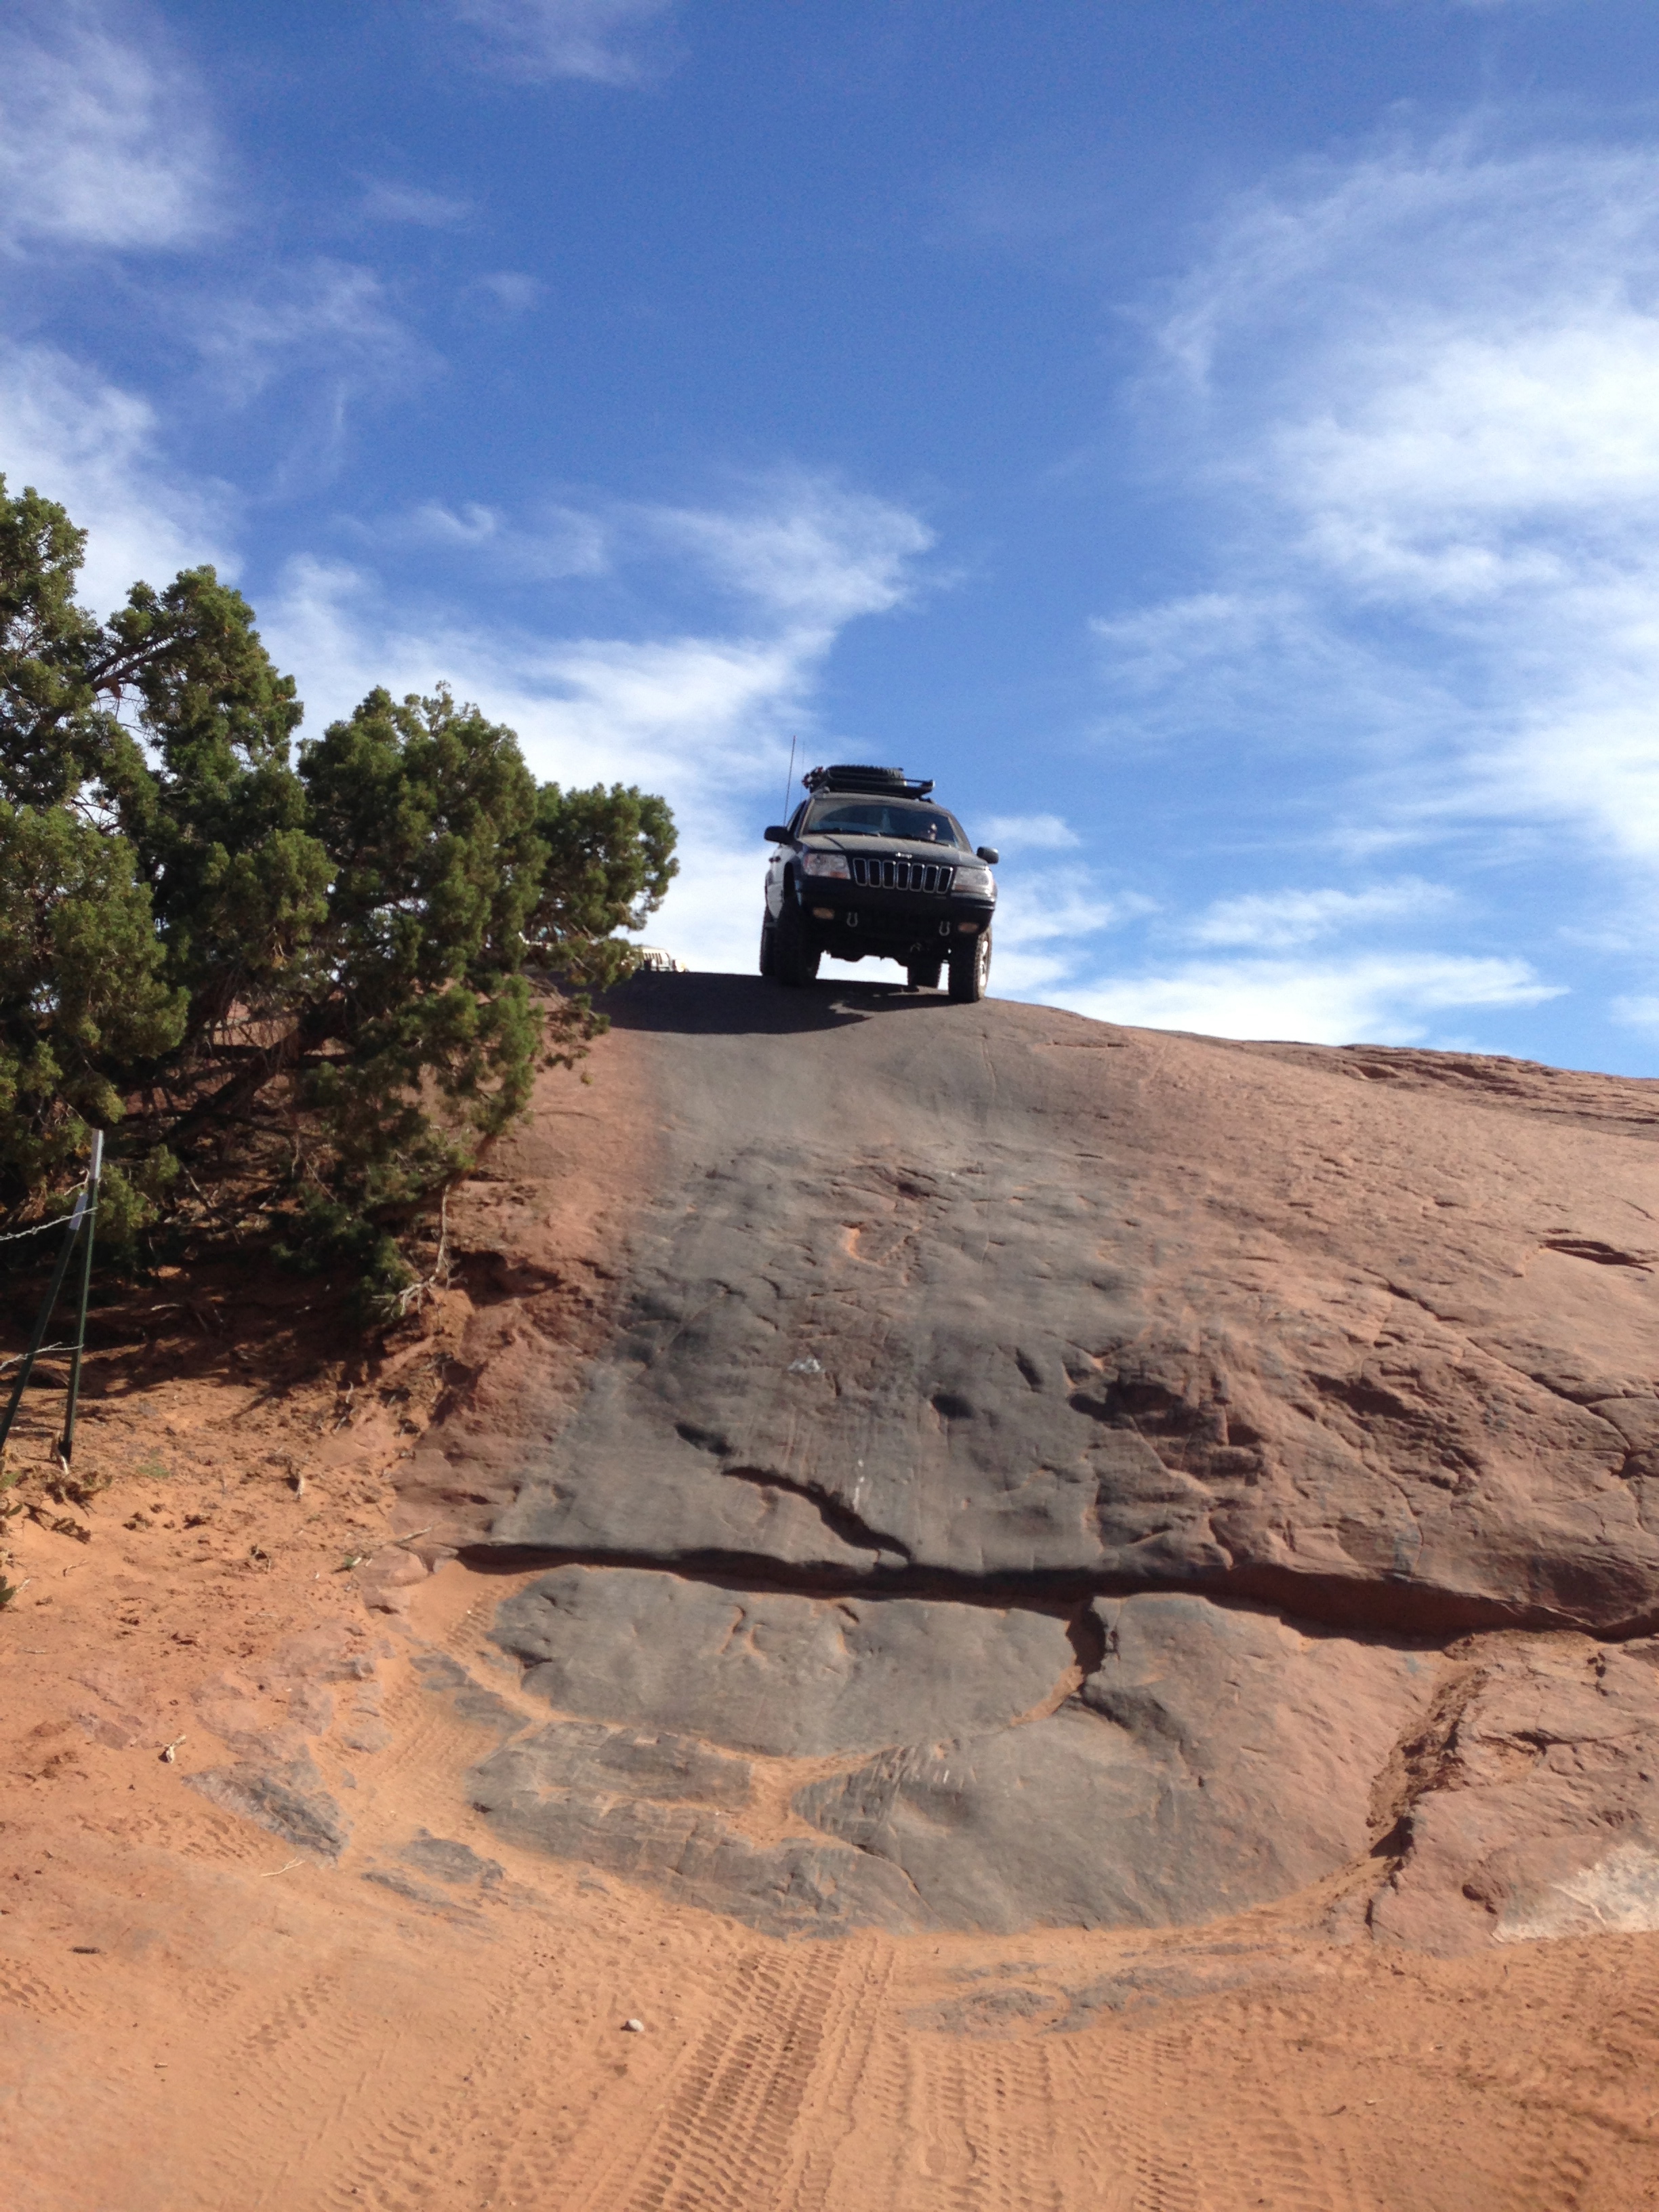
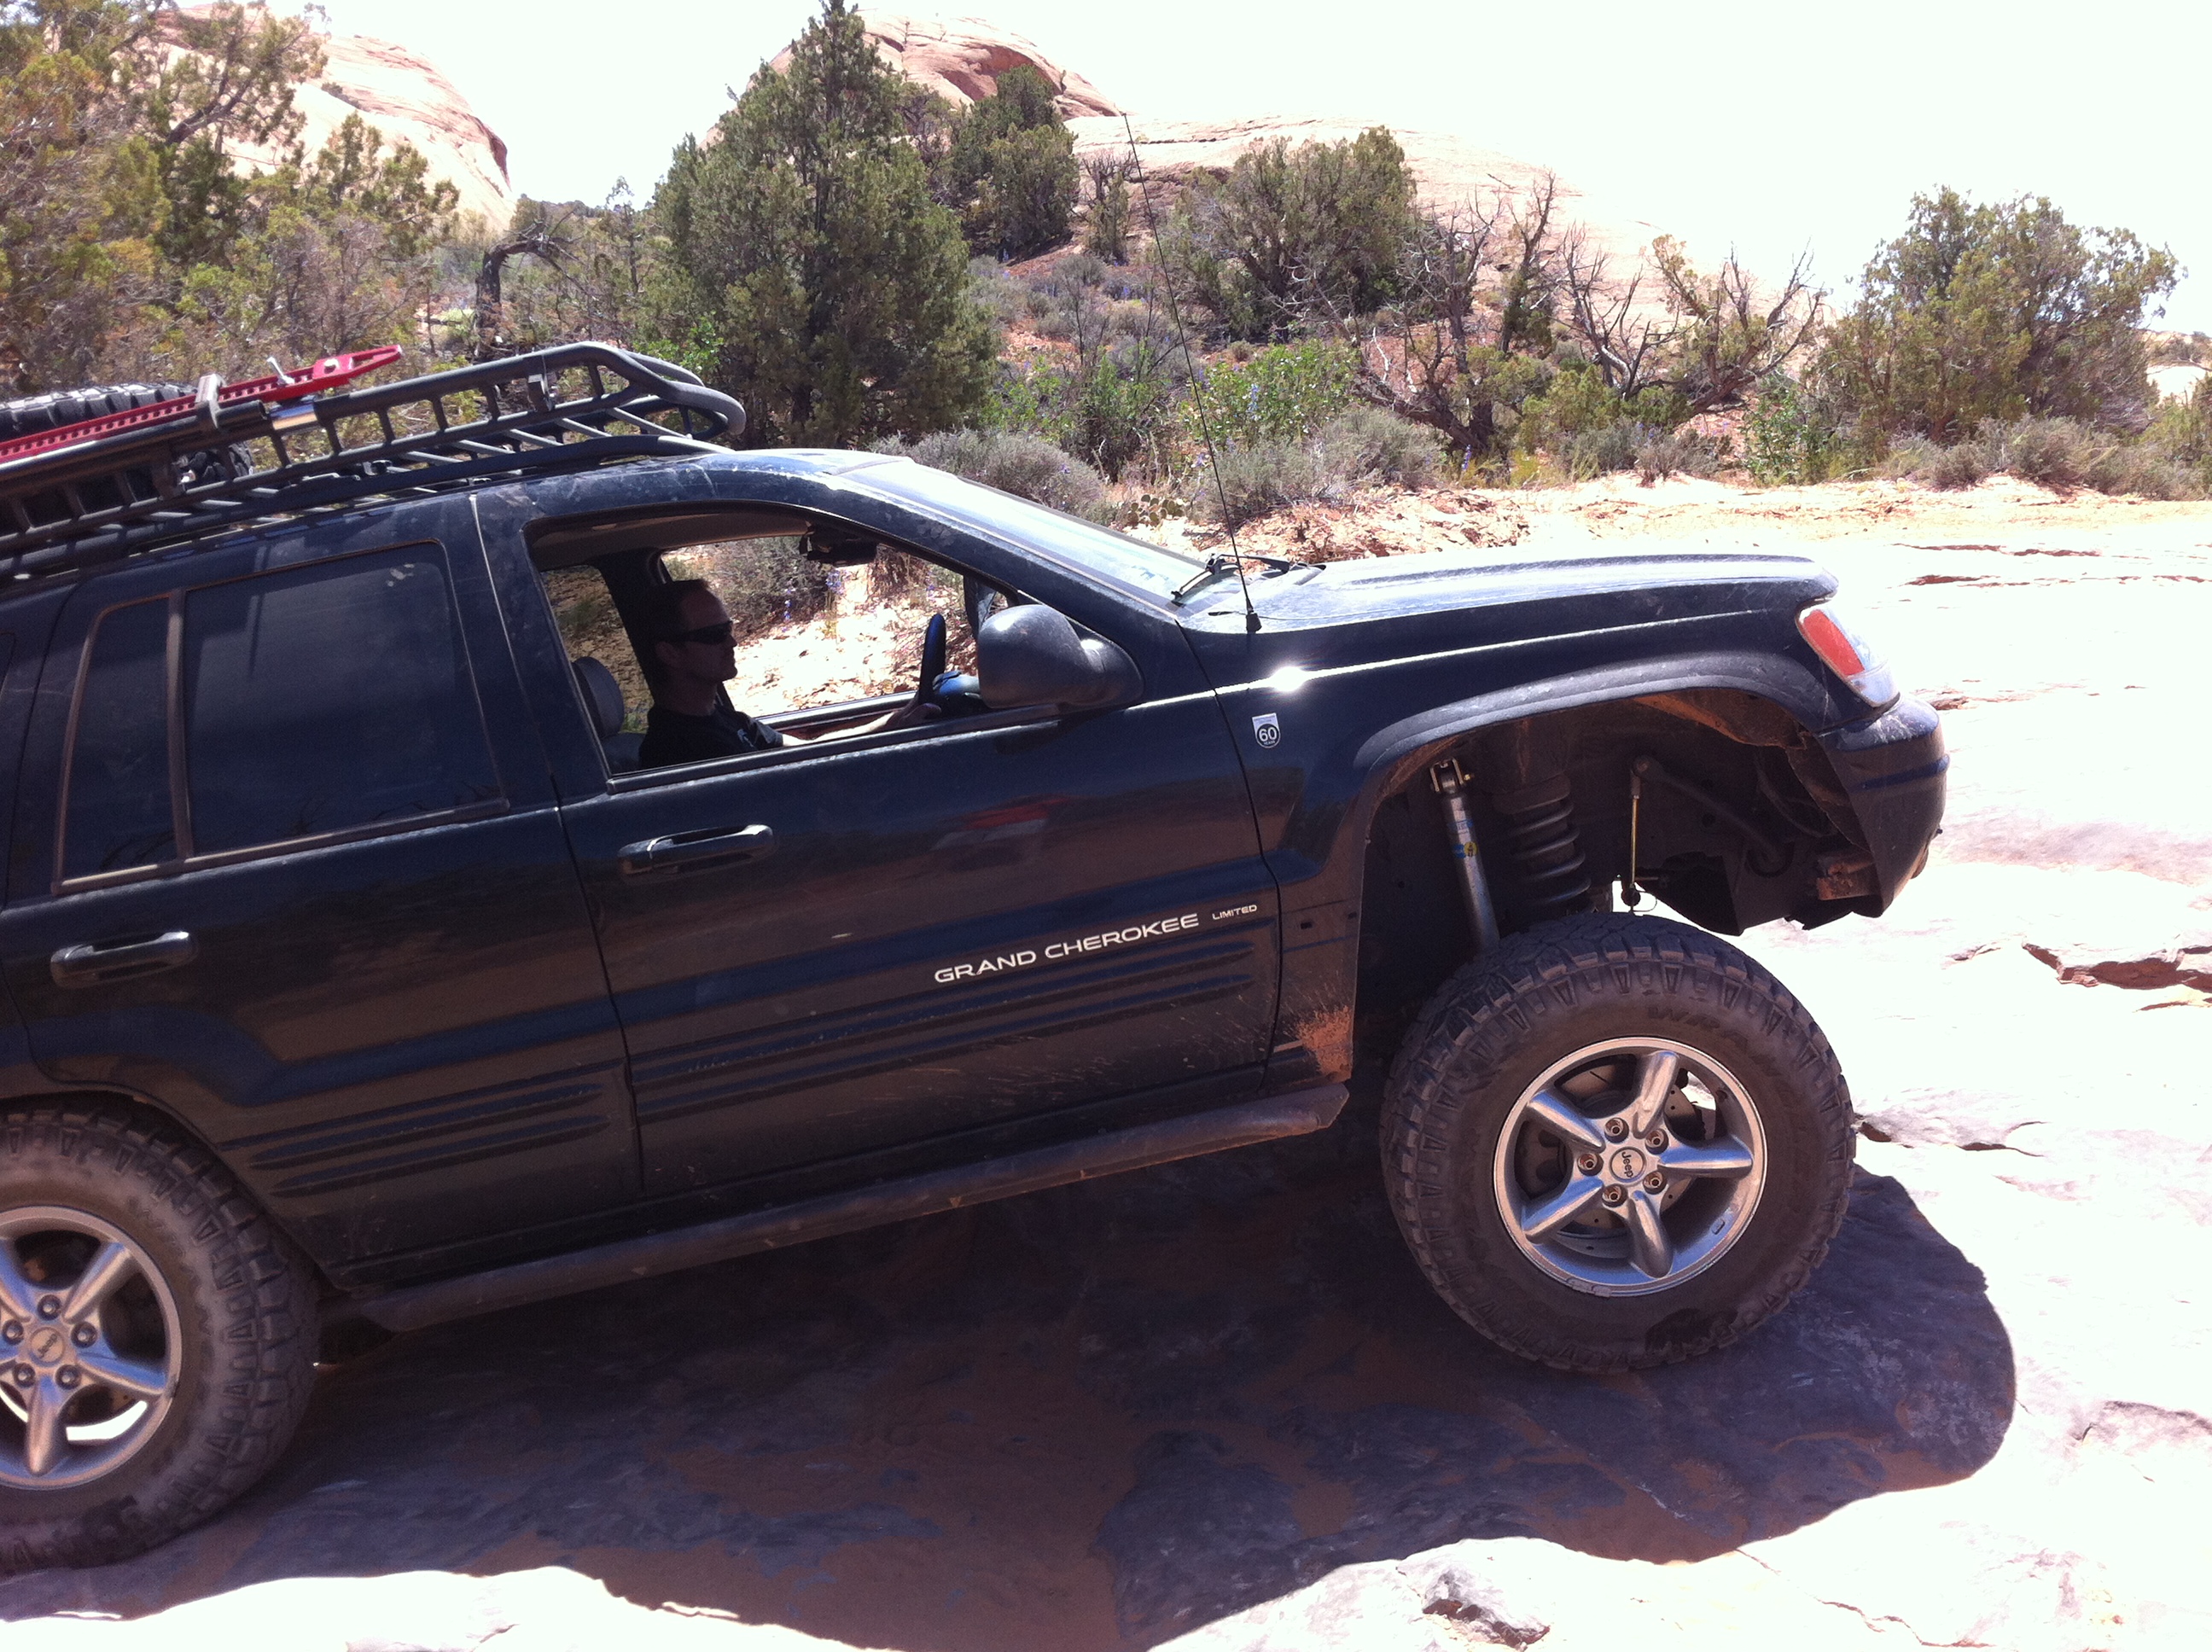
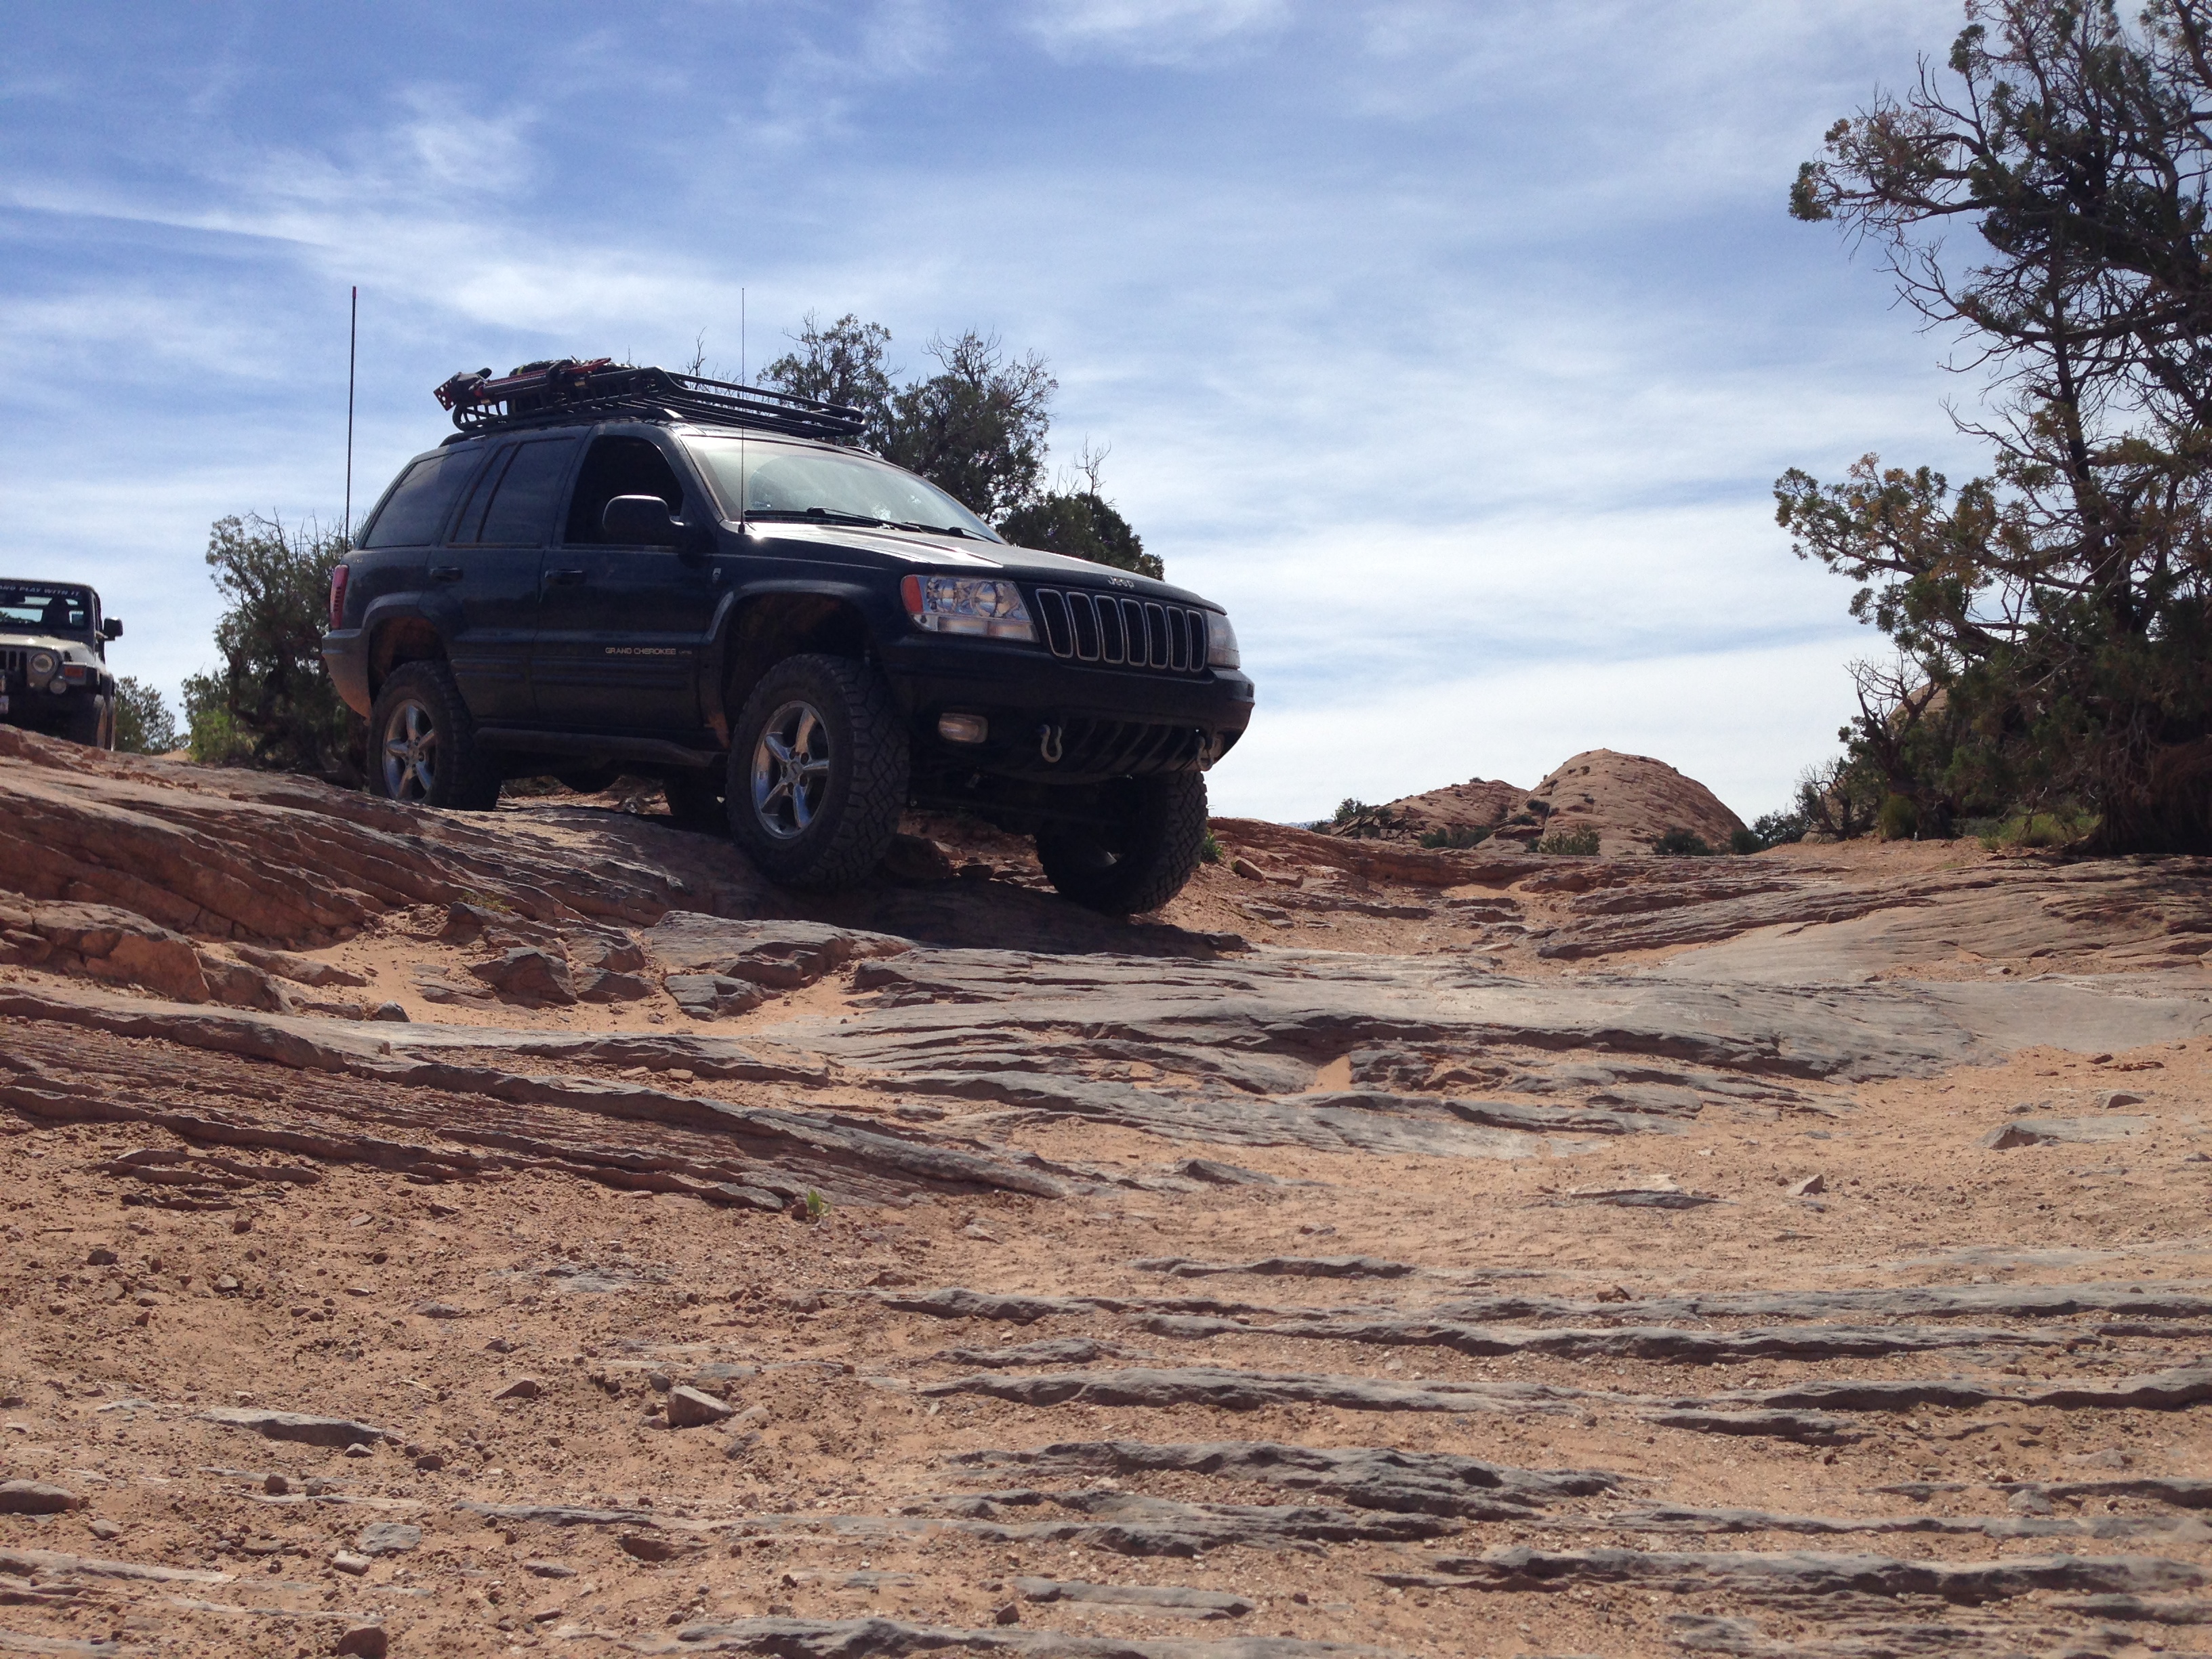
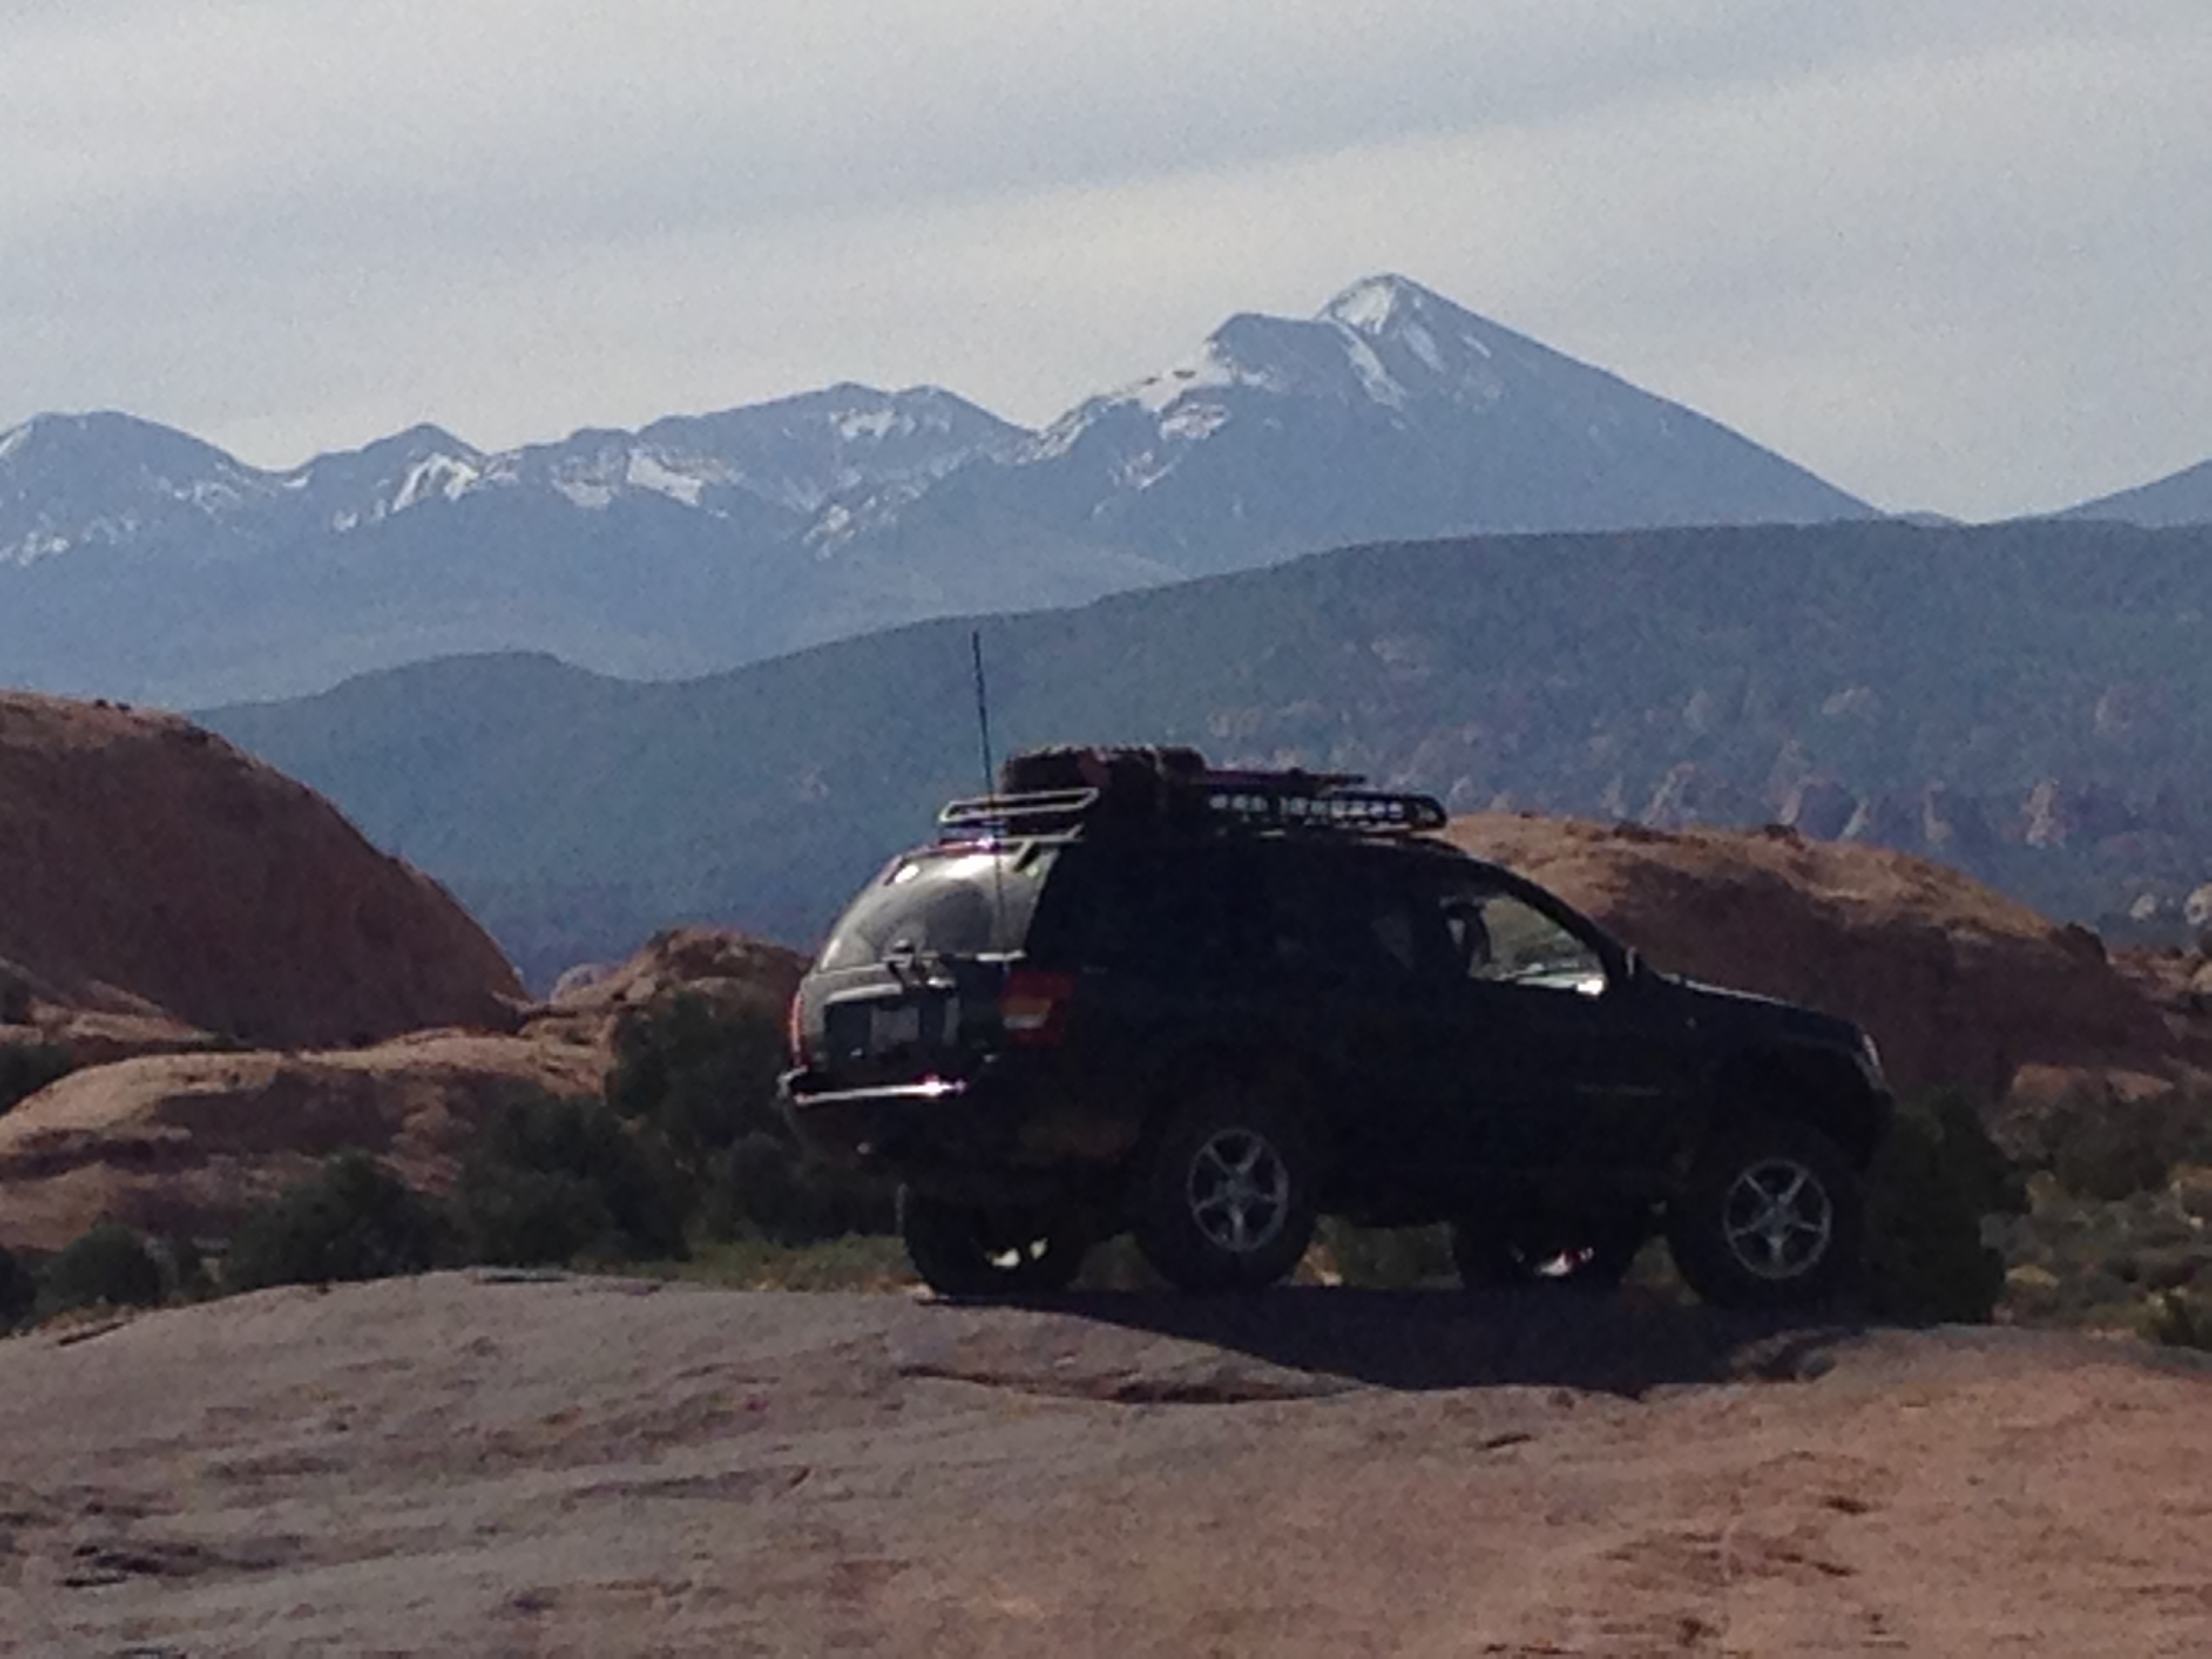
So, here’s the punchline: As I sit here writing this post, I’m realizing that I never took any detailed pictures of the finished product… So as a consolation, here’s the closest thing I have to it, and a few bonus pics from my Moab trip just a couple weeks after this project…


You can see above where the metal has a small ripple in it, and you can also see where I made the cuts too far apart. This is what I meant about making the cuts on a radius close enough together.

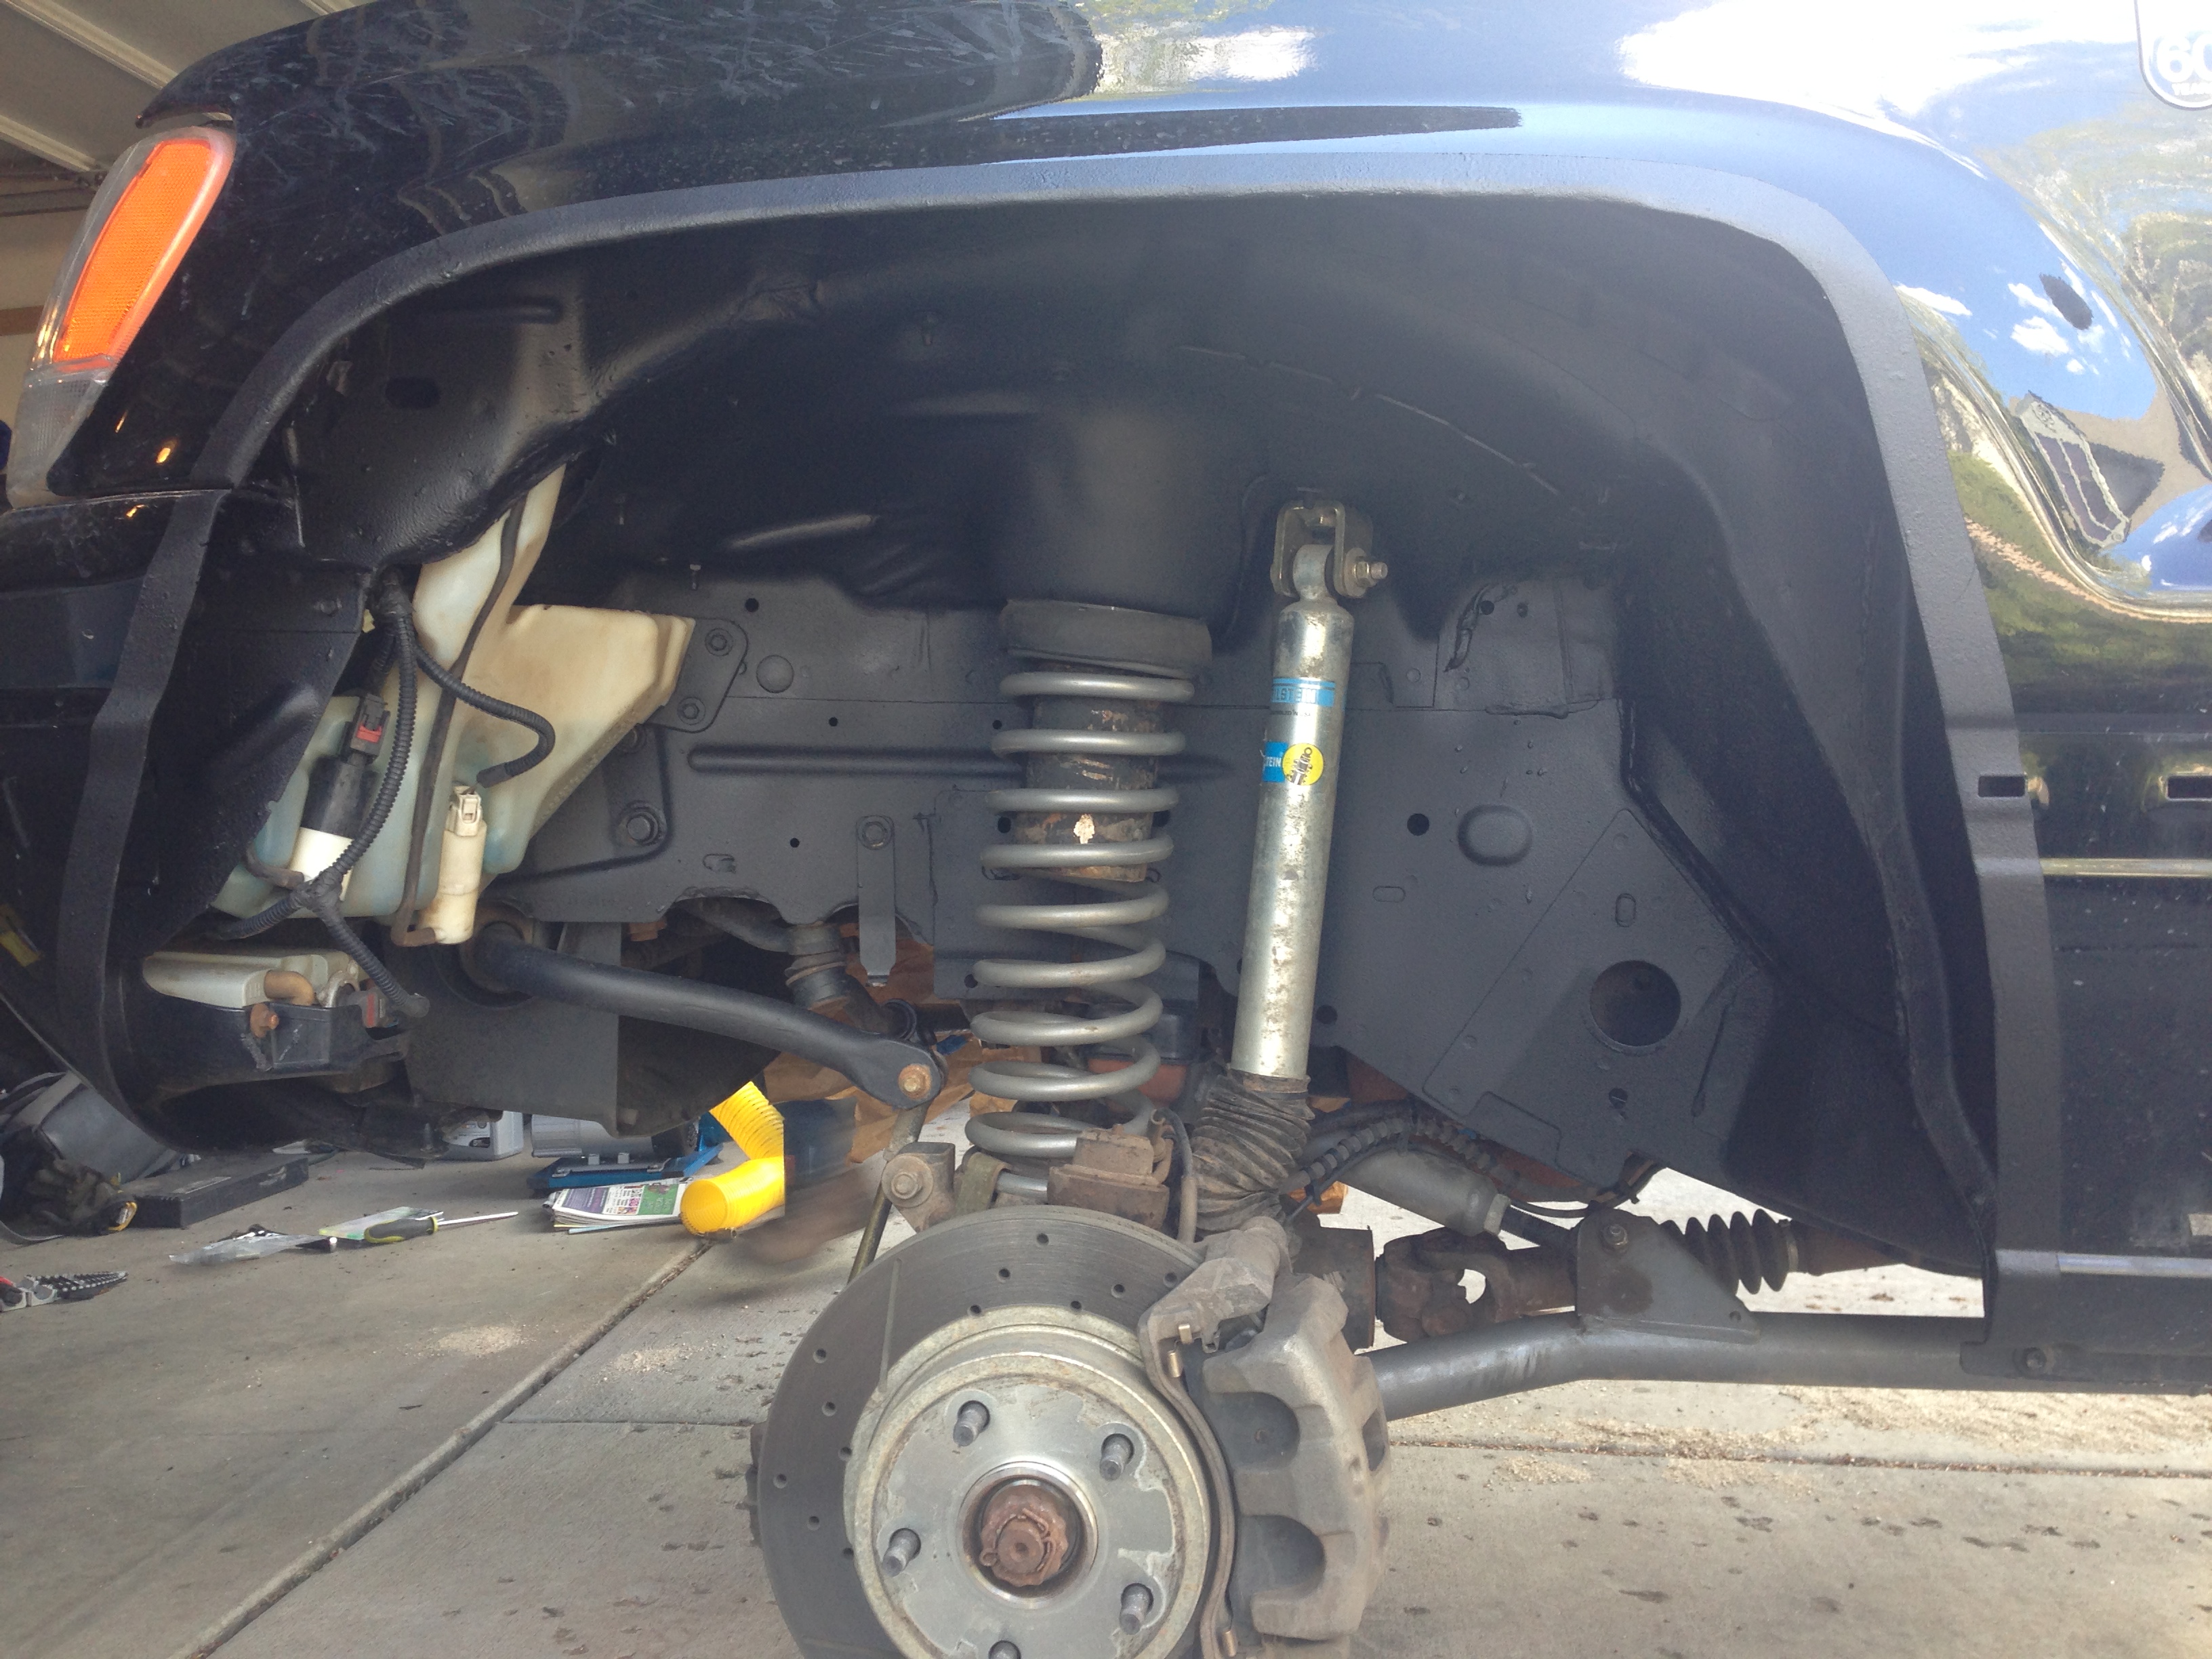
(flexing right after the cut)
Moab. I really need to get back out there…


One thought on “The build thread: high and tight – fender trimming”
Comments are closed.